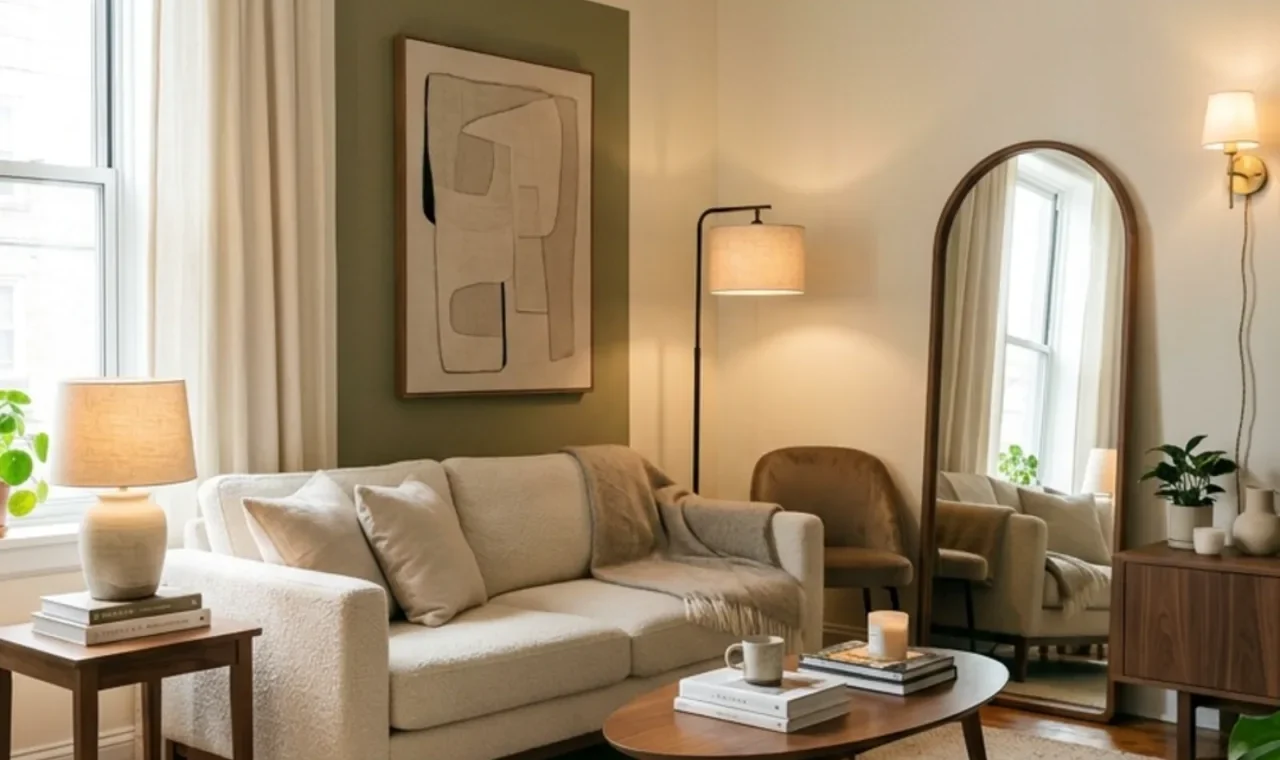
Renter-friendly apartment upgrades can make a basic rental feel more personal without turning it into a construction project.
That is the part I would focus on.
You do not need new flooring, custom cabinets, a remodeled kitchen, or permanent built-ins to make an apartment feel better. Curtains, lighting, rugs, mirrors, hardware, removable wall treatments, and better storage can change the room far more than people expect.
The important part is knowing what is truly reversible.
Some “renter hacks” are not as harmless as they look. Strong adhesive can pull paint off a wall. Peel-and-stick tile can leave residue. Heavy mirrors still need proper support. Even changing cabinet hardware can become annoying if you lose the original screws.
I would treat every rental upgrade as something that should be easy to undo.
This guide includes practical measurements, rough U.S. planning costs, setup steps, pros, cons, and safety notes for every idea. The goal is to make the apartment feel brighter, more finished, and more expensive without committing to a renovation you cannot take with you.
If you are decorating a compact rental from scratch, Small Apartment Decor Ideas is a useful companion guide for furniture scale, visual space, and overall layout.
What Counts as a Renter-Friendly Upgrade?
A renter-friendly upgrade should ideally be:
- removable
- easy to reverse
- low risk to walls and floors
- movable to your next home
- useful during normal daily life
- affordable enough that you do not regret leaving it behind
I would also check the lease before doing anything that involves paint, drilling, adhesive, electrical fixtures, plumbing parts, or replacing existing hardware.
Even if an upgrade is technically removable, that does not automatically mean your lease allows it.
The safest approach is to keep the original parts, take before photos, and avoid modifying landlord-owned surfaces when you are not sure.
For paint and wall color planning, Benjamin Moore’s color overview can help you compare warm whites, soft neutrals, and muted accent colors before you commit to a removable treatment or an approved paint change.
Before You Buy Anything, Improve the Parts You See Every Day
Start with the high-impact zones.
In most apartments, that means:
- living-room windows
- main lighting
- entry area
- sofa wall
- kitchen hardware
- bathroom mirror area
- visible flooring
- bedroom bedding and curtains
Try to solve the biggest visual problem first.
If the room feels dark, fix lighting.
If it feels unfinished, fix curtains.
If it feels small, improve rug scale and furniture placement.
If it feels cluttered, solve storage before adding decor.
That is usually more effective than buying ten small accessories.
1. Hang Curtains Higher and Wider
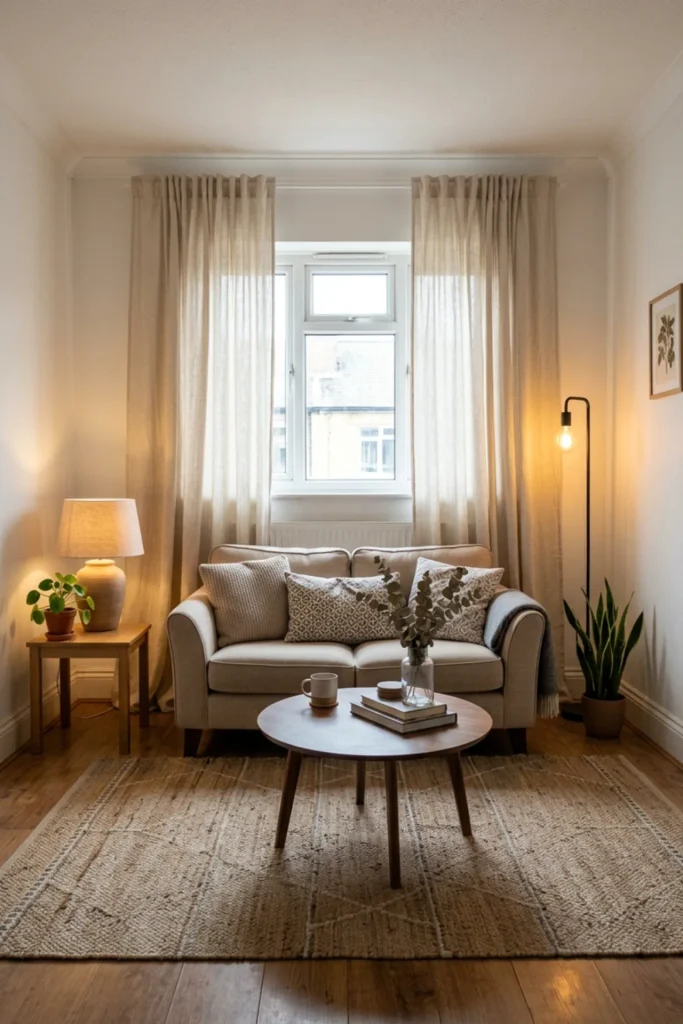
Curtains can make a rental look much more finished without changing the actual window.
The biggest difference comes from placement.
Mount the rod higher than the frame and extend it wider so the curtain stack does not block much glass.
Size and requirements: Mount the rod around 4–8 inches above the window where possible and extend it around 6–12 inches beyond each side. Combined curtain width often looks fuller around 1.5–2 times the rod width.
Method and cost: Measure from the future rod position to just above the floor. If drilling is restricted, use a lease-approved or wall-appropriate removable system that can safely handle the curtain weight. A complete setup may cost $80–$350 per window.
Pros: Makes windows look larger; makes ceilings feel taller; adds softness and privacy.
Cons: Temporary mounting systems have weight limits; wrong curtain length looks sloppy; heavy fabric can reduce daylight.
2. Replace Cool Bulbs With Warm, Consistent Lighting
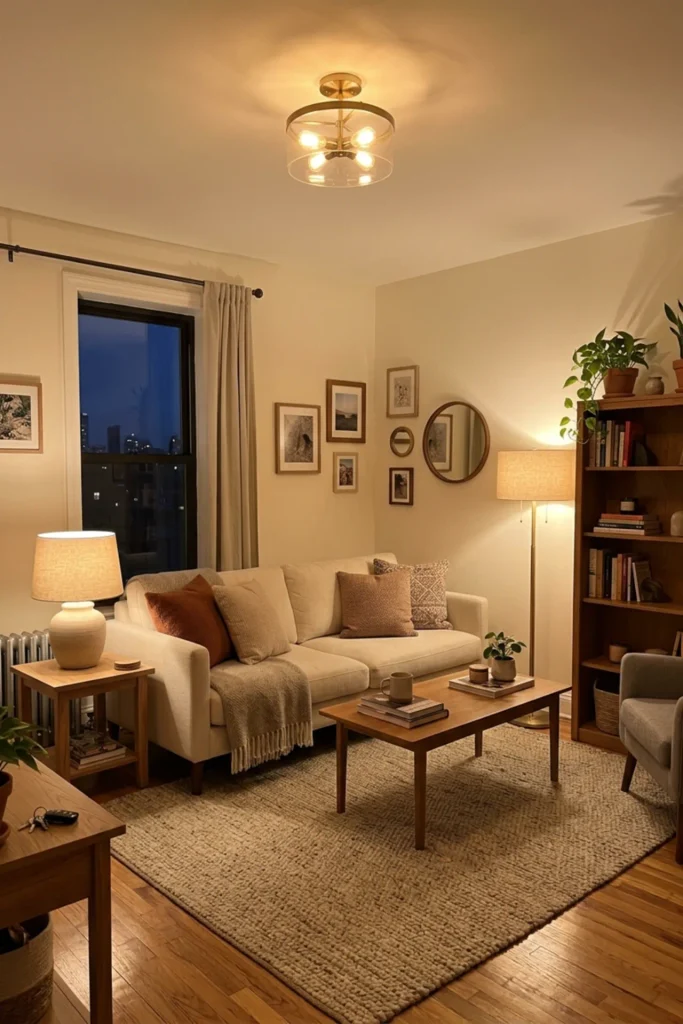
A rental can look flat simply because every fixture has a different bulb color.
Before buying new lamps, I would make the existing light consistent.
Warm light around 2700K–3000K usually feels softer in living rooms and bedrooms.
Size and requirements: Match bulb base, fixture wattage limits, and dimmer compatibility. Avoid exceeding the fixture’s rated wattage.
Method and cost: Replace the most visible bulbs first: living room, bedroom, dining area, and entry. A basic bulb refresh may cost $25–$100.
Pros: Very cheap visual upgrade; makes wood and fabric look warmer; easy to reverse.
Cons: Warm light may not suit every task; poor-quality bulbs can flicker; mismatched fixtures can still make the room feel uneven.
ENERGY STAR’s LED lighting guidance is useful when comparing LED options and light quality.
3. Add Two Lamps Instead of Relying on the Ceiling Light
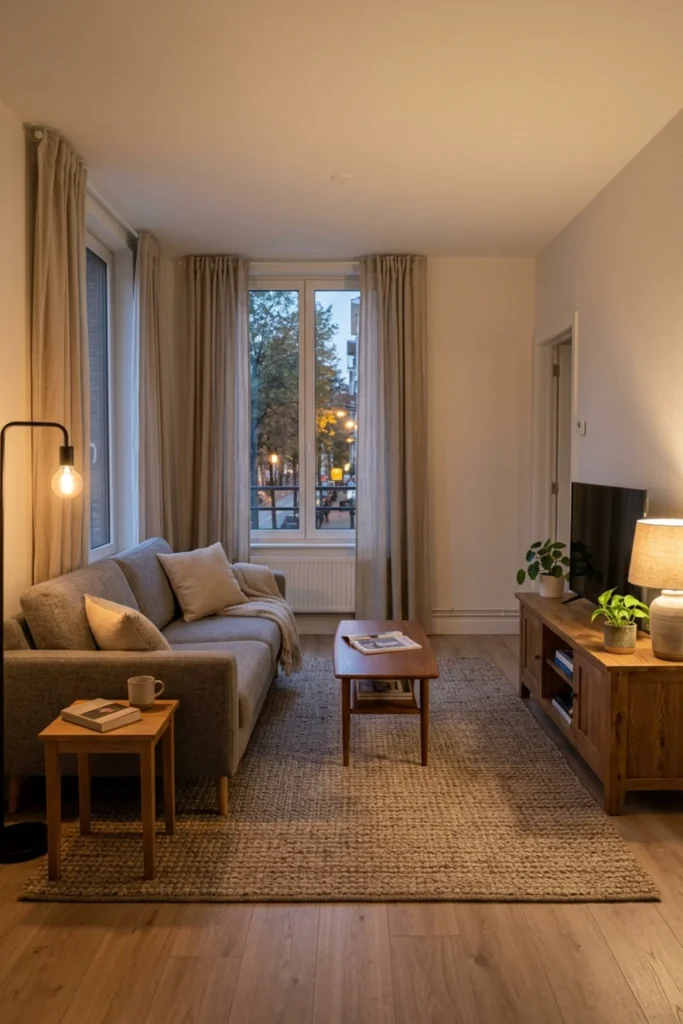
A floor lamp and a table lamp can completely change the mood of a rental living room.
They create separate pools of light, which makes the room feel more layered.
I would add lamps before decorative LED strips or trend lighting.
Size and requirements: Floor lamps often range around 58–70 inches high. Table lamps around 20–28 inches high work in many living-room setups. Check outlet locations and keep cords out of the main walkway.
Method and cost: Place one floor lamp near seating and one table lamp on the opposite side of the room. A basic layered-lighting upgrade may cost $100–$500.
Pros: Makes the room feel more expensive at night; improves flexibility; fully movable.
Cons: Requires outlets; cords need managing; too many lamps can clutter a tiny room.
4. Use One Large Rug to Cover Builder-Grade Flooring
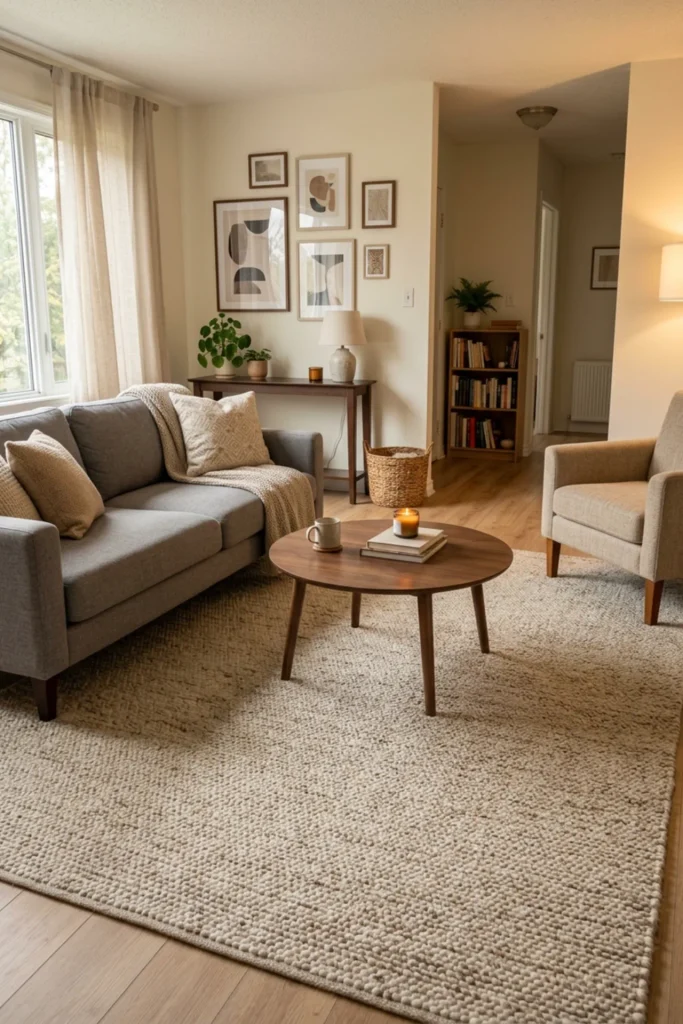
You may not be allowed to replace rental flooring, but you can cover a large part of it.
A properly sized rug hides worn carpet, basic laminate, or cold-looking tile while making the furniture group feel intentional.
I would choose one larger rug instead of several tiny ones.
Size and requirements: In many apartment living rooms, 6 by 9 feet or 8 by 10 feet works well. Try to get at least the front legs of the sofa and chairs onto the rug.
Method and cost: Tape the rug outline on the floor before ordering. Add an appropriate rug pad if needed. A good apartment-size rug may cost $150–$800+.
Pros: Hides unattractive flooring; adds softness; makes the room feel more cohesive.
Cons: Large rugs cost more; light colors show stains; thick rugs can interfere with doors.
For tighter living rooms, Small Living Room Ideas has more rug and furniture-scale guidance.
5. Use Removable Wallpaper on One Small Wall
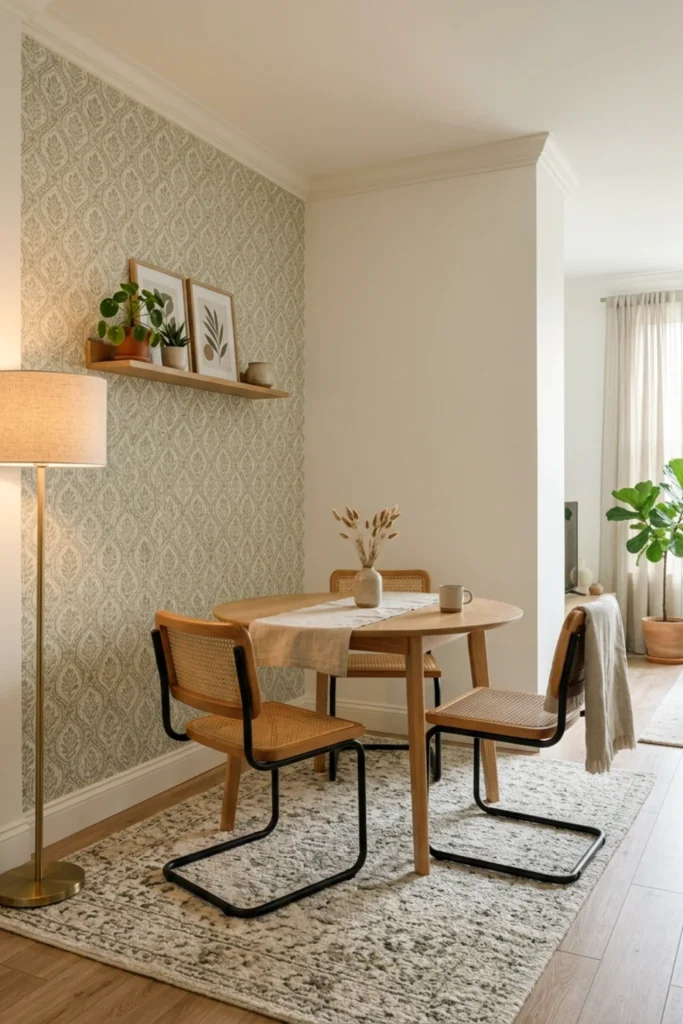
Removable wallpaper can add color or pattern without repainting the whole room.
I would use it on one contained wall, such as behind the bed, dining nook, desk, or entry.
Large rooms covered in temporary wallpaper can become expensive and difficult to remove.
Size and requirements: Measure the wall’s full width and height, then add around 10% extra material for trimming and pattern matching. Check the product instructions and test a small hidden area first.
Method and cost: Clean and dry the wall, test adhesion, then install slowly from top to bottom. A small accent wall may cost around $100–$500 depending on pattern and wall size.
Pros: High visual impact; removable in many cases; easy way to test color or pattern.
Cons: Adhesive can still damage weak paint; seams can lift; humidity can affect some products.
6. Add a Temporary Backsplash Only on a Small Kitchen Zone
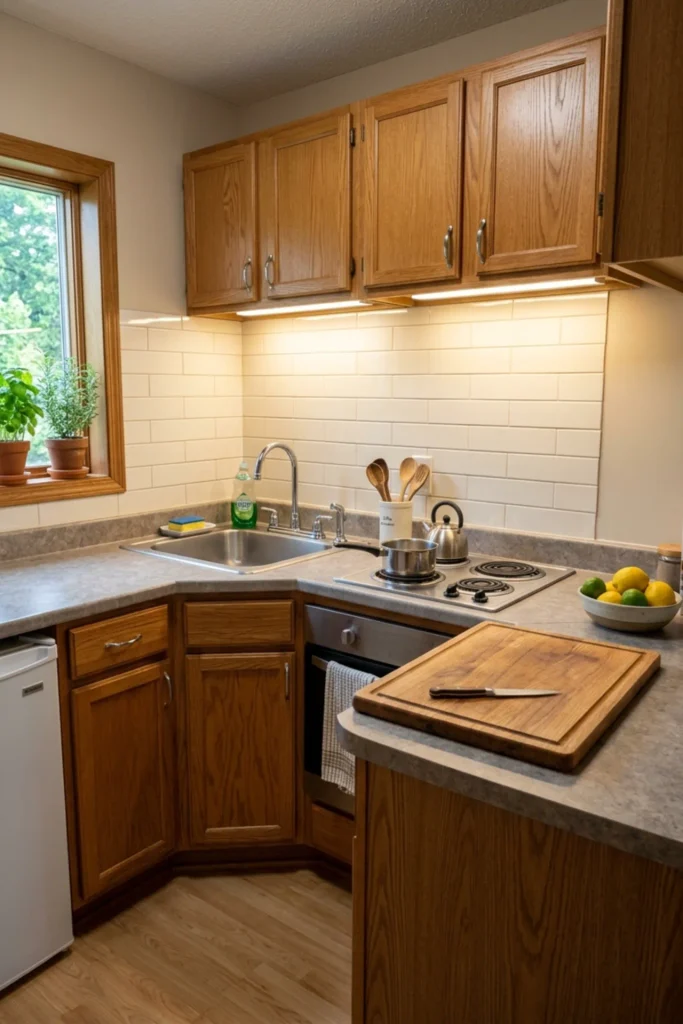
A temporary backsplash can make a basic rental kitchen feel more finished.
I would keep it to a contained area behind the sink or prep zone rather than covering every wall.
Choose a product intended for the surface and environment.
Size and requirements: Measure the backsplash zone precisely. Keep temporary products away from surfaces where the manufacturer does not recommend heat, steam, or direct water exposure.
Method and cost: Test one tile or panel first. Install only after confirming the existing surface is clean, smooth, and compatible. A small zone may cost $80–$400.
Pros: Strong visual change; no demolition; easy way to add color or pattern.
Cons: Adhesive can leave residue; heat and moisture can cause lifting; removal may damage weak paint or finishes.
For other compact-kitchen upgrades, see Small Apartment Kitchen Ideas.
7. Swap Cabinet Hardware and Store the Originals
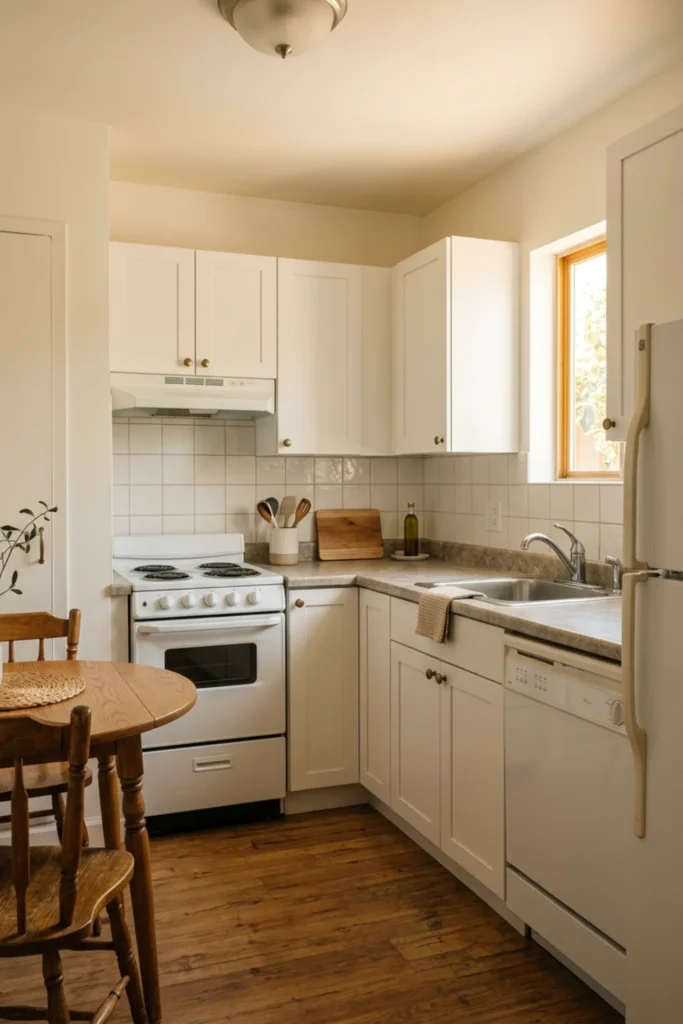
Basic cabinet knobs can make a kitchen or bathroom feel dated.
If the lease allows it, changing the visible hardware is one of the easiest reversible upgrades.
The trick is keeping the original pieces.
Size and requirements: Match the existing hole spacing whenever possible. For pulls, measure center-to-center screw spacing before ordering.
Method and cost: Remove one knob or pull and take it with you when shopping. Put all original hardware and screws in a labeled bag. A small apartment hardware refresh may cost $40–$250.
Pros: High impact for little money; easy DIY; fully reversible when hole spacing matches.
Cons: Wrong screw length causes problems; mismatched holes are not renter-friendly; cheap finishes scratch quickly.
8. Add One Large Mirror Instead of Several Small Ones
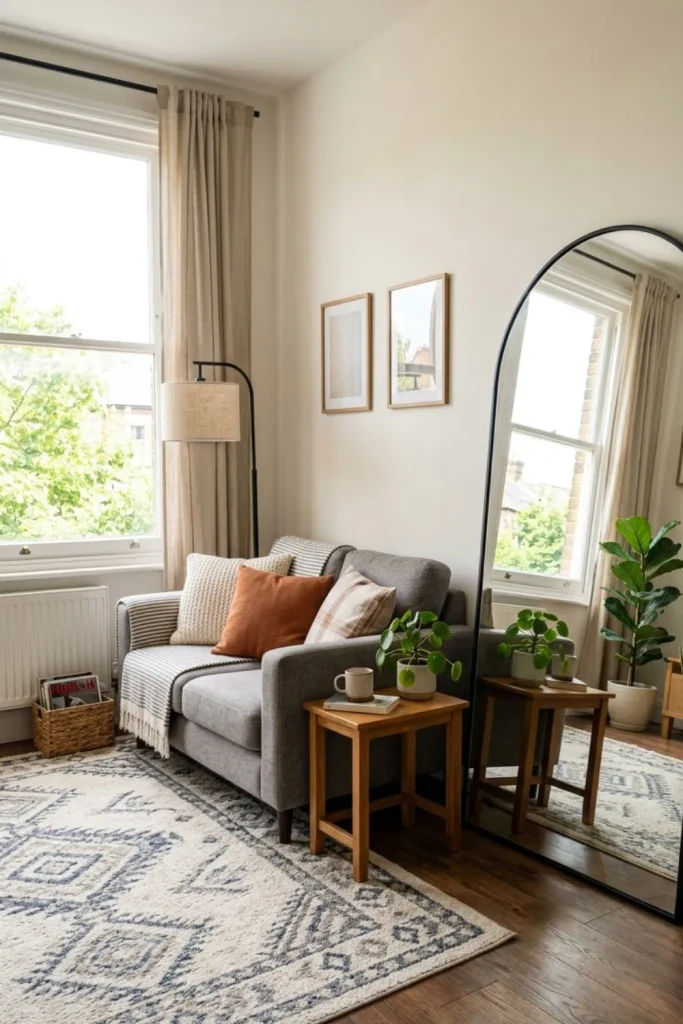
A large mirror can make a rental feel brighter and more open without changing the architecture.
I would place it where it reflects a window, lamp, or open part of the room.
A simple frame usually looks better than something overly ornate.
Size and requirements: A mirror around 28–40 inches wide works in many living rooms and bedrooms. Keep it proportional to the wall or furniture below it. Heavy mirrors require proper support.
Method and cost: Tape the full outline on the wall before buying and check what it will reflect. If drilling is not allowed, use a stable floor mirror designed for leaning or freestanding use and secure it according to the product instructions. Cost may be $120–$700+.
Pros: Reflects light; visually enlarges the room; adds a strong focal point.
Cons: Large mirrors are heavy; unsafe leaning is a tip hazard; poor placement reflects clutter.
The U.S. Consumer Product Safety Commission’s Anchor It! guidance is useful when thinking about the stability of tall or tip-prone furniture and similar large household pieces.
9. Use Plug-In Wall Sconces for a Built-In Lighting Look
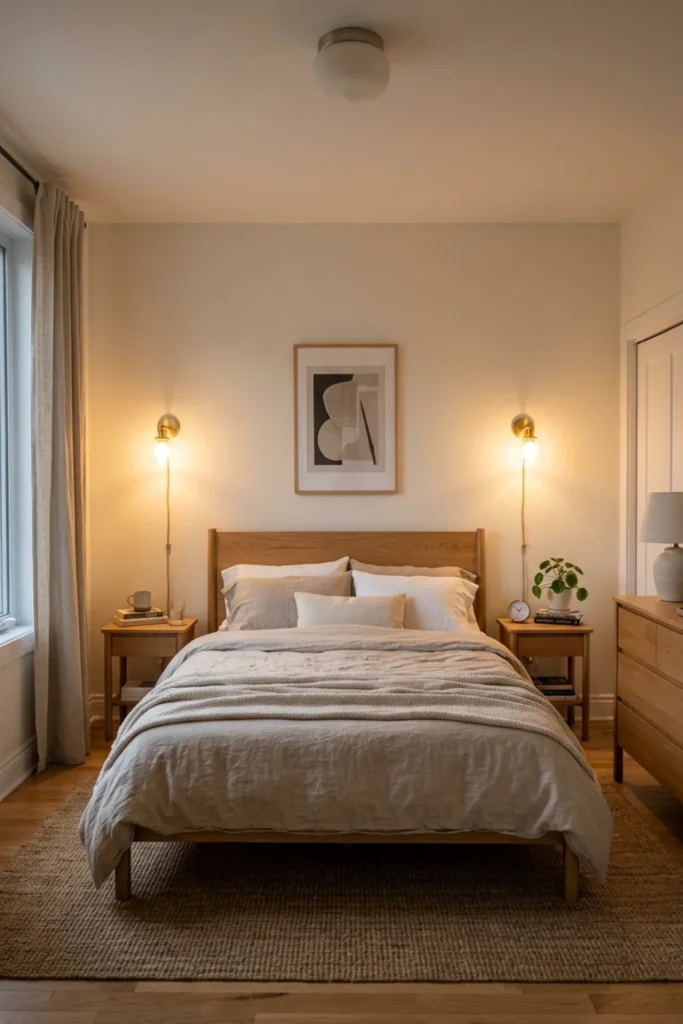
Plug-in sconces can make a rental look more custom without opening the wall for wiring.
They work beside the bed, over a reading chair, or on either side of a console.
I would choose simple fixtures with visible cords routed neatly rather than trying to hide unsafe wiring.
Size and requirements: A compact sconce often projects around 6–12 inches from the wall. Check the cord length, outlet position, and whether the fixture swings into a walkway.
Method and cost: Mark the fixture position while sitting or standing where the light will be used. Mount only with hardware suitable for the wall and fixture weight. Plug-in sconces may cost $60–$300 each.
Pros: Gives a more permanent-looking lighting effect; saves table space; no hardwiring.
Cons: Still requires wall mounting in many cases; visible cords need management; not every lease allows drilling.
10. Use Decorative Window Film for Privacy Without Heavy Curtains
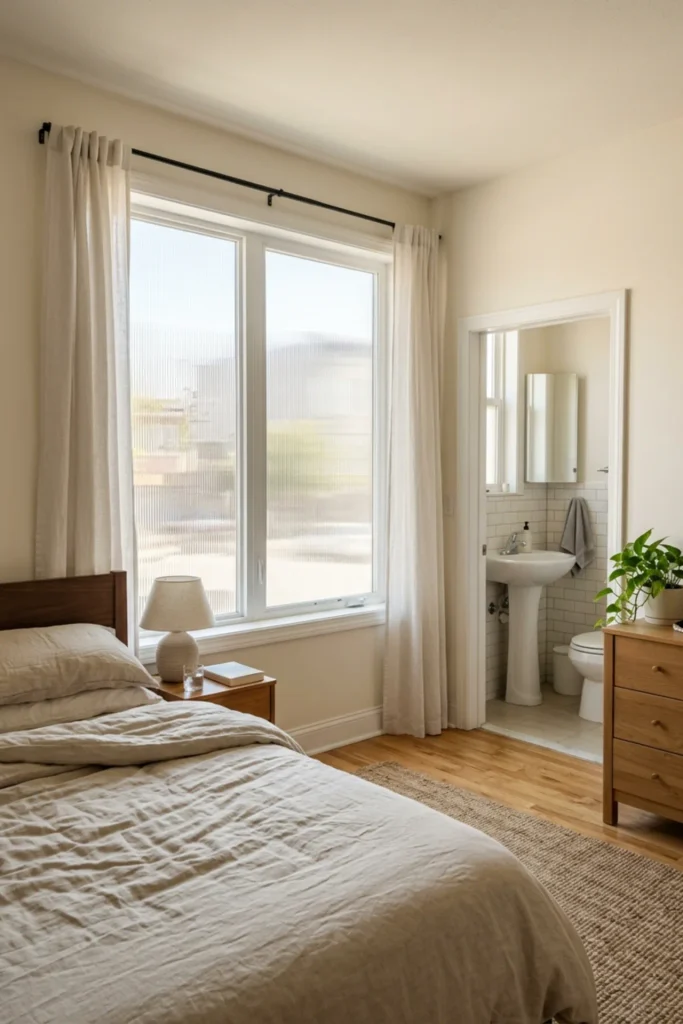
Window film is useful in bathrooms, street-facing bedrooms, or apartments where privacy is poor.
A frosted or lightly reeded film can soften the glass while still letting in daylight.
I would use a simple pattern rather than something very decorative.
Size and requirements: Measure the exact visible glass area. Leave a small trimming margin. Check whether the product is removable and compatible with your glass type.
Method and cost: Clean the glass thoroughly, apply according to the product instructions, and trim carefully. A small window may cost $20–$80 to cover.
Pros: Adds privacy; keeps natural light; inexpensive and removable in many cases.
Cons: Can bubble if installed poorly; some films distort the view more than expected; not all glass types are suitable for every film.
11. Use Freestanding Storage That Looks Built-In
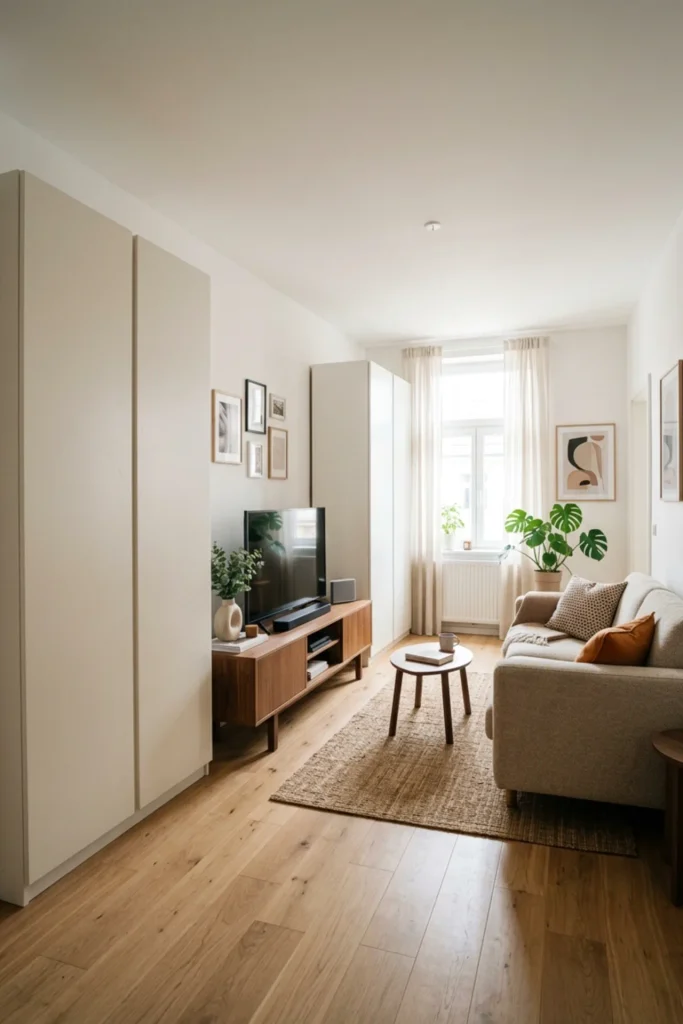
You can get a built-in look without attaching cabinetry permanently.
Choose tall cabinets, wardrobes, or bookcases that fit the wall closely and match the wall color or nearby furniture.
Closed doors make the biggest difference because they hide visual clutter.
Size and requirements: In small apartments, storage around 12–16 inches deep often feels lighter than full-depth cabinetry. Measure ceiling height, baseboards, outlets, and door swings.
Method and cost: Use one larger coordinated storage zone instead of several unrelated pieces. Ready-made built-in-look storage may cost $400–$2,500+ depending on size.
Pros: Major storage improvement; can make a rental look more custom; moves with you.
Cons: Tall furniture can be heavy; anchoring may still be needed; poor proportions make the room feel smaller.
For more examples, see Hidden Storage Ideas for Small Apartments.
12. Upgrade the Entry With a Slim Console, Mirror, and Closed Shoe Storage
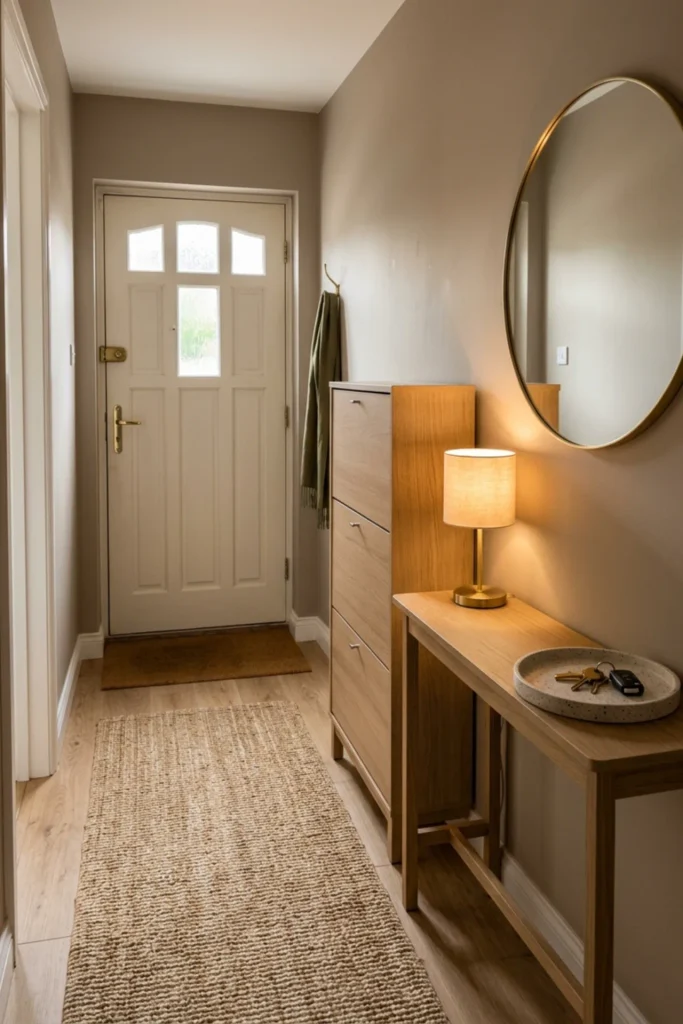
A rental feels more finished when the entry has a clear purpose.
You do not need a separate foyer.
A shallow console, mirror, and narrow shoe cabinet can create one.
Size and requirements: Keep furniture around 8–14 inches deep in a narrow entry. Preserve the door swing and main walkway.
Method and cost: Start with closed shoe storage or a slim bench, then add one mirror and a small tray for keys. A simple entry refresh may cost $150–$700+.
Pros: Makes the apartment feel organized immediately; hides shoes; creates a strong first impression.
Cons: Narrow furniture can still crowd a hallway; surfaces can become cluttered; tall shoe cabinets may need anchoring.
13. Use Better Bedding and a Full-Height Headboard Effect
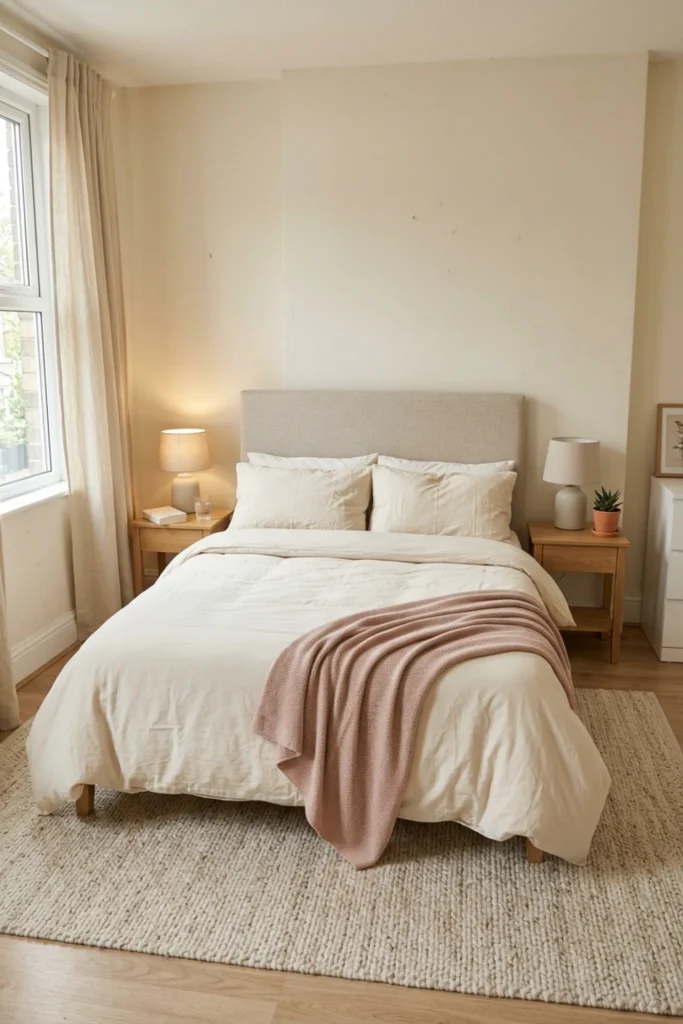
The bedroom often needs less work than people think.
A good duvet, larger pillows, and a simple headboard can make a basic rental bedroom feel much more finished.
If you cannot install a permanent headboard, use a freestanding or bed-mounted version.
Size and requirements: For a queen bed, a headboard around 62–68 inches wide works in many rooms. Keep the depth slim if the bedroom is tight. Choose bedding sized for the actual mattress and frame.
Method and cost: Start with warm neutral bedding, then add one soft accent color. A bedding and headboard refresh may cost around $250–$1,200+.
Pros: Large visual impact; fully movable; makes the bedroom feel more intentional.
Cons: Upholstered headboards collect dust; oversized headboards reduce room depth; premium bedding can be expensive.
For smaller rooms, Small Apartment Bedroom Ideas has more bed-scale and storage guidance.
14. Create a Balcony Room With Movable Furniture
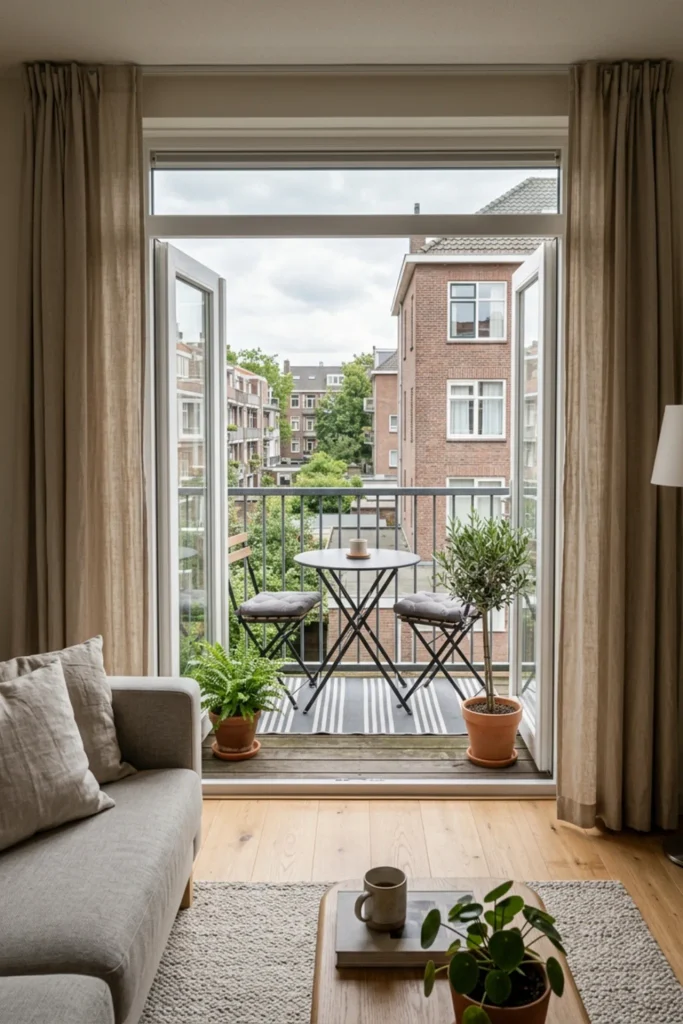
If your apartment has a balcony, use it as a visual extension of the interior.
One compact chair, a small table, an outdoor rug, and one or two plants can make the apartment feel like it has another room.
Keep everything easy to move.
Size and requirements: Compact balcony chairs are often around 22–28 inches wide. Preserve a clear route to the door. Check building rules, railing safety, weather exposure, and balcony load requirements.
Method and cost: Start with seating and one table. Add an outdoor rug or plant only if the space still feels open. A small balcony setup may cost $150–$800+.
Pros: Adds usable-feeling space; improves the view from inside; completely movable.
Cons: Weather limits use; building rules may restrict items; outdoor furniture requires maintenance.
For more layout ideas, see Small Apartment Balcony Ideas.
15. Edit the Apartment Before Buying More Decor
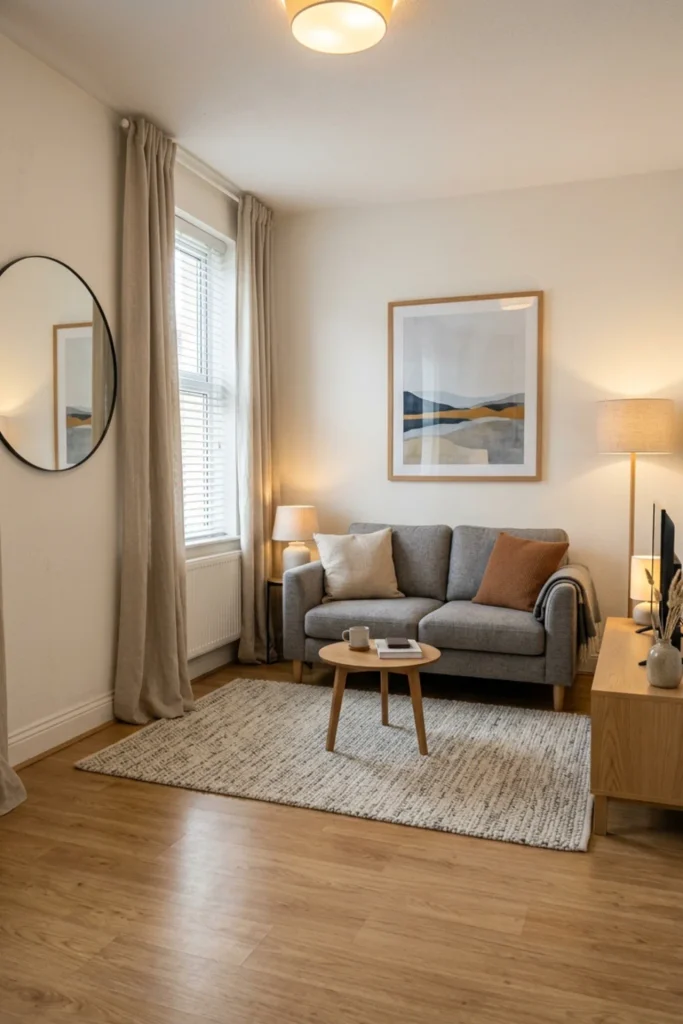
The easiest renter-friendly upgrade costs nothing.
Remove what is making the apartment feel crowded.
A room with clear surfaces, visible floor, and better lighting usually looks more expensive than the same room filled with small decor.
Size and requirements: Try to leave around 30%–40% of major surfaces visually open. Keep the main walkway clear. Leave some wall space blank.
Method and cost: Remove all loose decor from one room, then add back only the pieces that improve the room or serve a purpose. Cost: $0.
Pros: Makes the apartment feel larger; costs nothing; makes the best pieces stand out.
Cons: Minimal styling can feel unfinished if the room lacks texture or lighting; editing does not fix poor furniture scale.
A Practical 10-Step No-Renovation Apartment Upgrade Plan
If I were improving a rental on a limited budget, I would use this order:
- Read the lease before making changes.
- Photograph the apartment before touching anything.
- Fix lighting first.
- Hang curtains properly.
- Add a correctly sized rug.
- Solve the biggest clutter problem.
- Add one large mirror or artwork.
- Upgrade one visible hardware zone if allowed.
- Improve the bedroom or balcony with movable pieces.
- Remove anything that makes the apartment feel crowded.
That order usually creates a bigger visual change than spending the same money on small decorative accessories.
Approximate Budget by Upgrade Level
You can improve a rental gradually.
Low-cost refresh: $100–$500
- Better bulbs
- One lamp
- Window film
- Hardware
- Small mirror
- Decor edit
Mid-range refresh: $600–$2,500
- Curtains
- Large rug
- Two lamps
- Large mirror
- Entry storage
- Removable wall treatment
- Bedding
Whole-apartment no-renovation refresh: $2,500–$8,000+
- Multiple rugs
- Curtains
- Lighting
- Freestanding storage
- Bedroom upgrades
- Balcony setup
- Better furniture where needed
The total can go higher if you replace the sofa, bed, dining furniture, or large storage pieces.
What I Would Spend More On
I would spend more on the things you use every day.
That usually means:
- lighting
- rug
- mattress and bedding
- curtains
- main storage
- sofa if it actually needs replacing
I would spend less on temporary trend objects.
A good lamp, large rug, and properly hung curtain usually do more for a rental than a shelf full of decorative accessories.
Common Mistakes I Would Avoid
The first mistake is assuming “peel-and-stick” automatically means damage-free.
Test adhesive products before covering a large area.
The second is changing hardware and losing the original pieces.
Another mistake is mounting heavy mirrors or shelves with hardware that is not designed for the wall.
I would also avoid temporary flooring or backsplash products in areas where the manufacturer does not recommend heat, steam, or moisture exposure.
Do not make electrical or plumbing changes simply because they look easy in a short video.
Finally, keep the lease in mind.
A good renter-friendly upgrade should make your apartment easier to enjoy, not make move-out harder.
Final Thoughts
Renter-friendly apartment upgrades that do not require renovation are usually the ones you can see and feel every day.
Better lighting changes the room after sunset.
Higher curtains improve the windows.
A large rug covers basic flooring.
A mirror brings in more light.
Closed storage hides clutter.
Better bedding makes the bedroom feel finished.
None of those changes requires you to rebuild the apartment.
The best rental upgrades are practical, reversible, and easy to take with you. When you focus on those three things, even a plain apartment can feel much more polished without turning into a renovation project.
Disclosure: Some visuals are AI-assisted design concepts created for inspiration. Always confirm rental restrictions, wall conditions, adhesive compatibility, furniture dimensions, weight limits, electrical compatibility, product stability, balcony rules, manufacturer instructions, and installation requirements before making changes in your apartment. Cost ranges are approximate U.S. planning figures and vary by location, labor, materials, shipping, and product quality.
About the Author
Ali Hamza — Founder & Editor
Hi, I’m Ali Hamza, and Styled Room Living is my personal home decor project. I don’t have a formal background in interior design. I started this website because home makeovers and apartment ideas are something I genuinely enjoy looking at and learning about.
Most of the ideas shared here are not projects I have personally installed in every type of rental. When I put a guide together, I try to separate an idea that only looks good in a photograph from one that could actually work in a normal apartment. Will it damage the wall? Can it be removed? Is it worth the cost? Can it move to the next home? These are the questions I keep in mind while working on an article.
Some images on the website are AI-assisted design concepts used to explain an idea more clearly. They are meant for inspiration, not as exact installation plans. Please check measurements, product instructions, wall conditions, lease requirements, weight limits, and electrical details before trying anything in your own home.
I’m still learning as the website grows, and I know every rental works differently. My purpose with Styled Room Living is simply to collect useful home ideas, explain them in plain language, and help readers find something they can adapt to their own space.
Read more about Ali Hamza →