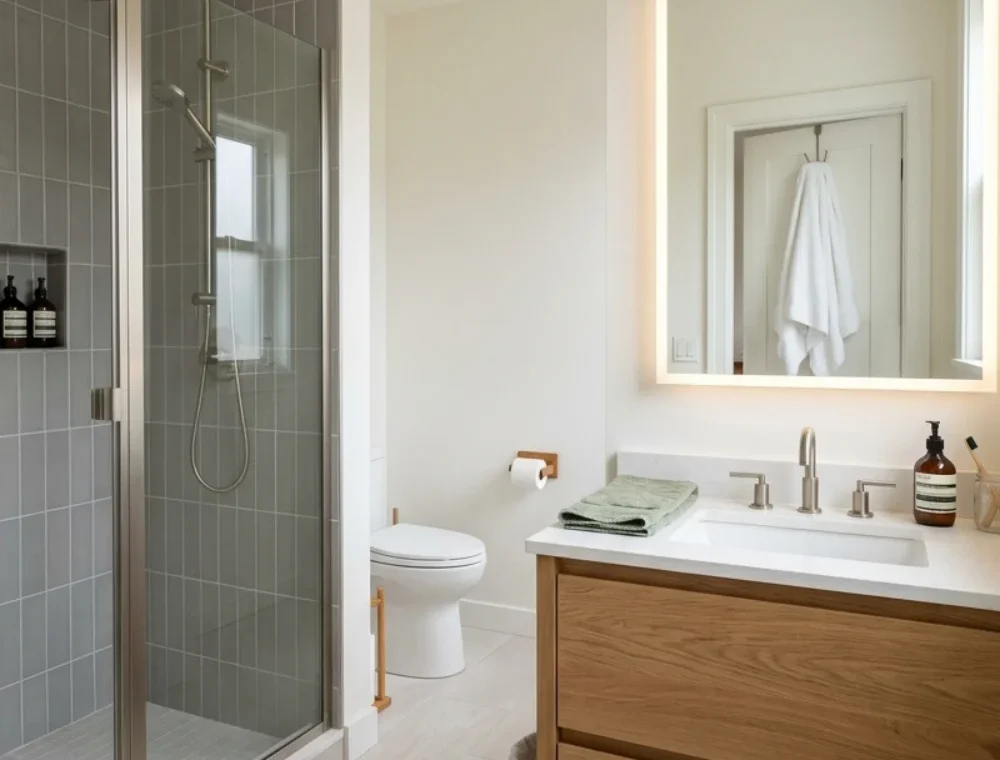
Grey Bathroom Ideas with LED Mirror can look calm and modern, but grey is less forgiving than it seems. The wrong bulb makes it blue, dark surfaces swallow light, and a glowing mirror can still leave your face in shadow.
Plan the room around daily use. You need enough light to groom, clean the sink, and spot water on the floor, plus finishes that handle steam, toothpaste, and wet towels.
My strongest ideas are layering two useful greys, sizing the LED mirror correctly, and adding a warm wood vanity. Together, they prevent the cold, flat look grey bathrooms often develop.
I am less enthusiastic about large charcoal feature walls and decorative backlit mirrors used without other task lighting. Both photograph well but can make a small windowless room harder to use.
These 18 ideas cover renter-friendly changes, partial updates, and renovation work. Costs are rough 2026 U.S. planning ranges; labor, permits, wiring, plumbing, and local prices will change them.
Plan Grey Bathroom Ideas with LED Mirror Before Choosing Finishes
Start with the vanity wall. Measure its width, countertop-to-ceiling height, faucet, outlet, studs, electrical box, backsplash, and side walls. Do not order a mirror from a room photo alone.
For a 30-inch vanity, a 24- to 28-inch mirror often leaves a clean margin. A 36-inch vanity commonly works with a 28- to 34-inch mirror. These are starting points, not building rules.
Mark the mirror with painter’s tape and check the reflection for the shortest and tallest regular user. For inclusive planning, the 2010 ADA Standards place the bottom of the reflecting surface above a lavatory no higher than 40 inches above the finished floor. A private home may have different requirements.
Test grey samples in daylight and under both ceiling and mirror lights. A warm showroom tile can turn blue under a cool LED. Keep samples in the room for two days before buying boxes.
Before ordering an illuminated mirror, confirm:
- Its exact width, height, depth, weight, mounting points, and wire-entry location
- Whether it is listed or certified for its intended bathroom location
- Whether the light is front-lit, backlit, or both
- Lumens, color temperature, color rendering, dimming, and replacement policy
- Whether a defogger or touch control adds a failure point you do not need
- Who will complete electrical work and whether a permit is required locally
The U.S. Department of Energy says CRI describes color fidelity and 90 or higher indicates excellent color rendering. Check specifications instead of trusting “natural light” on a sales page.
A Realistic Budget for a Grey Bathroom Update
A cosmetic update stays modest when tile, wiring, and ventilation work. Paint, hardware, towels, a simple mirror, and one shelf may cost $350 to $1,200 with safe DIY labor.
An LED mirror, electrician, vanity light, faucet, and paint can place a partial update around $1,200 to $4,000. New flooring, shower tile, waterproofing, or wiring makes it a remodel.
Angi’s 2026 bathroom cost guide lists a new fan around $240 to $575 and water-damage repair at $3.75 to $7 per square foot. Tile is only one budget line.
Keep 10% to 20% for hidden damage, unsuitable wiring, delivery, extra tile, and disposal. On a tight budget, keep plumbing in place and fix safety, ventilation, and failing surfaces first.
1. Layer Light Grey with One Mid-Grey Surface
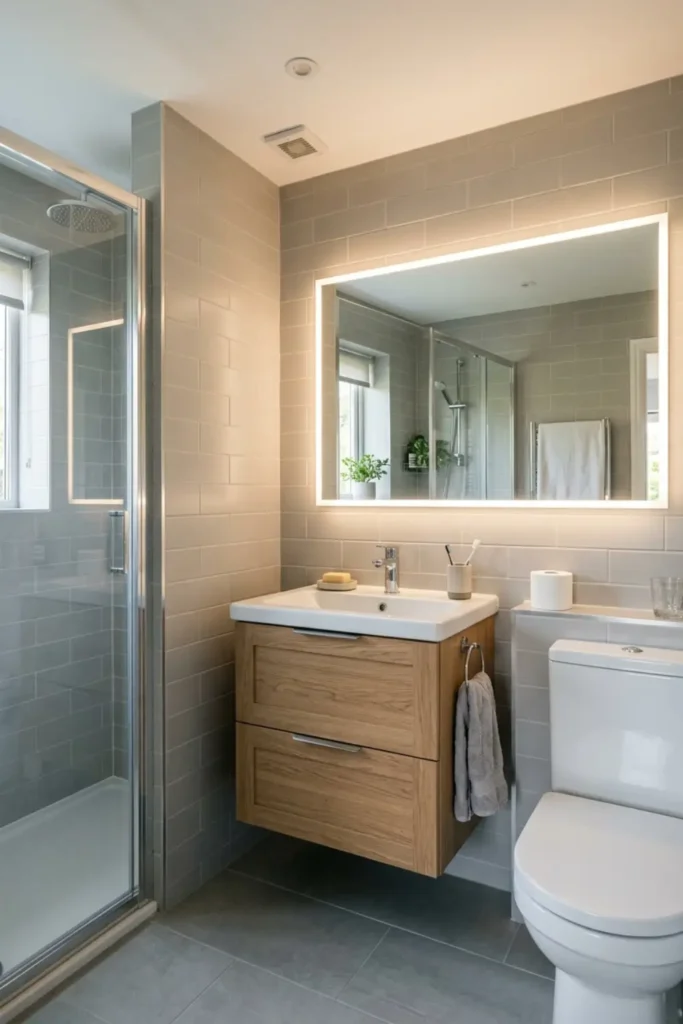
A bathroom covered in one grey can feel flat. Use pale warm grey on most surfaces, then add mid-grey on the floor, shower wall, or vanity.
Size and requirements: In a 5-by-8-foot bathroom, keep roughly 70% to 80% of hard surfaces light and 20% to 30% mid-grey. Test three 6-inch samples beside the LED mirror.
Method and cost: Paint may cost $60 to $180 in materials. A tiled feature area can cost $300 to $1,500+, depending on preparation, waterproofing, and labor. Repeat mid-grey only once or twice.
Pros: The room gains depth, light grey stays easy to live with, and the scheme works with wood, nickel, black, or white.
Cons: Two greys with different undertones can clash. Tiny samples and cool showroom lights often hide the problem.
2. Size the LED Mirror to the Vanity
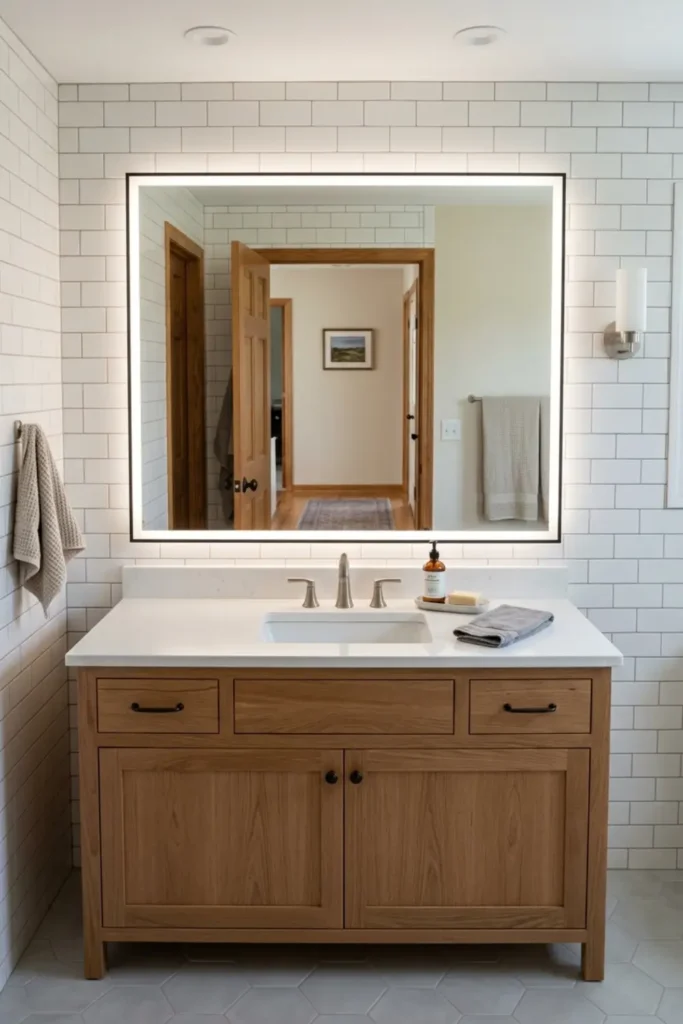
The mirror should connect to the vanity, not float like a glowing tablet. Start 2 to 6 inches narrower than the vanity and center it over the sink.
Size and requirements: Pair a 24-inch vanity with an 18- to 22-inch mirror, a 30-inch vanity with 24 to 28 inches, and a 36-inch vanity with 28 to 34 inches. Allow roughly 5 to 10 inches above the backsplash where practical.
Method and cost: Tape the outline, check reflection height, locate framing, and give the installer all diagrams. Angi reports standard mirror installation around $160 to $500; an LED mirror may add $200 to $1,000+.
Pros: Correct proportions make the vanity wall feel planned, improve the useful reflection, and reduce awkward blank strips.
Cons: Unusual wall boxes or wiring positions may not line up. Large mirrors are heavy and harder to replace.
3. Warm the Grey Scheme with an Oak Vanity
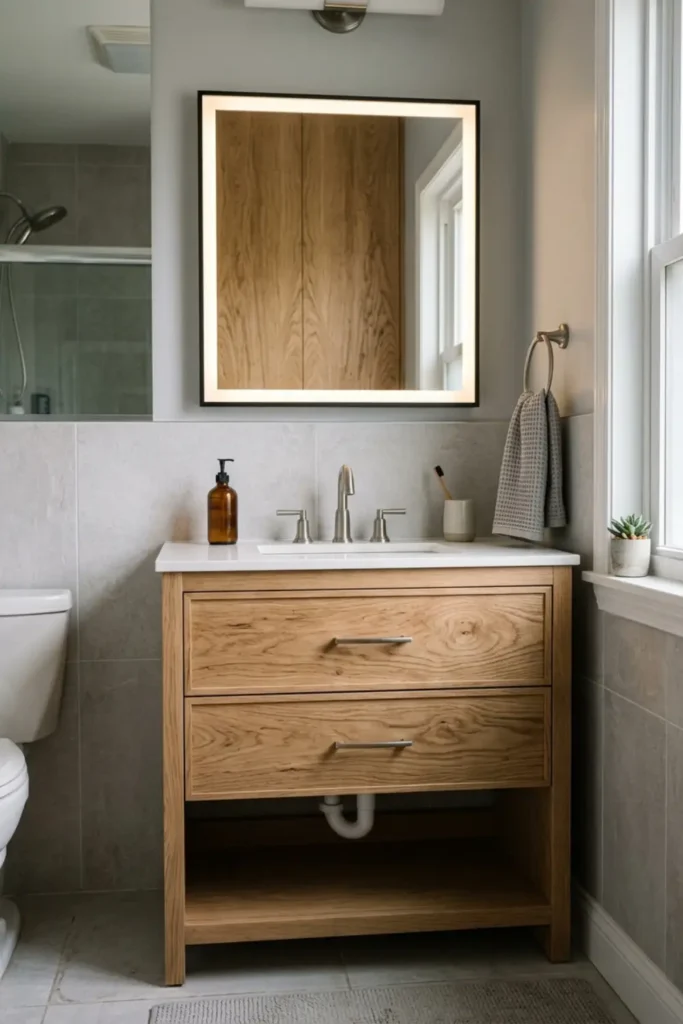
Oak or oak-look cabinetry warms grey without another strong color. Choose quiet grain instead of orange stain, distressing, or glossy fake wood.
Size and requirements: Single vanities commonly measure 24, 30, 36, or 48 inches wide and 18 to 22 inches deep. Protect door movement and plumbing access. Require moisture-resistant construction and sealed edges.
Method and cost: A stock vanity with top may run $400 to $1,500. Faucet, plumbing adjustments, repair, disposal, and installation can add $300 to $1,200+. Compare samples before ordering.
Pros: Wood stops grey from feeling cold, hides small water spots better than glossy dark cabinets, and works with several metal finishes.
Cons: Poorly sealed edges can swell. Very yellow wood can make a cool grey tile look blue.
For layouts that need drawers, baskets, or under-sink planning, use these bathroom storage ideas before choosing the cabinet style.
4. Keep the Ceiling and One Main Wall Warm White
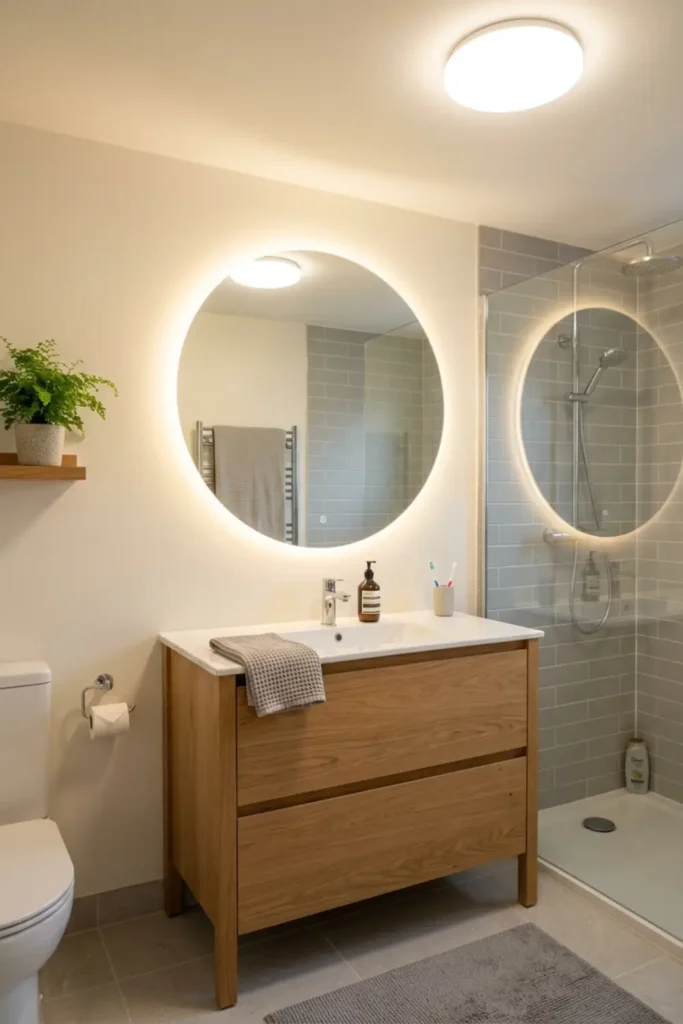
A warm-white ceiling and one plain wall give mirror light somewhere to bounce, especially in a windowless bathroom.
Size and requirements: Test a 12-by-12-inch white sample beside the tile. Use bathroom-suitable paint and repair peeling or moisture problems first.
Method and cost: One gallon is often enough for the ceiling and selected walls in a small bathroom, but calculate the actual square footage and follow the manufacturer’s coverage. Budget $50 to $160 for primer, paint, caulk, rollers, tape, and prep materials, or $250 to $700+ for professional preparation and painting.
Pros: Warm white keeps the room brighter, makes grey look intentional, and is inexpensive to change later.
Cons: The wrong white may look yellow or stark. Paint cannot solve active leaks, mold, or failed ventilation.
5. Choose Matte Grey Porcelain for the Floor
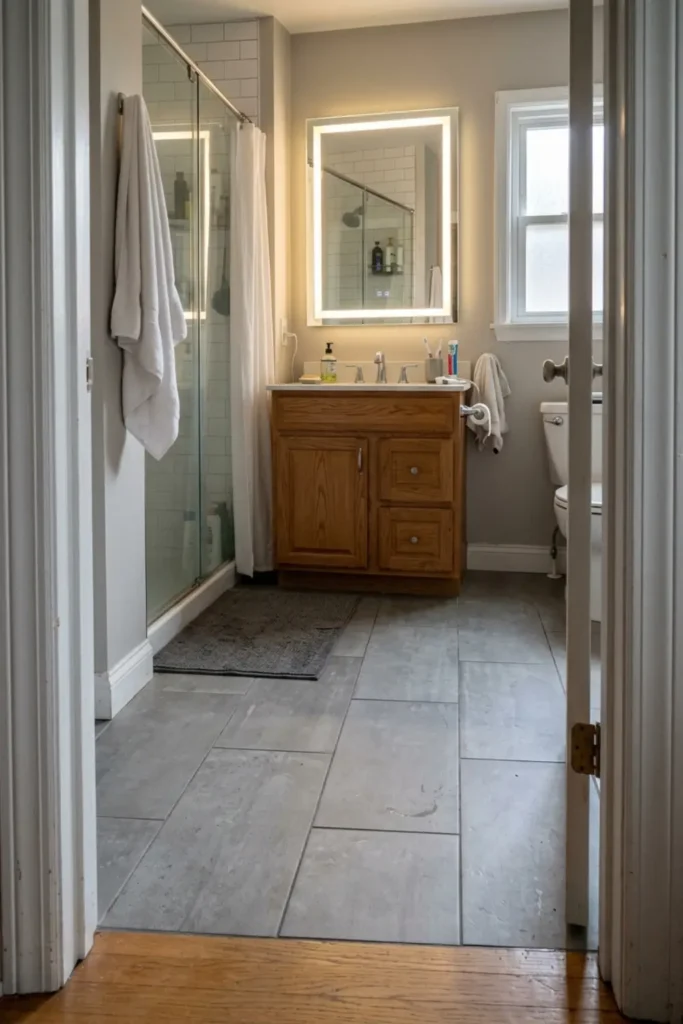
Glossy grey tile reflects LED light but shows footprints. Matte or lightly textured porcelain usually looks calmer underfoot.
Size and requirements: 12-by-24-inch tile reduces grout lines; 2-inch mosaics follow shower slopes more easily. Confirm the exact floor or shower rating and order 10% to 15% extra.
Method and cost: Dry-lay tile to control doorway, vanity, and toilet cuts. Material may cost $3 to $15+ per square foot; prepared and installed flooring can reach $12 to $35+ per square foot.
Pros: Porcelain handles bathroom wear well, matte grey hides light dust, and larger tile can make a narrow floor feel quieter.
Cons: Hard water and soap still mark dark tile. Poor subfloor preparation or waterproofing can turn a cosmetic choice into an expensive failure.
6. Run Large Grey Tile Vertically in the Shower
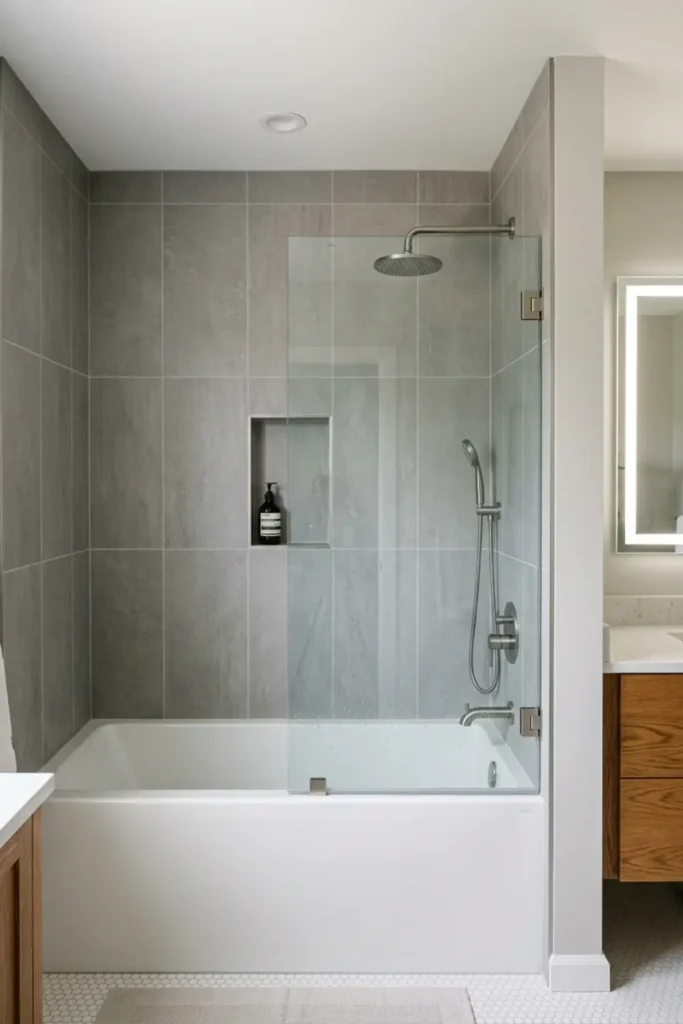
Vertical joints can help a low ceiling or wide shower feel taller. Soft concrete-look grey is calmer than busy fake marble veining.
Size and requirements: 12-by-24-inch or 24-by-48-inch porcelain needs a flat substrate and capable installer. Measure walls, niches, returns, waste, and edge pieces.
Method and cost: Draw the full layout before setting tile so narrow cuts do not land beside the LED mirror or shower edge. A standard surround may cost $1,500 to $5,000+ installed, including preparation and waterproofing; complicated niches, slabs, or damaged walls raise the price.
Pros: Fewer grout lines simplify the look and cleaning, while vertical joints can improve the room’s proportions.
Cons: Large tile exposes uneven walls. Poor cuts, lippage, or incorrect waterproofing are difficult to hide.
7. Limit Charcoal Grey to a Small Feature Area
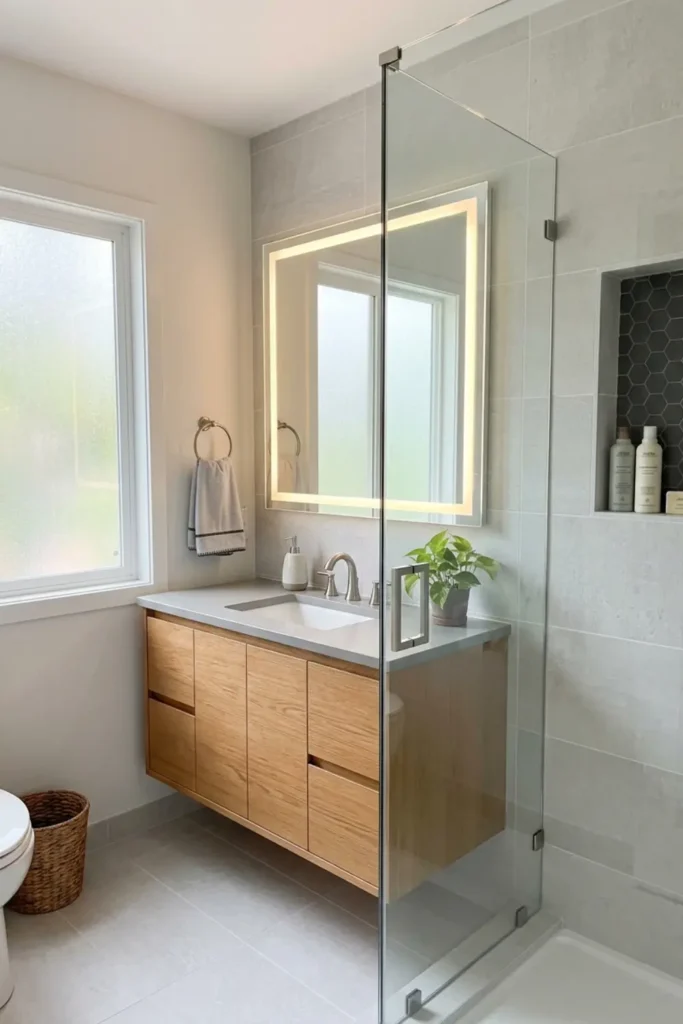
Charcoal adds weight but is a weak choice for small windowless rooms. Limit it to a niche, vanity face, or short dry wall.
Size and requirements: Keep it under 10% to 15% of visible surfaces. A 12-by-24-inch niche back or 24- to 36-inch vanity face is enough. Test cleaning marks first.
Method and cost: Paint may cost $30 to $100. Tiling an existing niche may add $100 to $600+; building and waterproofing a new one costs more.
Pros: A controlled dark note outlines pale grey surfaces and can connect black hardware to the rest of the room.
Cons: Charcoal shows lint, mineral deposits, soap film, and imperfect lighting. A large dark wall can make a small bathroom feel closed in.
8. Use Brushed Nickel for an Easy, Quiet Finish
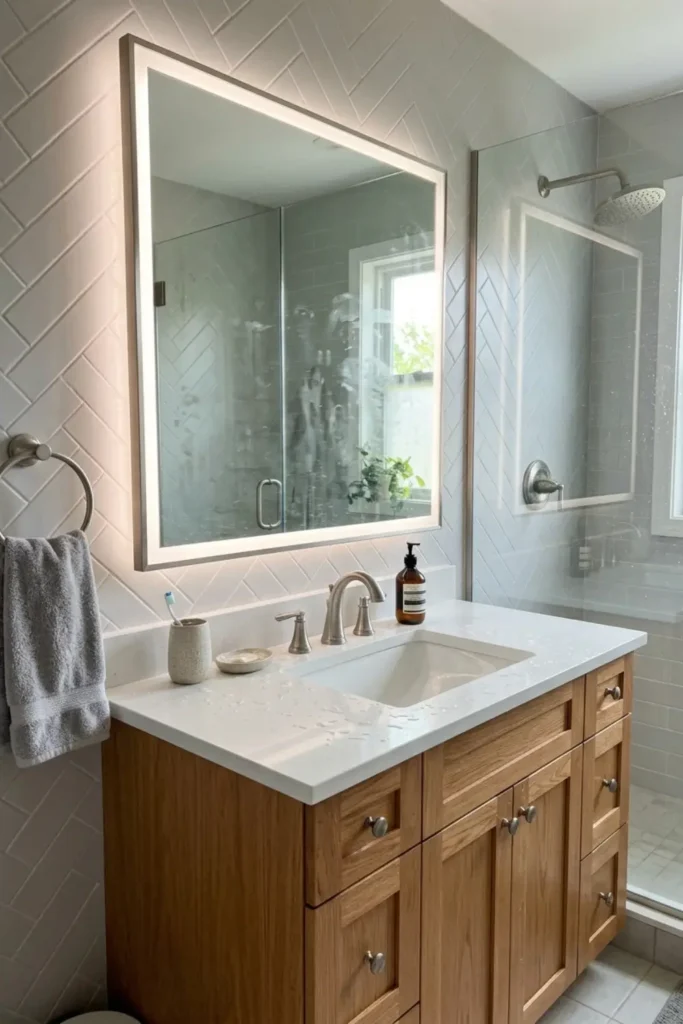
Brushed nickel is not as dramatic as black or brass, which is exactly why it works in a practical grey bathroom. It sits between cool tile and warm wood without becoming the main event.
Size and requirements: Repeat one main metal finish across the faucet, shower trim, towel bar, toilet-paper holder, and visible mirror details. You do not need every hinge and drain to match perfectly, but avoid four unrelated finishes in a small room.
Method and cost: Replacing only cabinet pulls may cost $25 to $100. A faucet, accessories, and compatible shower trim can push a coordinated update to $250 to $1,500+, especially when valves or plumbing must change. Measure existing hole spacing before buying cabinet hardware.
Pros: The finish is forgiving, widely available, and less visually harsh than solid black against pale grey.
Cons: Brands label nickel differently. A pink or yellow nickel can conflict with very cool grey tile.
9. Add Matte Black Hardware in Small Doses
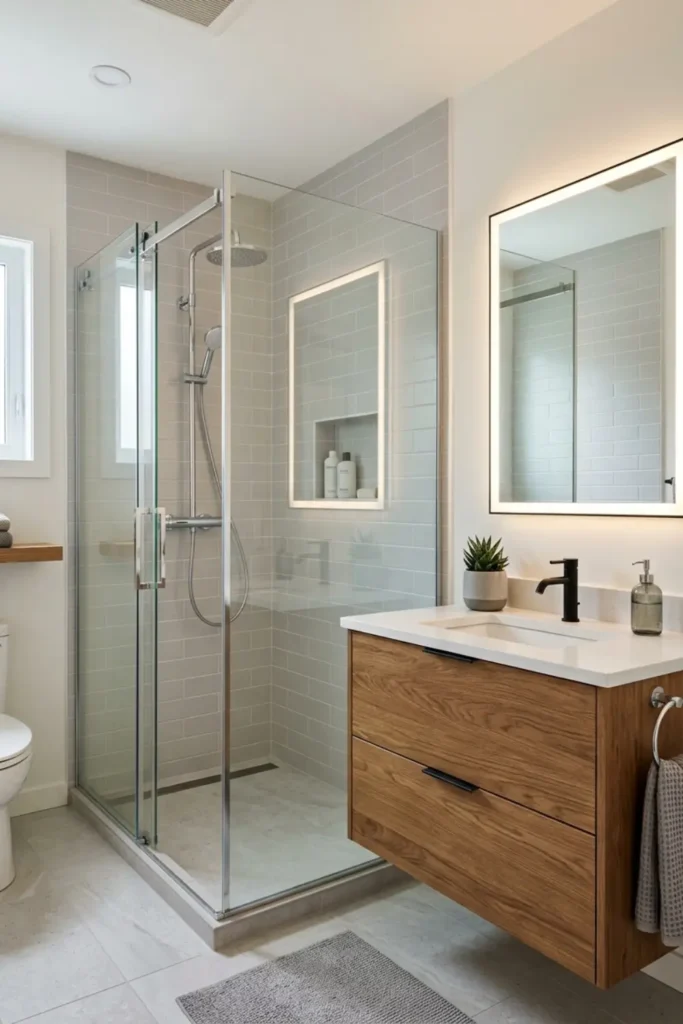
Black gives an LED mirror a clear outline, but it works best as punctuation. Two or three black details are enough: perhaps the faucet, shower frame, and one towel hook. A full set of black accessories can make a small bathroom look busy.
Size and requirements: Choose black pieces with similar sheen and silhouette. Keep the mirror frame slim—around 1 inch or less—and check that replacement plumbing trim is compatible with the valve behind the wall. Do not buy a shower handle by appearance alone.
Method and cost: Simple hooks and pulls may cost $40 to $150. A black faucet and shower hardware update can range from $300 to $1,800+ with labor. Keep the old fixtures until fit, finish, and function are confirmed.
Pros: Black sharpens a soft grey palette and connects easily to a black-framed shower or window.
Cons: Water spots, dust, scratches, and mismatched blacks show quickly. Trend-heavy pieces may date sooner than nickel.
10. Do Not Use the LED Mirror as the Only Light
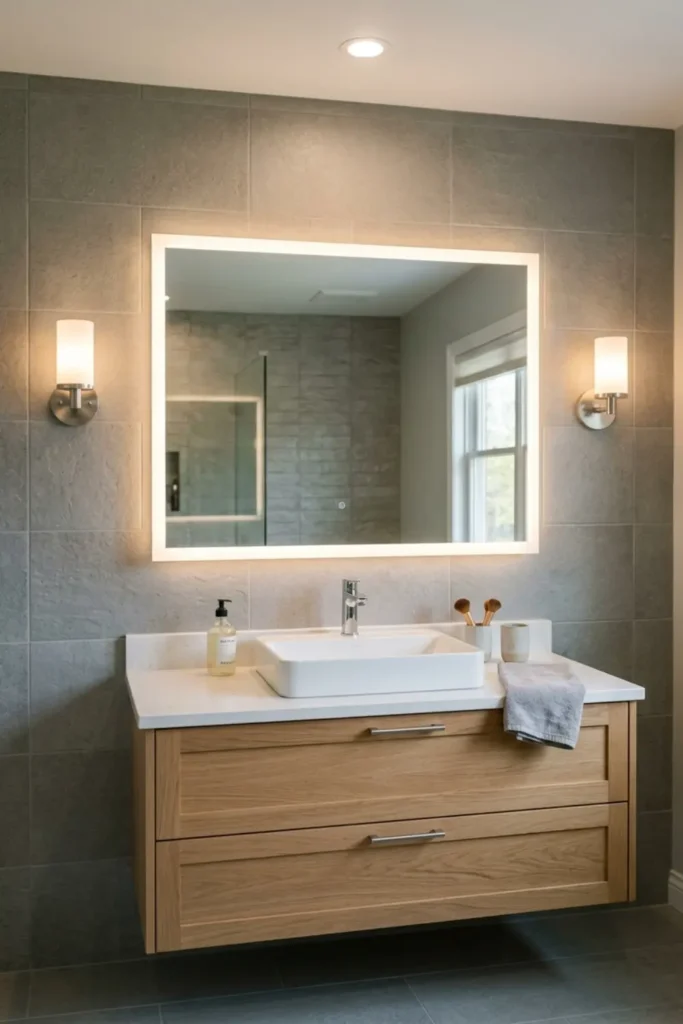
Many backlit mirrors create a soft halo on the wall rather than enough forward light on a face. This is my other weak option: attractive in a dim photo, frustrating when someone needs accurate grooming light.
Size and requirements: Plan at least two layers: the mirror’s task or accent light plus a ceiling or vanity source. Look for published lumens and CRI 90+ where possible. For face lighting, fixtures beside the mirror should sit near eye level without being placed where they can be hit or splashed.
Method and cost: Keep the existing ceiling light if it is well placed, or add a pair of compatible damp-location sconces. A basic fixture update may cost $100 to $400; new boxes, switches, dimmers, wall repair, and electrician labor can take the job to $400 to $1,500+.
Pros: Layered lighting reduces facial shadows, improves cleaning visibility, and lets the soft mirror glow remain optional.
Cons: Extra fixtures cost more and need wall space. Poorly positioned sconces can crowd a narrow mirror.
11. Pick Adjustable White Light Instead of Colored LEDs
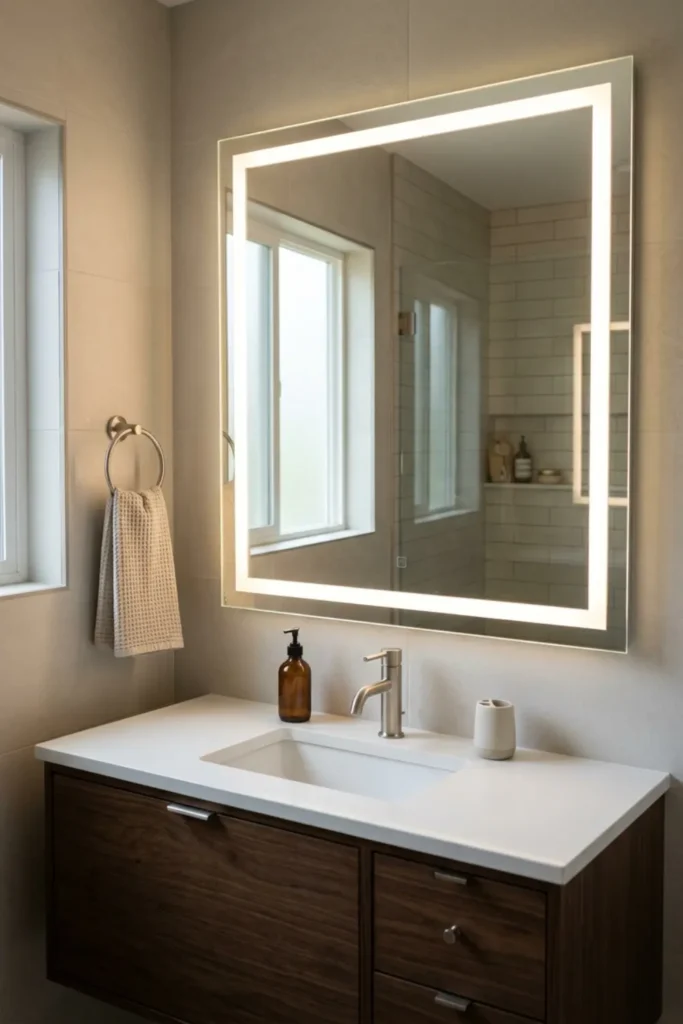
A red, blue, or purple bathroom mirror quickly feels like a gadget. Adjustable white light is more useful. Warm white suits evening showers; a neutral setting gives a clearer morning view without turning grey tile icy.
Size and requirements: Look for a useful range such as 2700K to 4000K, a high CRI, smooth dimming, and controls that are understandable without an app. Check whether the mirror remembers its last setting after the wall switch is turned off.
Method and cost: Adjustable-white LED mirrors commonly fall around $250 to $1,200+ before installation. Test the control, defogger area, and light distribution during the return period. Keep the warranty and model information because integrated parts may not be locally replaceable.
Pros: One mirror can support calm evening light and clearer task light. White settings are easier to coordinate with grey finishes.
Cons: More electronics can mean more failure points. Cheap controls may flicker, reset, or produce uneven color around the glass.
12. Float the Vanity to Show More Floor
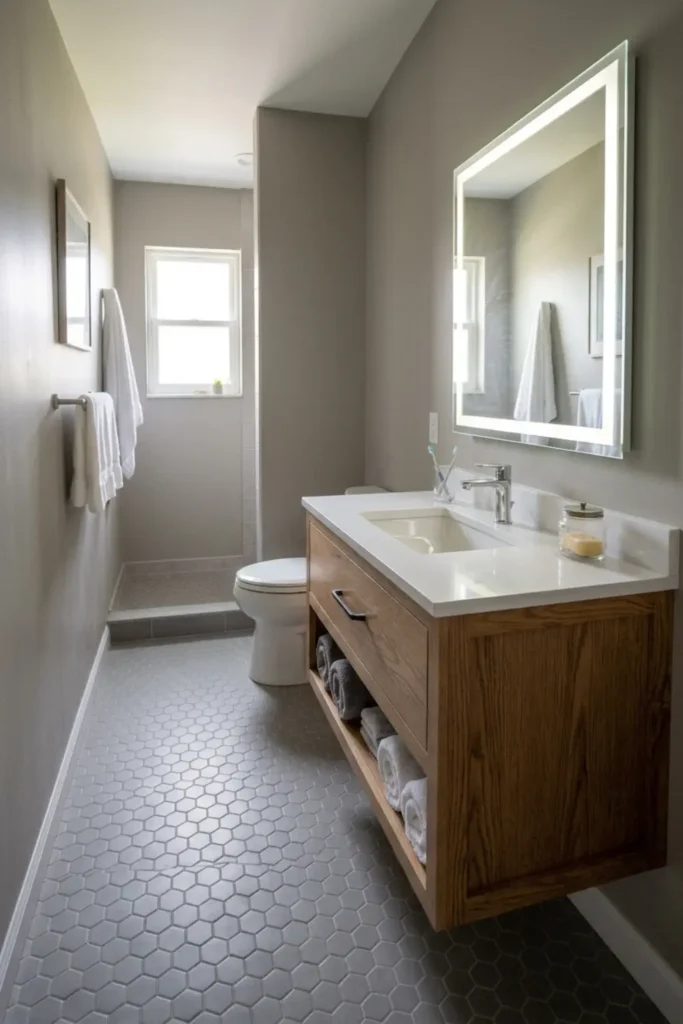
A wall-hung vanity lets the grey floor continue underneath, which can make a narrow bathroom feel less blocked. It also gives the LED mirror a clean vertical relationship with the cabinet below.
Size and requirements: Common widths range from 24 to 48 inches. Choose depth carefully: a compact model around 18 inches deep may improve movement, while a standard 21- to 22-inch depth offers more counter and storage. The wall must support the loaded cabinet, top, sink, and everyday use.
Method and cost: Open the wall if needed, install suitable structural support, coordinate plumbing, then mount according to the manufacturer. A stock floating vanity may cost $500 to $2,000; reinforcement, plumbing, electrical moves, top, faucet, and labor may bring the installed total to $1,200 to $4,500+.
Pros: More visible floor feels lighter, cleaning underneath is possible, and the design suits a simple grey scheme.
Cons: Installation is not a drywall-anchor project. Drawers can conflict with plumbing, and exposed floor dirt is easier to see.
13. Use an LED Mirrored Cabinet When Storage Is Tight
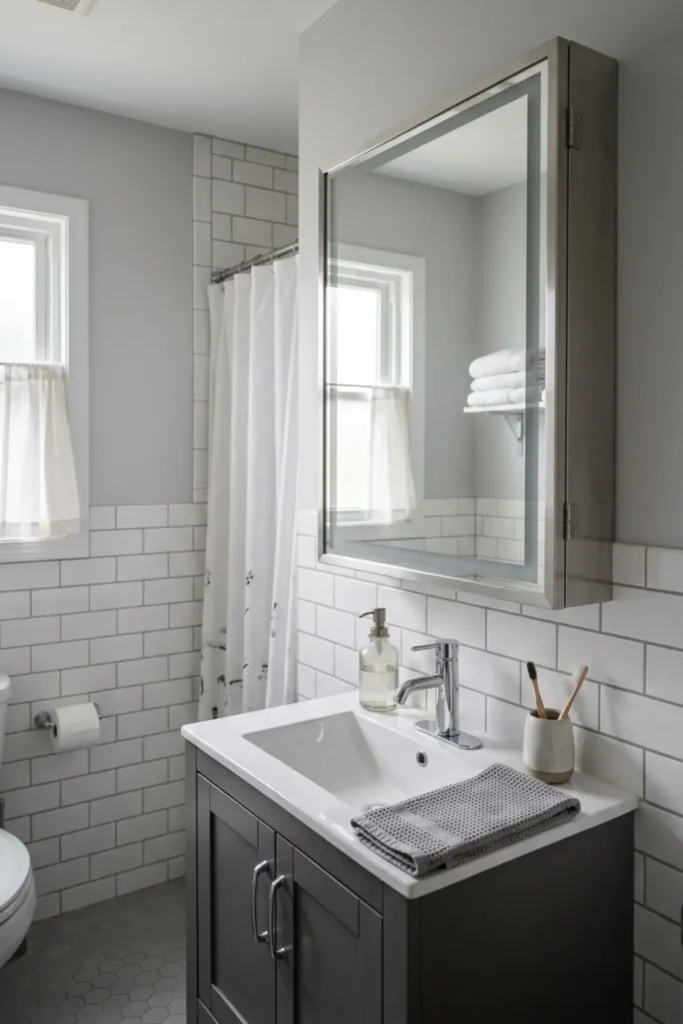
If the counter stays covered, use a shallow illuminated medicine cabinet instead of a plain LED mirror.
Size and requirements: A single-door cabinet may be 20 to 24 inches wide and 4 to 6 inches deep. Recessing needs a suitable stud bay without pipes, vents, or wiring.
Method and cost: Surface mounting is simpler. Recessing may require framing, wall repair, and electrical work. Plan $400 to $1,800 for the cabinet and $250 to $1,000+ for installation.
Pros: Toothbrushes, skin care, and medicine leave the counter, while the room keeps one clean mirror shape.
Cons: The cabinet projects from the wall when surface-mounted. Recessing can reveal expensive obstacles.
Before choosing shelves and drawers, the bathroom organization guide can help decide what genuinely needs to stay near the sink.
14. Match Grey Grout to the Tile
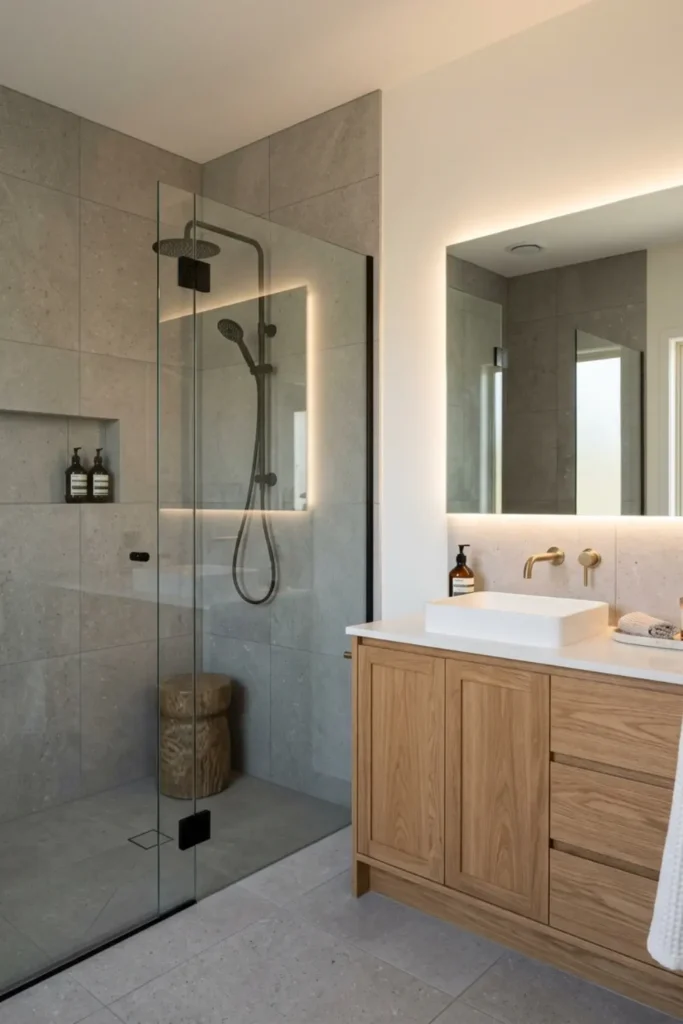
High-contrast grout turns tile into a grid. A shade near the tile’s middle tone looks calmer beside an LED mirror.
Size and requirements: Compare cured grout samples. Joint width depends on tile, substrate, and instructions; do not narrow it merely to imitate a slab. Record the color and batch.
Method and cost: New grout may cost $30 to $100+ in material. Regrouting can cost $300 to $1,200+. Never cover failed, loose, or mold-damaged joints cosmetically.
Pros: Similar grout reduces visual noise, makes large grey tile feel broader, and keeps attention on the vanity wall.
Cons: Light grey grout still needs cleaning and may darken unevenly. Exact color can vary with mixing and curing.
15. Add One Oak Shelf Away from Splash Zones
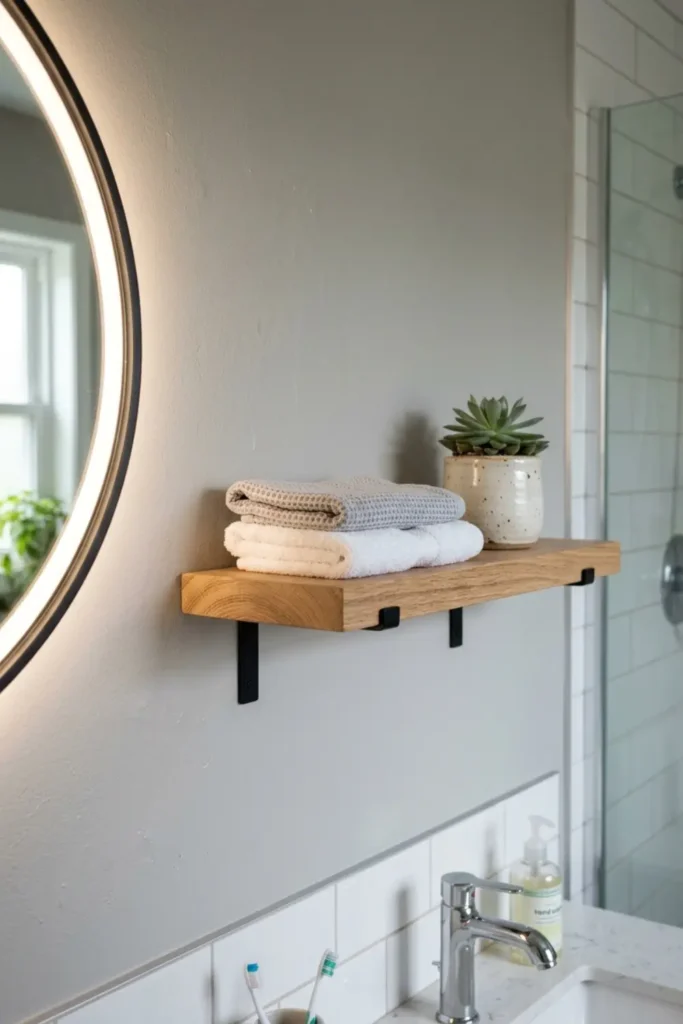
One slim shelf can repeat the warm vanity tone and hold folded hand towels or one practical container. Keep it away from direct shower spray and do not fill it with objects that need moving every time the wall is wiped.
Size and requirements: A shelf around 18 to 30 inches wide and 6 to 8 inches deep is enough for a small bathroom. Maintain head clearance, door movement, and access to switches. Use exterior- or bathroom-suitable finish and mounting hardware rated for the wall and expected load.
Method and cost: Locate framing or use the manufacturer’s approved anchors for the wall construction. A shelf and brackets may cost $50 to $250, with professional mounting on tile or masonry adding $100 to $350+. Never drill blindly where pipes or wires may be present.
Pros: Warm wood breaks up grey, supplies reachable storage, and costs less than new cabinetry.
Cons: Wood needs maintenance in humid rooms. An overloaded shelf becomes clutter rather than useful storage.
16. Bring in Muted Sage Green with Washable Pieces
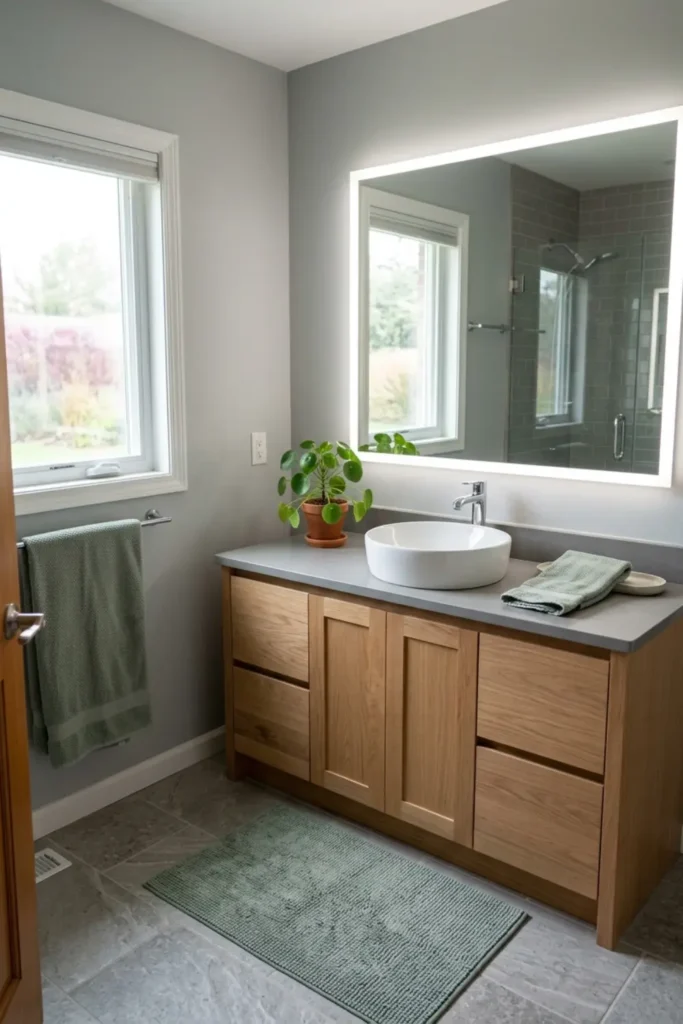
Grey and muted sage work well because neither has to dominate. Use the green in towels, a bath mat, a small washable container, or one humidity-suitable plant if the room has enough real light.
Size and requirements: Limit the accent to three or four repeatable pieces. Choose towels that fit the bars without dragging and a mat that leaves the door, toilet, and ventilation path clear. Do not place a plant where leaves stay wet or block the mirror light.
Method and cost: Two towel sets, a mat, and one container may cost $80 to $300. Start with textiles before committing to green tile or cabinetry. Wash everything once to check dye, shrinkage, and drying time.
Pros: Sage softens cool grey, is easy to change, and brings color without another permanent surface.
Cons: Green can look muddy beside purple-grey tile. Thick textiles dry slowly in a poorly ventilated bathroom.
17. Use Grey Paint Outside the Wet Zone
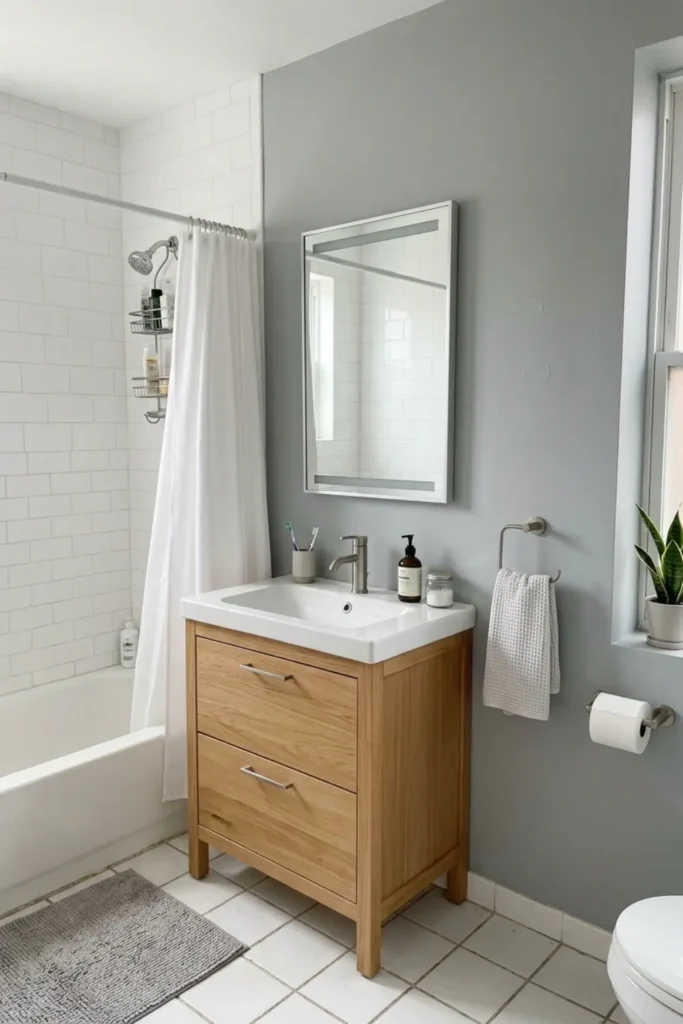
Paint suits renters and small budgets, but only on prepared dry-zone walls. One soft grey wall can carry the palette for far less than tile.
Size and requirements: Repair peeling paint, stains, failed caulk, and moisture sources first. Use bathroom-recommended paint, follow its cure time, and keep it out of direct shower spray.
Method and cost: Clean, patch, sand, prime, and apply the specified coats. DIY may cost $60 to $200; professional preparation and painting may cost $300 to $900+.
Pros: Paint is budget-friendly, renter-reversible with permission, and easy to sample under the LED mirror.
Cons: It highlights poor wall preparation and will not survive active moisture problems. Dark grey paint shows water streaks near sinks.
If you want one small art moment on a dry wall, borrow the restraint—not the moisture-sensitive materials—from these minimalist boho wall decor ideas.
18. Finish with Texture, Not More Grey Objects
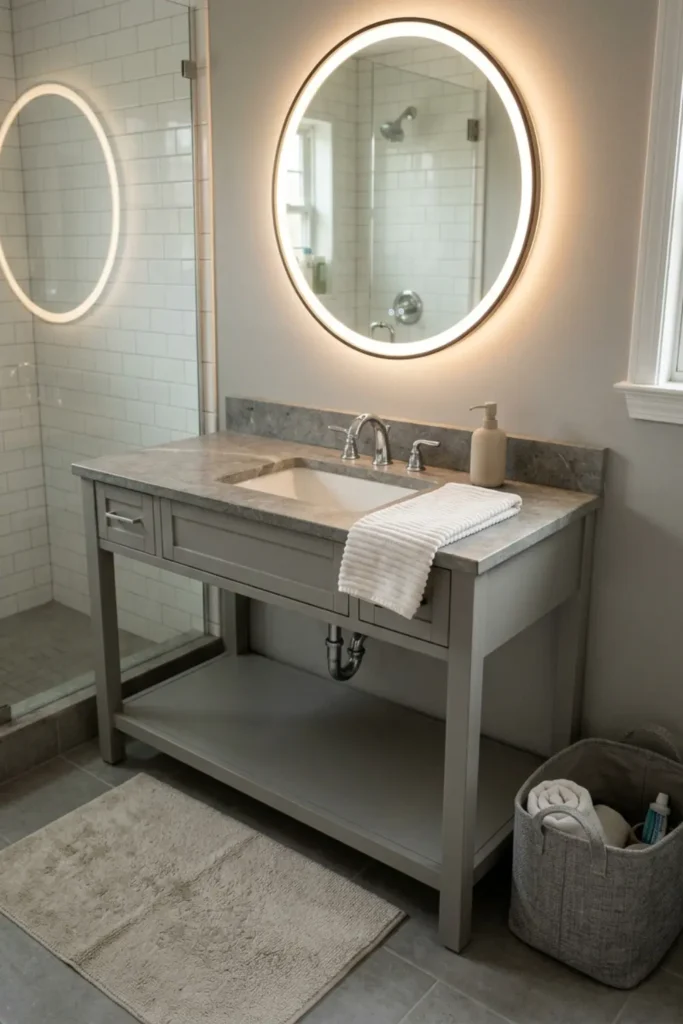
Once the tile, paint, and vanity are chosen, stop collecting grey accessories. Add texture through a ribbed towel, woven-look washable basket, matte soap dispenser, and one plain bath mat. The room needs touch and contrast more than another shade card.
Size and requirements: Keep the counter at least two-thirds clear if possible. One tray around 8 by 12 inches, one soap dispenser, and one daily container are usually enough beside a single sink. Choose items that tolerate water and can be lifted with one hand for cleaning.
Method and cost: Edit what is already in the room before buying. A practical finishing set can cost $60 to $250. Move backups and rarely used products into drawers, a closet, or labeled storage rather than styling them around the basin.
Pros: Texture makes grey feel lived-in, reduces visual clutter, and can be refreshed without construction.
Cons: Woven natural fibers may hold moisture. Too many trays and jars create more edges to wipe.
What I Would Choose at Three Budget Levels
With $400 to $900, I would keep safe existing fixtures, paint one dry wall soft warm grey, replace worn towels and hardware, improve organization, and install a non-electrical mirror only if the old one is damaged. I would not add a plug-in illuminated mirror near a sink to avoid hiring an electrician.
With $1,500 to $4,000, I would choose a correctly sized listed LED mirror, professional wiring, one additional task or ceiling light, a quiet wall color, new faucet or pulls, and better ventilation if the current fan is weak. This level can change how the room works without opening every wall.
With $8,000 or more, I would first inspect the substrate, wiring, plumbing, and fan duct. Then I would consider matte porcelain flooring, shower tile, a warm wood vanity, layered lighting, and a recessed mirrored cabinet. The exact scope depends on the room; moving plumbing simply to copy a photograph is rarely my first choice.
Electrical, Moisture, and Mirror Safety
An LED mirror combines glass, weight, electricity, and moisture. Avoid improvised installation. The U.S. Consumer Product Safety Commission explains why GFCI protection matters in bathrooms. Local code and product instructions control the circuit and location.
Use a qualified electrician for hardwiring, relocated boxes, or uncertain wiring. Confirm certification rather than trusting a logo; UL Solutions has warned about an illuminated mirror carrying an unauthorized UL mark.
Use a mounting system suited to the wall, mirror weight, and substrate. Tile, drywall, masonry, and recessed cabinets need different preparation. Photograph framing and wiring before closing the wall.
The U.S. EPA says bathroom exhaust should move enough air and discharge directly outdoors, not into an attic. The Home Ventilating Institute recommends at least 50 CFM below 50 square feet and about 1 CFM per square foot from 50 to 100 square feet.
After installation:
- Run the fan during bathing and long enough afterward to clear moisture
- Wipe mirror edges and the vanity rather than leaving standing water
- Clean glass with a soft cloth and a product allowed by the manufacturer
- Do not spray cleaner directly into touch controls, seams, or electrical openings
- Check caulk, grout, fan performance, mounting, and cabinet swelling regularly
- Stop using a mirror that flickers, overheats, loosens, cracks, or shows moisture inside
An anti-fog pad may clear only part of the glass. It is a convenience, not ventilation.
Final Thoughts
The best Grey Bathroom Ideas with LED Mirror still work at 7 a.m., when the room is steamy, the counter needs wiping, and someone needs a clear reflection.
Begin with mirror size, safe wiring, and a second light source. Then choose one pale grey, one deeper grey, and one warm material. That is usually enough.
Written and reviewed by Ali Hamza | Styled Room Living
Disclosure: Some visuals are AI-assisted design concepts created for inspiration. Always confirm measurements, materials, load limits, and installation requirements for your home.
Safety and cost note: Confirm local building and electrical requirements, GFCI protection, product certification, wall structure, mirror weight, bathroom-zone rating, waterproofing, ventilation, clearances, accessibility needs, and manufacturer instructions before starting. Costs are rough U.S. planning estimates and vary by location, labor, materials, permits, delivery, and existing conditions.