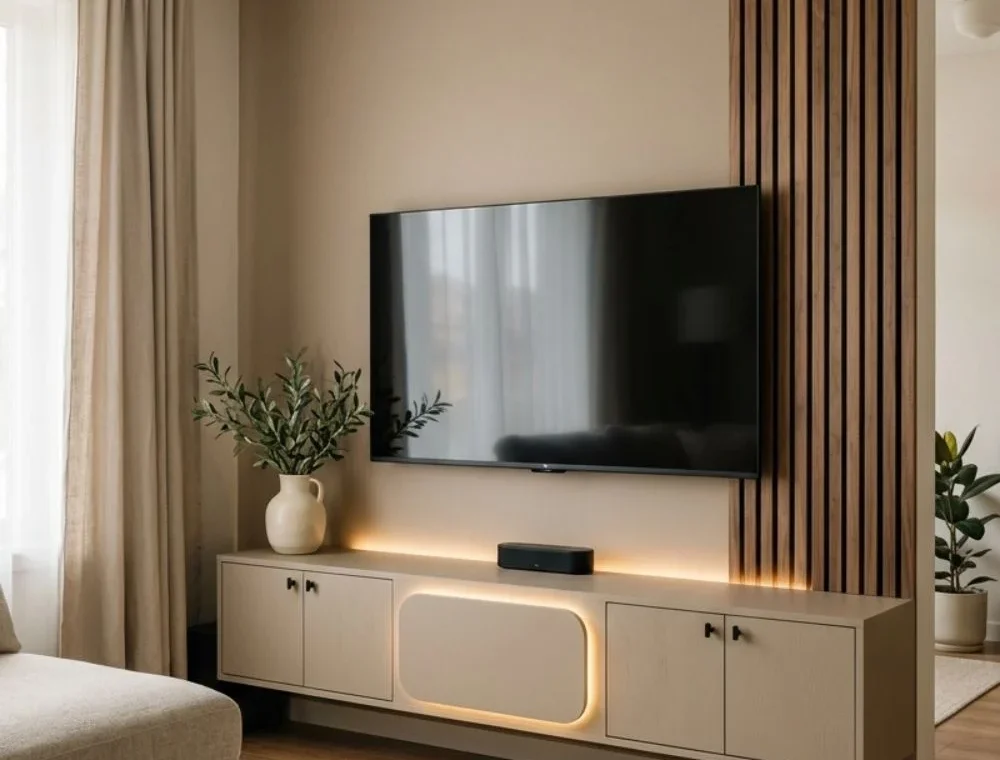
Luxury TV Wall Design with LED Lighting can look beautiful without turning a living room into a bright electronics shop. The best version feels warm in the evening, hides the messy wires, and keeps the television at a height that is comfortable to watch.
My three strongest ideas are warm wood slats, a floating media cabinet, and soft backlighting behind the TV. They add texture, storage, and atmosphere without fighting the screen. They can also be used alone, so you do not have to pay for a full custom wall.
Two ideas need care. A vertical LED line can distract, while a fireplace may push the screen too high or create clearance problems. I will explain when I would skip them.
This is an honest planning guide, not a claim that I personally built every concept. It includes useful dimensions, rough U.S. costs, trade-offs, and safety checks.
Before You Buy Anything, Measure the Real Room
Begin with the television. Record its width, height, weight, VESA pattern, ports, and recommended mount. A 65-inch TV is measured diagonally, so check the actual drawing.
Next, measure the clear wall and the main sofa distance. Sony’s viewing guide gives minimum references, such as about 47 inches for a 65-inch 4K screen. Other makers suggest longer distances, so your eyesight, room, and habits still matter.
Tape the exact screen rectangle on the wall, then sit in every regular seat. Keep the middle near seated eye level; a screen that makes you lift your chin will not feel luxurious.
Check these details before choosing the finish:
- Wall structure: Find studs or identify concrete, brick, block, or another wall type. Decorative slats and thin paneling are not automatically strong enough to hold a TV.
- Cable path: Plan power, HDMI, internet, antenna, and soundbar wires. Leave an access point instead of sealing every connection behind permanent panels.
- Airflow: Keep the TV vents and media-device vents open. Measure the real receiver, console, and router before ordering cabinet compartments.
- Window reflections: Put a dark sample where the screen will sit and check it in the morning and evening. A beautiful wall cannot fix direct glare on the glass.
- Walking space: Allow for doors, drawers, and the main path.
For safety, match both the mount’s load rating and VESA range to the television. The U.S. Consumer Product Safety Commission also advises anchoring televisions and heavy furniture, keeping cords out of children’s reach, and placing heavy items low. If the wall type or electrical route is uncertain, this is the point to call a qualified installer.
A Realistic TV Wall Budget
“Luxury” is not a useful budget. A list of actual parts is. The table below gives rough U.S. planning ranges, not quotations. Local labor, wall condition, materials, delivery, and electrical rules can change the final price.
| Project level | What it may include | Rough planning cost |
|---|---|---|
| Simple refresh | Paint, correct mount, surface cable cover, basic white backlight, styling | $300–$1,200 |
| Semi-custom wall | Partial slats, floating cabinet, panel, new outlet, concealed lighting | $1,200–$4,000 |
| Full built-in | Custom cabinets, wall reinforcement, premium panels, wiring, professional finish | $4,000–$12,000+ |
Angi’s 2026 TV-mounting guide shows how large screens, masonry, reinforcement, and wiring raise installation costs. HomeGuide’s built-in pricing explains why a complete entertainment center can cost several thousand dollars.
Keep 10% to 15% unspent for wall repair, an outlet, a longer certified cable, or another surprise.
1. Frame the TV with Warm Wood Slats
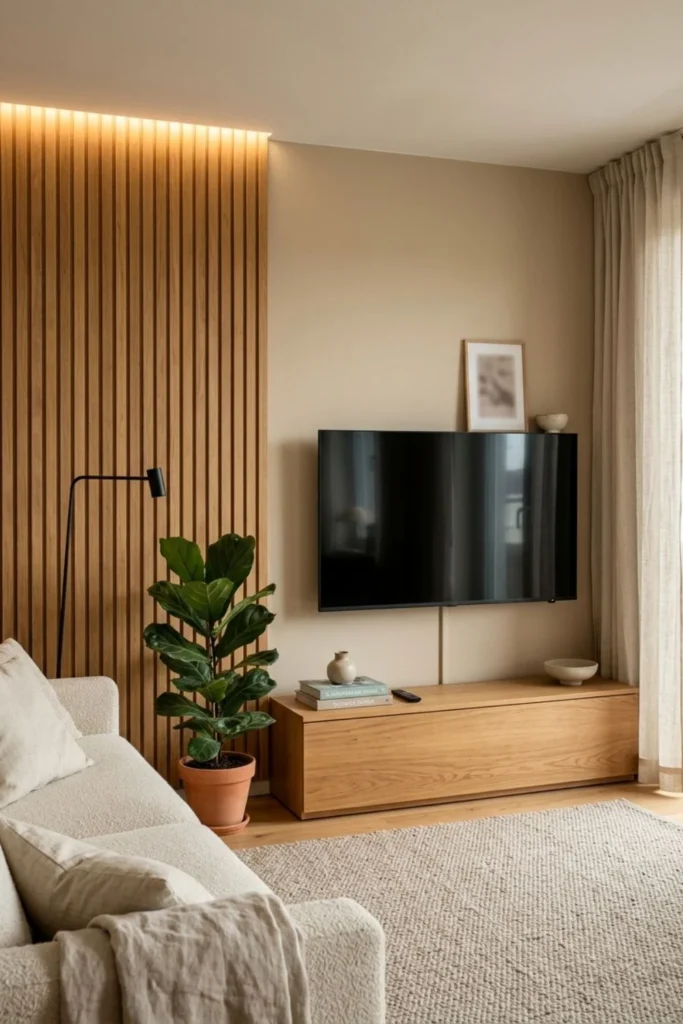
This is my first choice because the wood makes a black screen feel warmer without hiding what it is. Use slats on one side, on the outer thirds, or around a smooth central mounting panel. Covering the entire wall often adds cost and makes a small room feel busy.
Do not assume that decorative slats can carry the television. I would ask the installer to locate the structural wall or add a properly secured backer before the finish goes on. The mount should connect to the correct structure, not just thin felt, veneer, or MDF strips.
For a 65-inch screen, a center panel around 60 to 72 inches wide often gives the composition breathing room, but mark it on your own wall first. Leave roughly 4 to 8 inches of quiet surface beside the TV before strong slat lines begin. That gap stops the bezel from looking trapped.
A partial slat feature may cost roughly $500 to $2,500, depending on wall size, material, backing, labor, and whether electrical work is included. Real timber costs more and can move with humidity. Good veneered or finished panels may be easier to keep consistent.
My favorite Luxury TV Wall Design with LED Lighting uses medium oak, a warm-beige center, one hidden light wash, and removable access near the ports.
2. Add a Floating Media Cabinet
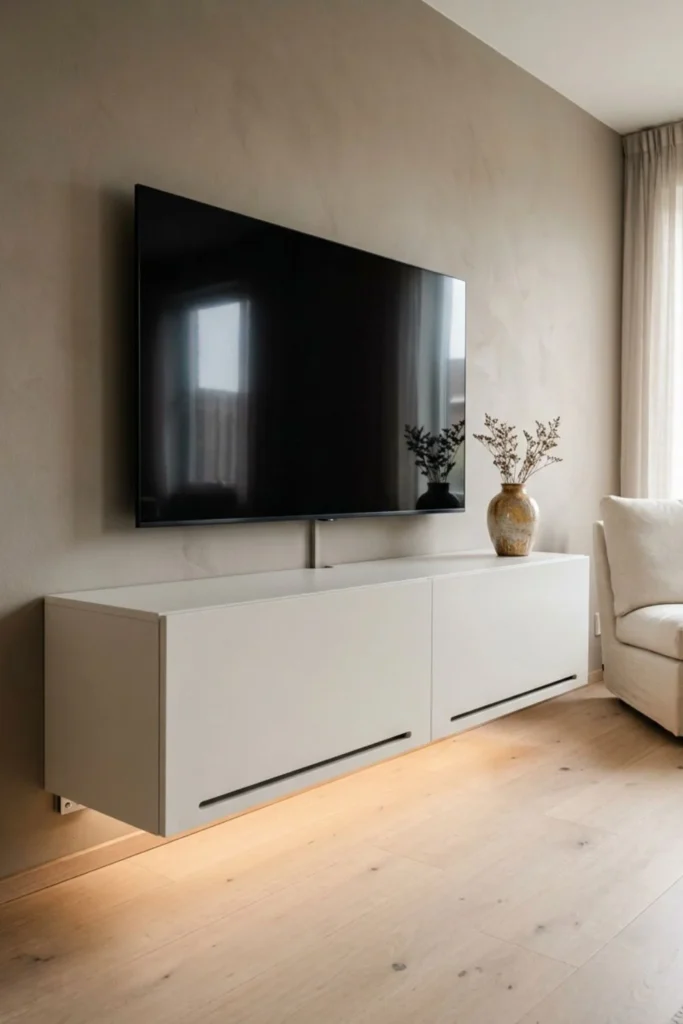
A floating cabinet earns its place because it hides the router, game controls, remotes, and extra wires. It also keeps more floor visible, which makes a normal living room feel open. I would choose this before spending money on decorative marble-look panels.
As a visual starting point, make the cabinet about 12 to 24 inches wider than the TV overall, or roughly 6 to 12 inches beyond each side. Common depths are around 14 to 18 inches, but the correct depth comes from measuring the largest device, its plugs, and the bend needed in each cable.
Leave enough space below for cleaning. Around 6 to 10 inches above the floor often works for a wall-hung unit, yet the final height must also keep the screen comfortable. Do not raise the television just to create a larger glowing gap under the cabinet.
Plan cable holes and airflow. Follow each device’s clearance instructions; use vented doors, an open back, or suitable grilles when needed.
A ready-made cabinet and secure installation may begin around $600 to $1,500. A wall-to-wall custom unit can move toward $2,000 to $4,000 or more. Ask for the cabinet’s load rating and the fixing method. If children can climb on it, wall anchoring matters even when the unit looks heavy.
3. Use Soft Backlighting Behind the TV
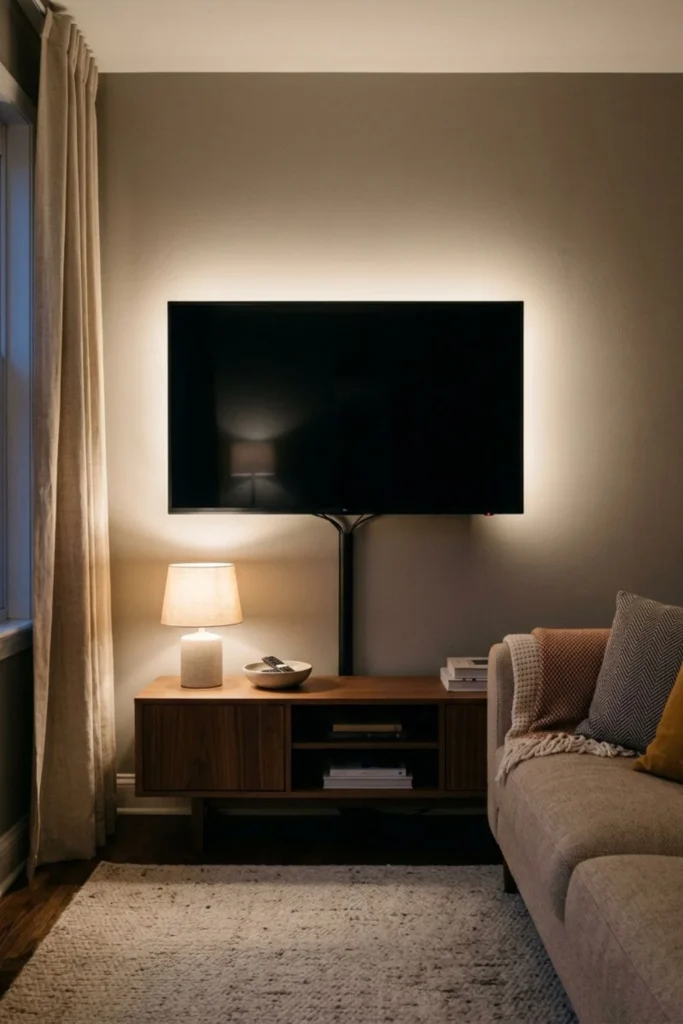
Soft TV backlighting gives the biggest visual change for the least construction. The glow reduces the hard edge between a bright screen and a dark wall, and it helps a simple painted wall feel finished. This is my third top choice, but only when the strip itself stays hidden.
Use one continuous, dimmable white light rather than rainbow effects. For a warm room, a gentle warm-to-neutral white usually blends better with lamps. If accurate picture color matters, choose a proper bias-lighting product made for screens instead of a random colored strip.
Install the strip only where its instructions allow. Keep vents open, cables free, and the driver reachable. The wall should show a soft halo, not bright dots.
A simple quality kit may cost $50 to $300. Integrated channels, smart controls, a new outlet, or electrician time can move the total to $300 to $1,000. Use certified products and follow their instructions. UL Solutions warns that improper or uncertified lighting retrofits can create shock or fire hazards.
Dim the halo below the main lamps. Good Luxury TV Wall Design with LED Lighting softly supports the screen instead of drawing a bright frame around it.
4. Combine Warm White Panels with Oak
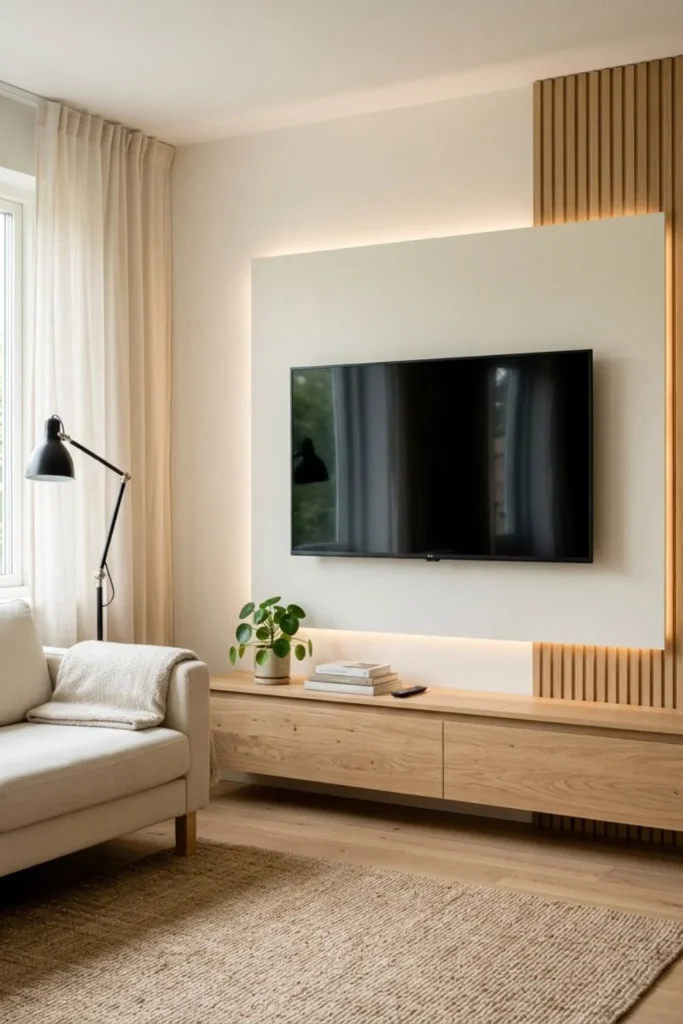
Warm white and oak are useful when the room needs to stay bright. Put the TV on a smooth warm-white panel and use oak on one side or along the cabinet. This gives the wall two clear materials instead of six competing finishes.
For proportion, I would keep the main panel at least 4 inches wider than the screen on each side. A shallow panel around 3/4 to 1 1/2 inches proud of the wall can create a shadow line without stealing much room. Construction may cost about $500 to $2,000, depending on finish and wiring.
Use a hidden light only if the wall reflects it evenly; otherwise, light under the cabinet may look cleaner.
5. Create an Asymmetrical TV Wall
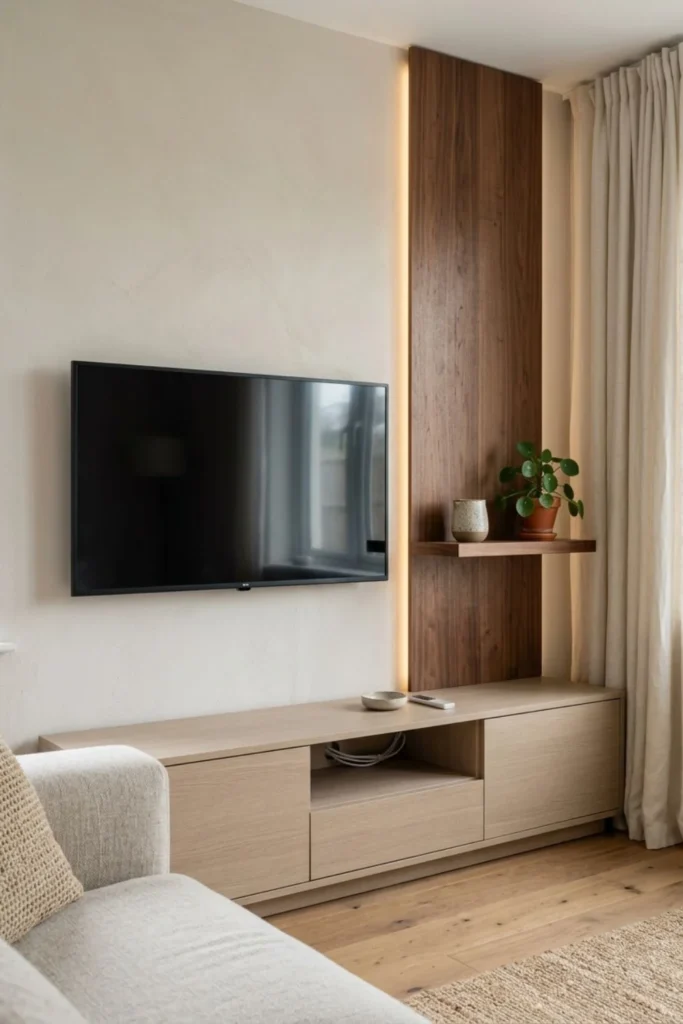
An off-center TV wall can solve a real layout problem when a door, window, or open walkway interrupts the room. The trick is to balance visual weight, not make both sides identical. A tall wood panel on one side can balance a low shelf or plant on the other.
Test paper rectangles from the entrance and sofa. Keep 3 to 6 inches between separate pieces and protect door and curtain paths.
This layout may cost $400 to $2,500, depending on whether you use paint and one shelf or custom panels. It saves money when it works with an imperfect wall instead of forcing a full built-in.
Use one strong vertical piece and one long cabinet. Let the uneven layout solve a problem instead of becoming one.
6. Add Slim Display Shelves with Gentle Light
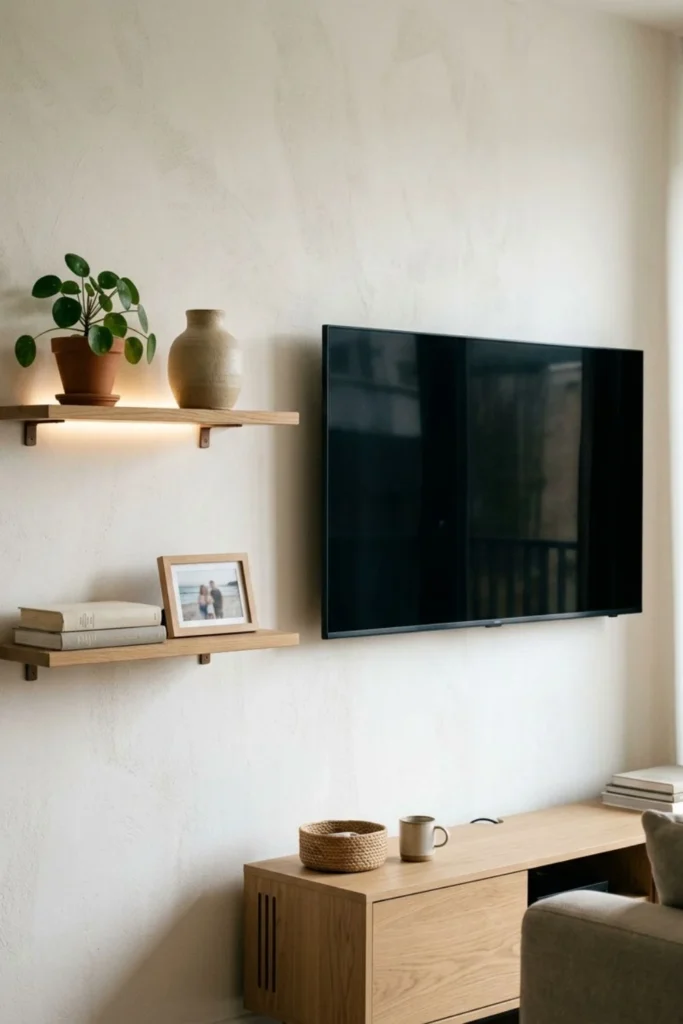
Shelves make the wall personal, but they should not surround the screen like a crowded shop display. Two short shelves on one side are often enough. Use them for a framed family photo, a handmade bowl, two books, or a healthy plant you can reach easily.
A shelf depth of roughly 6 to 9 inches holds small decor without projecting too far. Keep loose objects away from the space directly above the TV. Confirm the bracket and wall fixing load limits, especially for stone pots and books.
Ready-made shelves may cost $80 to $400 before installation. Custom shelves with concealed channels may reach $500 to $1,500. One warm strip beneath the upper shelf can work, but visible dots and bright pools will make dust and uneven walls more obvious.
Leave about half of each shelf empty so personal objects have room to be seen.
7. Choose a Dark Charcoal Feature Wall
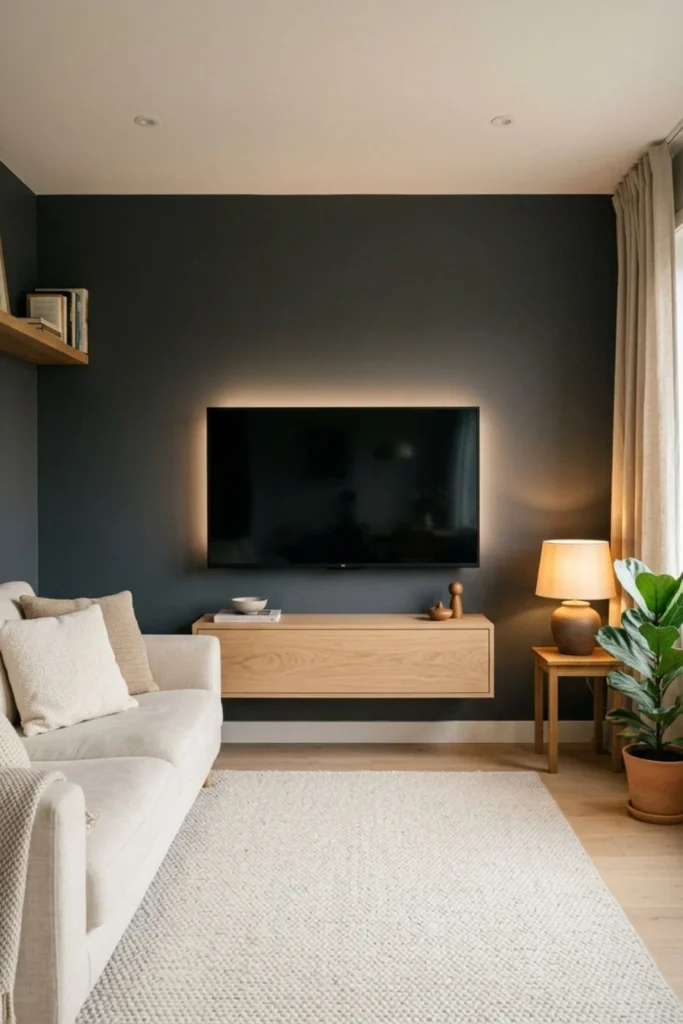
Matte charcoal helps a black television blend into the wall. It can be an affordable answer when panels are outside the budget. The result works best in a room with daylight, pale flooring, light curtains, or a cream sofa to balance the dark area.
Test a paint sample at least 2 by 2 feet near the TV in daylight and lamplight; cool charcoal may turn blue beside oak.
Paint and basic preparation may cost around $100 to $600 for a feature wall, or more if the surface needs repair. Use matte or low-sheen paint to reduce reflections. Keep the cabinet light and simple.
Keep backlighting dim and even. Add a shaded floor lamp so the TV is not the only bright source.
8. Use a Stone-Look Center Panel
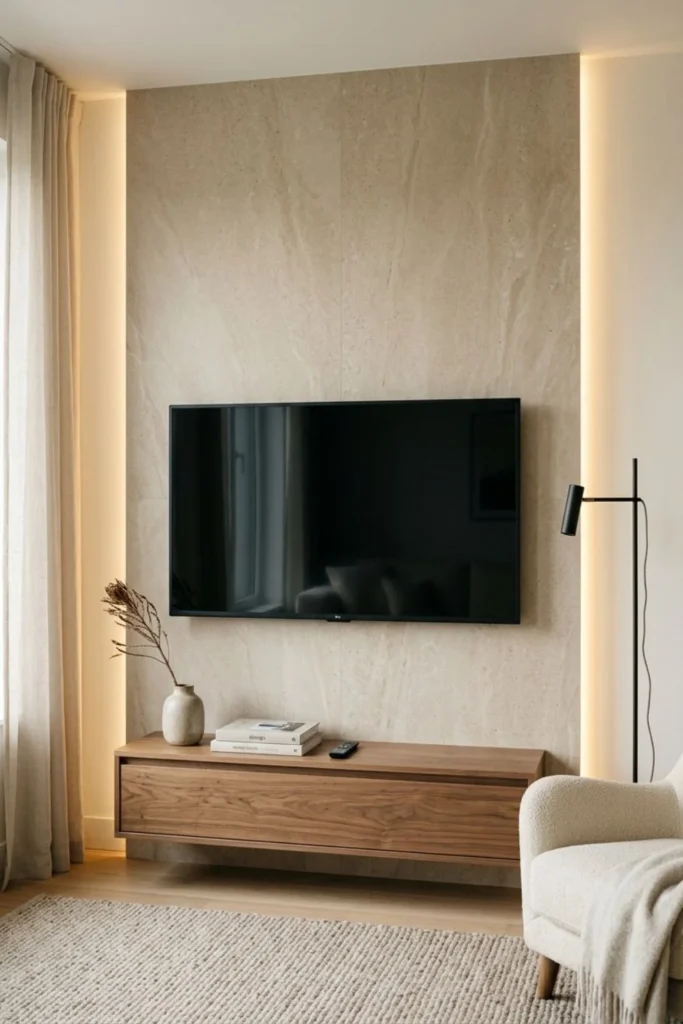
A stone-look slab can add movement without the weight and price of thick natural stone. Porcelain, sintered surfaces, and quality composite panels can work, but their weight and fixing needs differ. Ask how the chosen product will be supported before it reaches the wall.
Choose soft veining and review the full slab. A satin or matte finish usually causes fewer reflections than a highly polished one.
A small panel project may begin around $800, while a large premium slab with fabrication and fitting can exceed $4,000. Get a written quote that includes delivery, cutouts, support, and edge finishing.
Leave 4 to 8 inches of panel around the screen and use one concealed edge glow; the pattern already adds interest.
9. Build Hidden Storage Around the TV
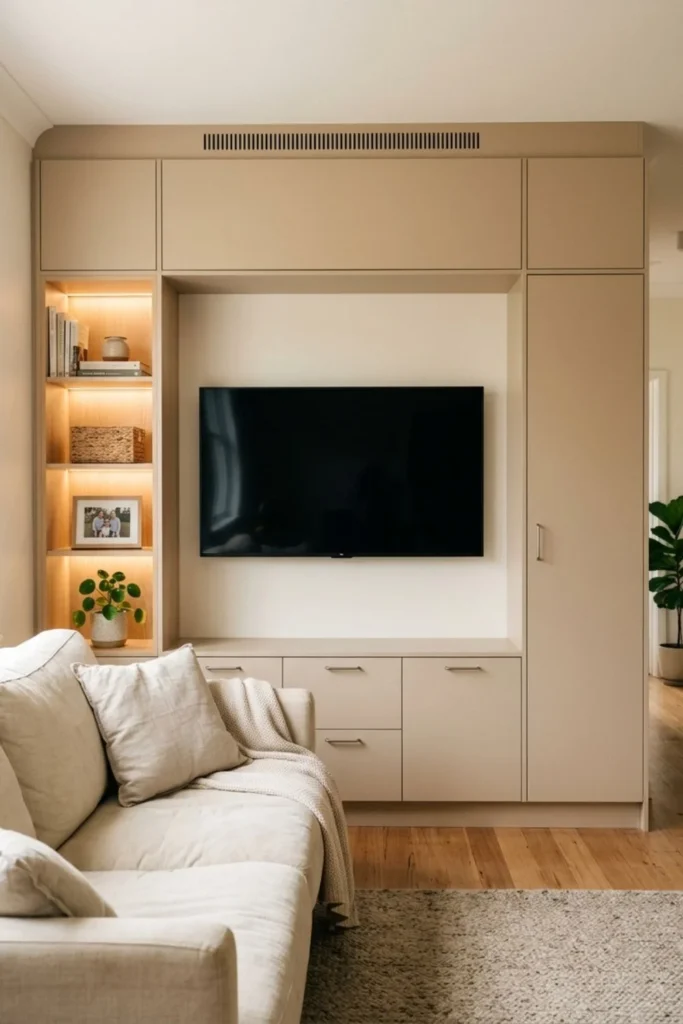
Hidden storage is valuable in a family living room, especially when the same space holds toys, games, school items, and chargers. Use flat doors in the wall color so the cabinetry feels quiet. Put frequently used items at a comfortable height and heavier objects low.
Measure the equipment first. A console needs air, a router needs a signal, and the mount and cables need removable access.
A modest lower storage run may cost $1,500 to $4,000. Full-height custom cabinetry can reach $5,000 to $12,000 or more. The budget grows with drawers, painted finishes, soft-close hardware, lighting, and wall correction.
Anchor tall units. Light the TV recess, not every door seam.
10. Add a Vertical LED Light Line
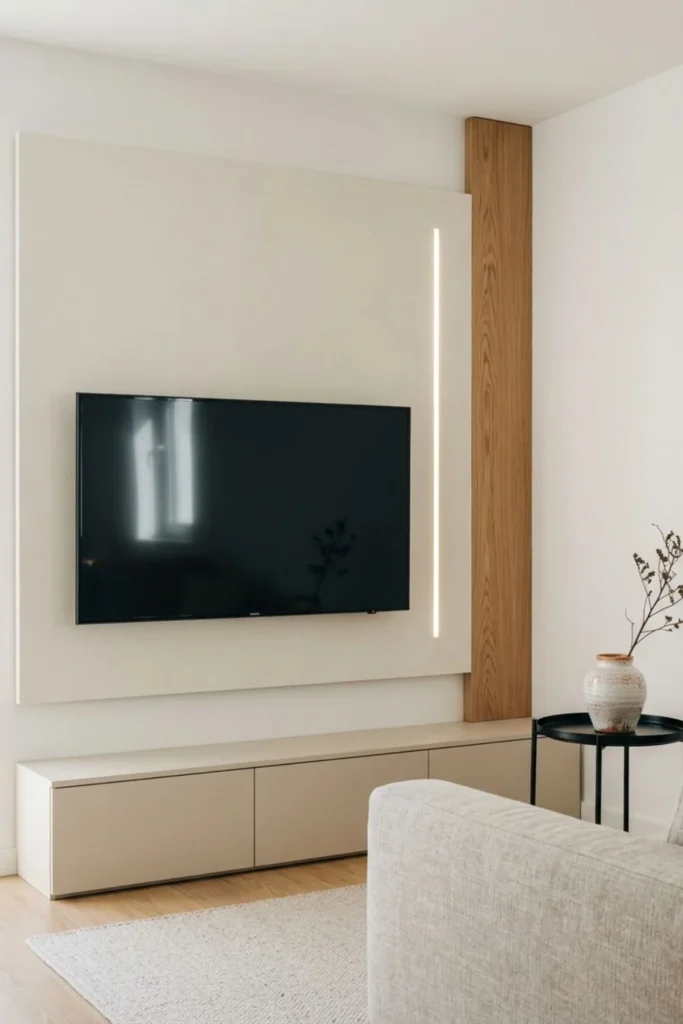
This is one of my weaker choices. A single vertical light line looks dramatic in a still image, but from the sofa it can sit close to the screen and pull your eyes away from the program. It can also reveal a wavy wall or create a sharp reflection on glossy panels.
If you like it, keep the line 8 to 12 inches from the screen edge. Use a diffused channel, a compatible dimmer, and an accessible driver.
A basic surface channel may cost $150 to $400 installed, while recessed panel work and electrical changes can reach $500 to $1,000. Ask to see the light at night before the final finish is closed.
One dim line can support an uneven layout, but normal TV backlighting is usually softer and easier to live with.
11. Pair Sage Green with Natural Wood
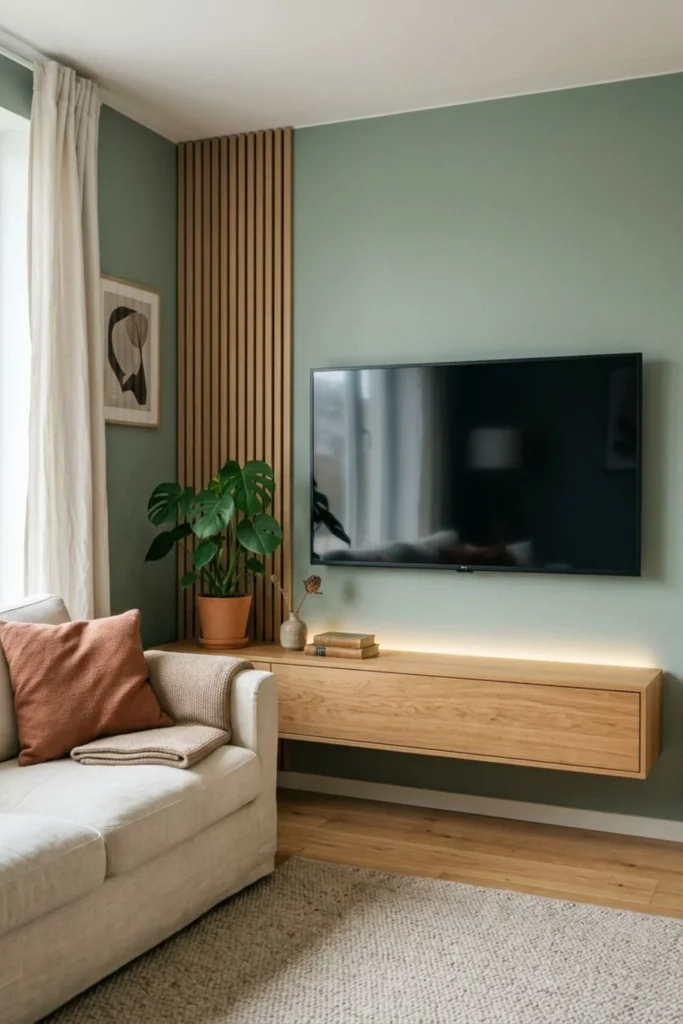
Sage green softens the black screen and works beautifully with oak. Use a muted paint on the main wall, then add a wood cabinet or a narrow slat section. Cream curtains and a warm beige rug stop the room from becoming too green.
Test a large sample because sage can shift gray, yellow, or mint. Repeat it once in a cushion or vase.
Paint plus a ready-made oak cabinet may fit within $400 to $1,800. Partial custom slats or a built-in unit will increase that range. Keep a gap around the TV and do not paint removable access panels shut.
Use warm-white light, not green LEDs. Natural color and wood grain already provide enough character.
12. Design a Calm Beige TV Wall
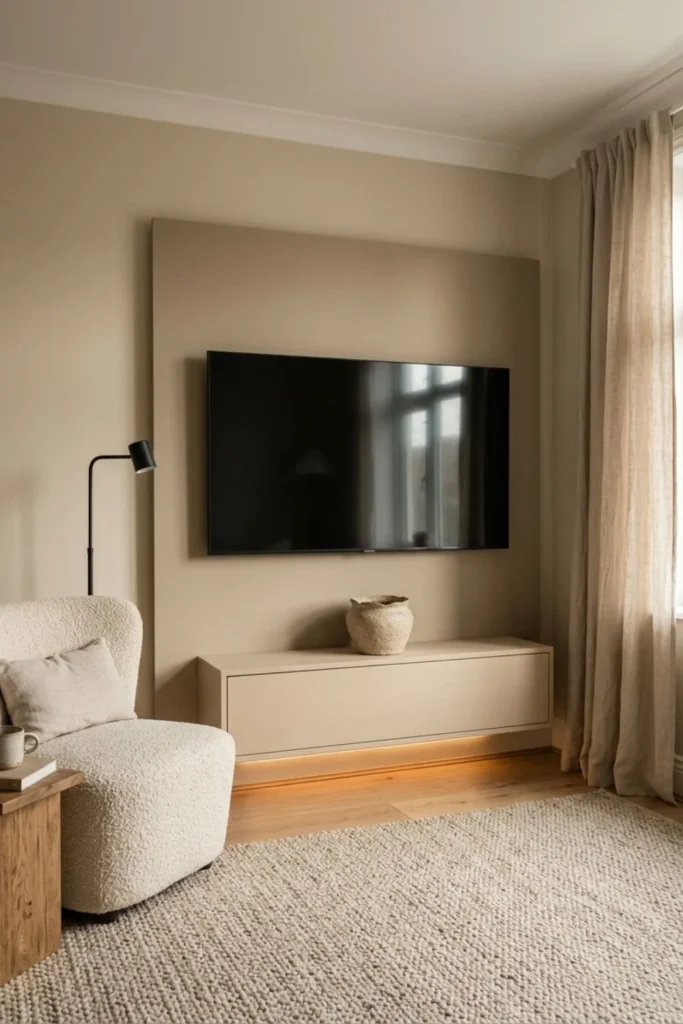
Beige is not boring when the textures are clear. Combine matte mushroom paint, a smooth sand-colored cabinet, linen curtains, and one pale wood detail. Use a small black lamp or table leg to repeat the television’s dark edge.
Limit the wall to two close beige tones and test both beside the floor and sofa.
A paint-led wall can cost $150 to $700. Add a floating cabinet and simple lighting, and the plan may sit around $800 to $2,500. This is a sensible place to save money because good spacing matters more than a costly material.
Test the strip against the paint. If beige turns yellow, use a more neutral white or light the cabinet instead.
13. Add a Small Electric Fireplace Below the TV
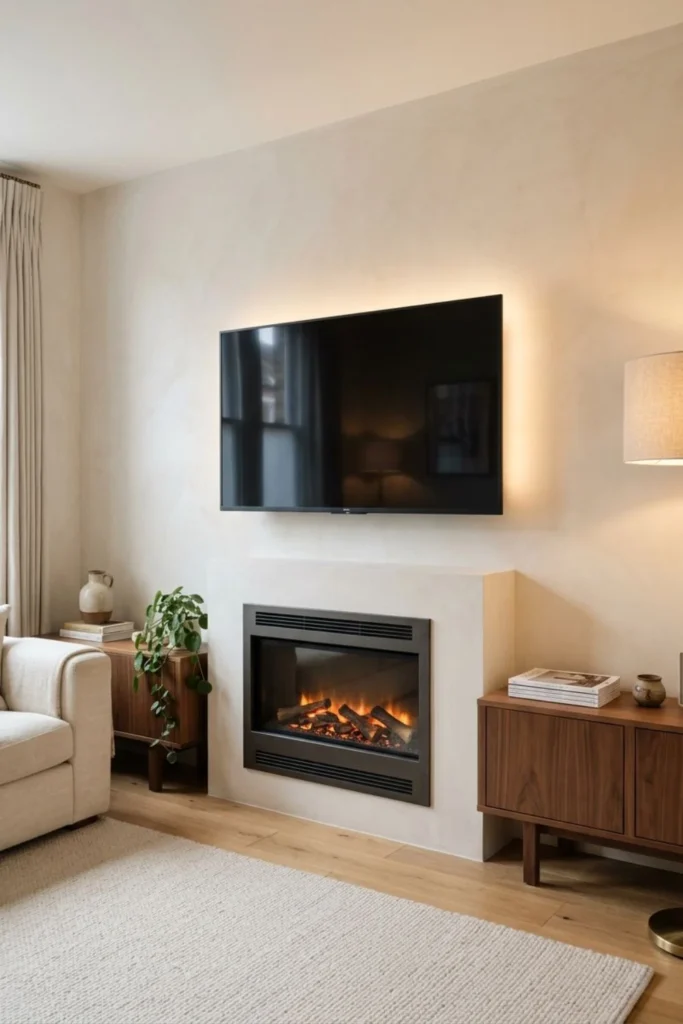
This is my second weak idea. A slim electric fireplace can look cozy, but fitting two focal points on one wall often pushes the television above a comfortable viewing height. Heat, vents, cables, the mantel, and the screen all need their own space.
There is no safe universal gap that fits every model. Read the exact fireplace installation manual and the TV and mount instructions. Follow the largest required clearance, use the specified wall materials, and ask a qualified installer about heat movement and the electrical circuit.
Tape both rectangles on the wall and sit for ten minutes. If your chin lifts, move the fireplace elsewhere or choose a freestanding unit.
An electric insert alone may cost roughly $500 to $2,000, while carpentry, electrical work, finishing, and professional fitting can push the complete feature to $2,000 to $8,000 or more. Never hide a power strip, extension cord, or inaccessible connection inside a closed wall.
Choose the fireplace only when the correct clearances still allow a comfortable TV height.
14. Use Fluted Panels for Soft Texture
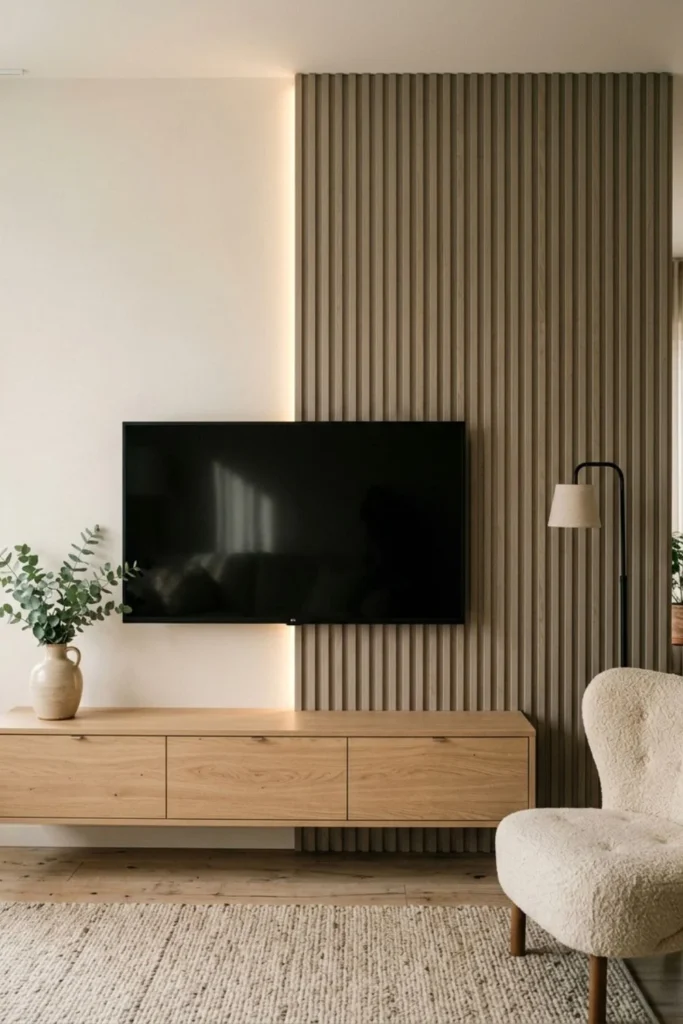
Fluted panels create vertical texture without the stronger gaps of open slats. They work well on one side of the TV or across a lower section. Cream, taupe, oak, and walnut are easy to connect with normal living-room furniture.
Mount through the panel into suitable structure. Keep 4 inches of calm space around the screen and cut the cable opening first.
A partial fluted treatment may cost $400 to $2,000, depending on material and labor. Deep grooves collect dust, so inspect a sample and imagine cleaning the entire wall. A shallower profile can give the same rhythm with less work.
Wash one edge gently; strong side light exaggerates every small installation error.
15. Create a Corner TV Wall for a Small Room
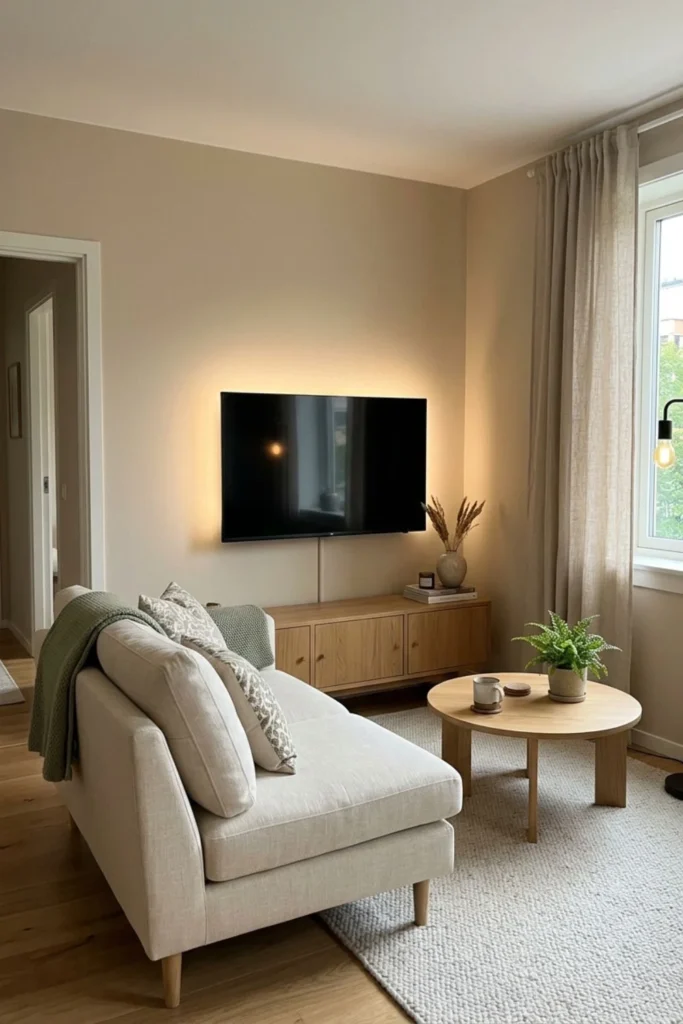
A corner TV can be the honest answer when doors and windows leave no complete wall. Use a mount designed for the screen and movement required, then check that the extended TV cannot hit a side wall, curtain, or doorway.
Keep the cabinet around 12 to 16 inches deep if equipment allows, and preserve a 30- to 36-inch main walkway where possible.
A simple corner setup may cost $300 to $1,500. A custom angled cabinet or hidden wiring can move it above $2,000. Avoid large diagonal built-ins that consume the most useful part of the room.
Use one soft halo, not strips wrapping around both walls. Practical scale is the luxury here.
16. Style a Low TV Wall for an Apartment
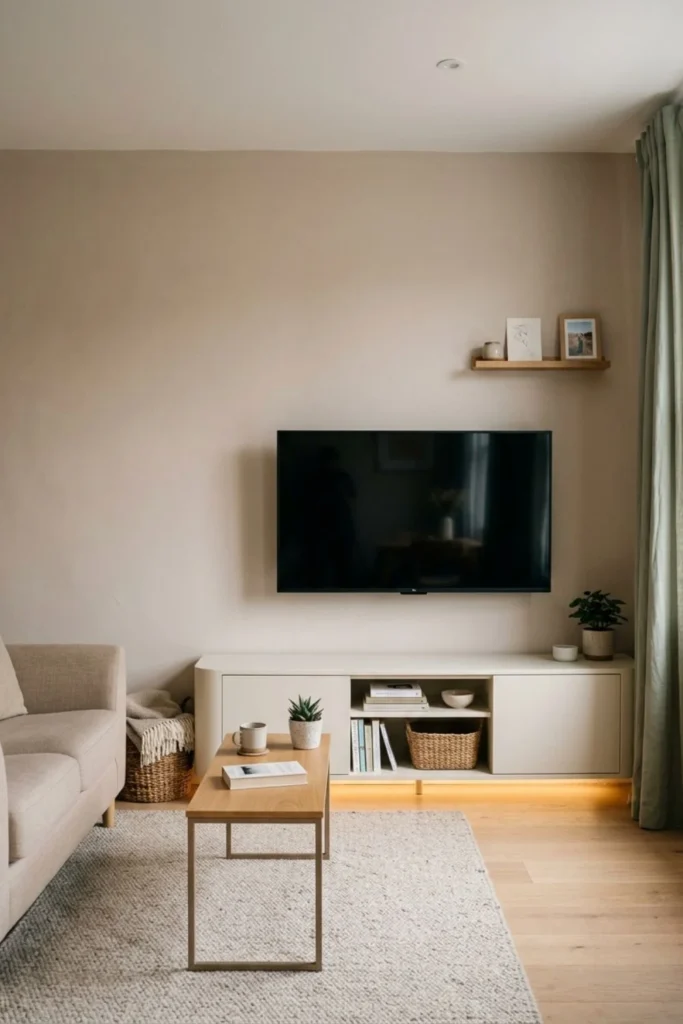
In an apartment, a long low cabinet can make the ceiling feel higher and give the TV a calm base. Choose a unit that is not deeper than your devices require. Rounded outer corners help when the walkway passes close to the furniture.
Renters should confirm drilling rules. A sturdy low stand with an anti-tip system may suit the room better than major construction.
For a 55- to 65-inch TV, a cabinet around 60 to 84 inches wide often looks balanced, but check the available path. Ready-made furniture, a mount, and cable covers may total $400 to $1,500.
Use one small backlight or one cabinet light, not both. Luxury TV Wall Design with LED Lighting can be simple enough to move later.
17. Add Black Accents for Modern Contrast
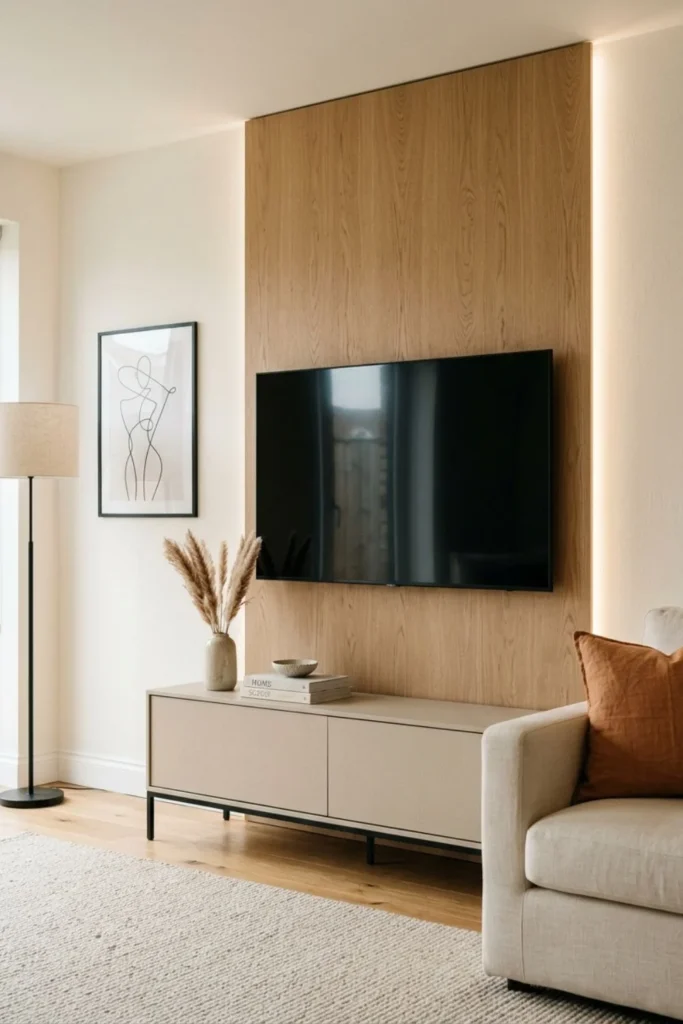
The television already forms a large black rectangle, so a few small dark accents are enough. Repeat black through a narrow lamp stem, cabinet handle, table leg, or soundbar. This makes the screen feel connected without making the room harsh.
Keep black pieces thin and pair them with oak, cream, linen, and warm paint.
Small accents may add only $50 to $300 to a project. Black metal shelf frames or custom trims can cost more, but I would spend first on a safe mount and clean cable path.
One dark horizontal line and one warm glow give enough contrast for most homes.
18. Use Walnut for a Rich Warm Finish
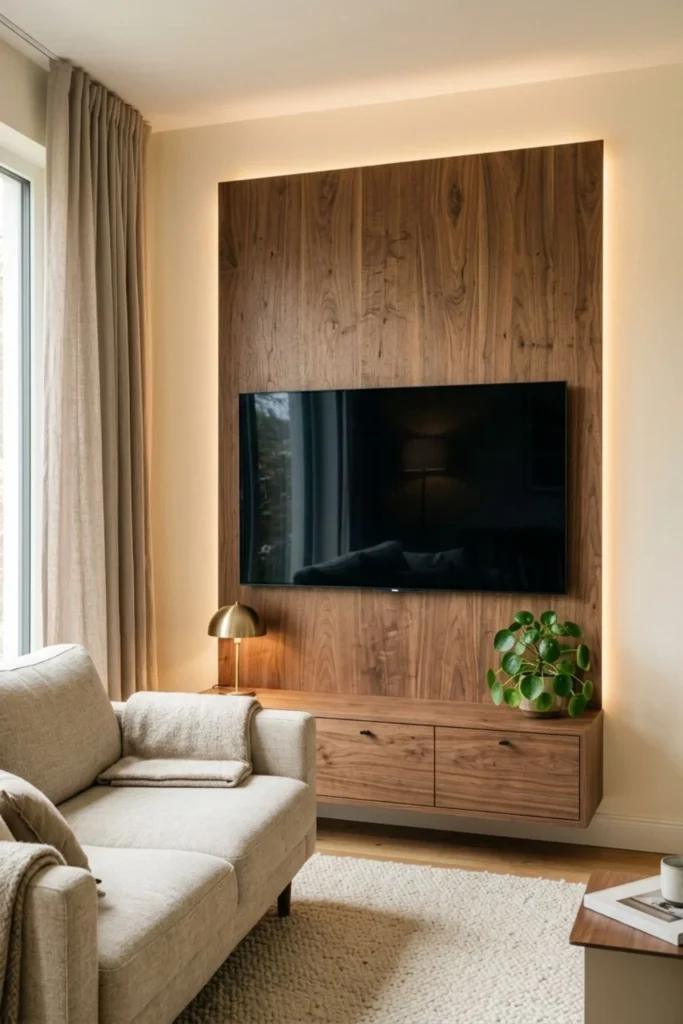
Walnut brings depth to a pale room and looks especially good in the evening. Use it on the floating cabinet or one side panel instead of covering a dark room from floor to ceiling. Cream, mushroom, muted green, and brushed black pair easily with it.
Compare walnut with the floor because its tone may lean red, chocolate, or gray.
A walnut-look ready-made cabinet may cost $500 to $1,500. Real walnut veneer, matching panels, and custom doors can move the wall into the $2,000 to $6,000+ range.
Use a concealed warm strip without direct bright spots, plus one nearby lamp.
19. Make the TV Blend into a Gallery Wall
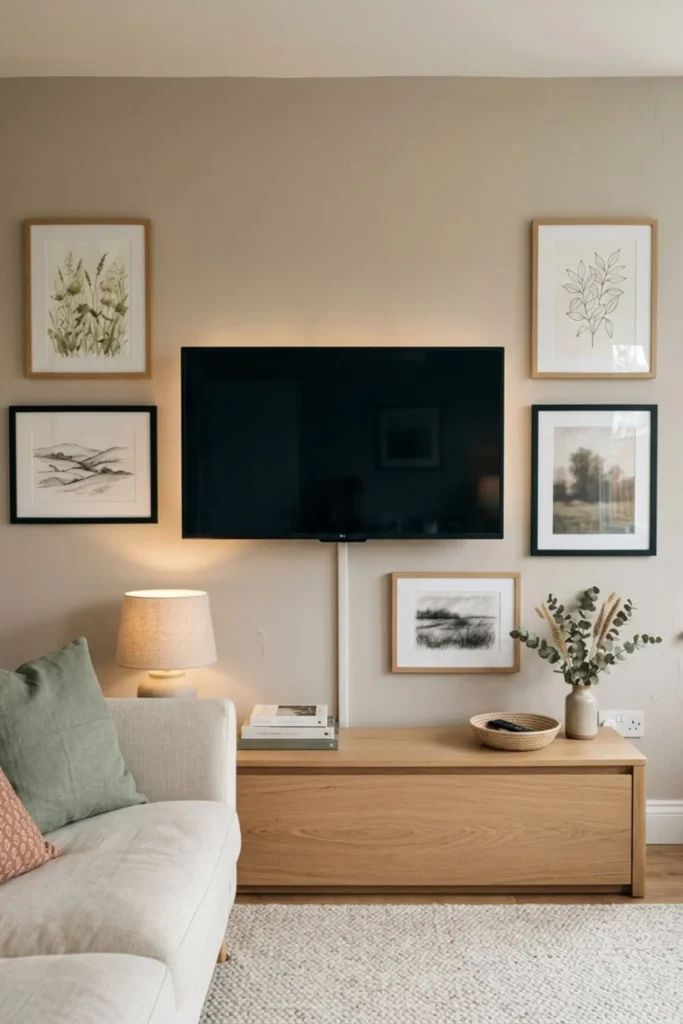
Personal art can make the TV area feel collected, but I would not disguise the screen as another picture. Keep a small gallery group to one side and let the real black-glass television remain clear. This also avoids the “TV turned into a painting” look that can confuse the design.
Leave 3 to 5 inches between frames and a larger gap beside the TV. Do not block ports, vents, or mount access.
Frames and prints may cost $100 to $800, depending on size and source. Personal photographs or original work can add more meaning than matching mass-produced sets.
Light the art with a lamp, not LED-wrapped frames. Never show fake artwork on the TV just to match.
20. Create an Achievable Luxury TV Feature Wall
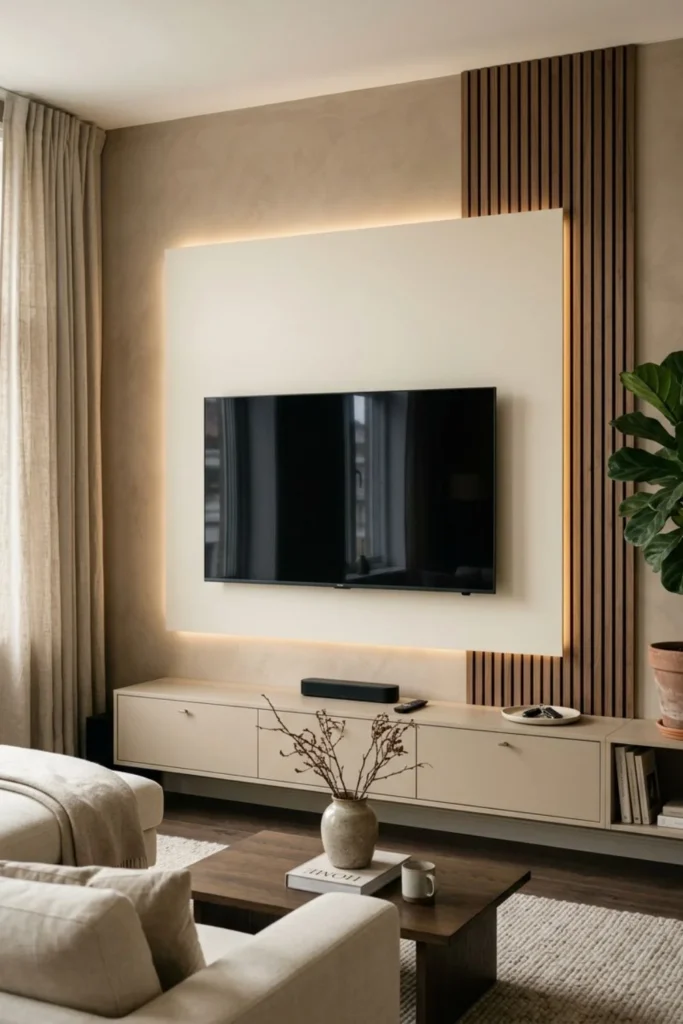
If I had to combine the whole guide into one plan, I would use a warm neutral wall, a narrow oak slat section, a long floating cabinet, and soft white light behind the real TV. I would leave the other half of the wall mostly plain.
For a 65-inch TV, start with a 72- to 84-inch cabinet, 60- to 72-inch smooth panel, and 12- to 24-inch slat section on paper. These are examples, not rules.
A sensible semi-custom version may cost $1,500 to $4,000. Save by using paint instead of stone, a ready-made cabinet instead of full joinery, and one quality light source instead of many cheap strips.
This Luxury TV Wall Design with LED Lighting gives storage and warmth while leaving room for repairs and future changes.
What I Would Choose at Three Budget Levels
For a lower budget, paint the wall, mount the TV correctly, hide cables, and add a dimmable backlight. A ready-made low cabinet can finish it. Spend first on safe support and power.
For a middle budget, add a floating cabinet and partial oak slats. Confirm cable openings, ventilation, removable access, and the light channel before work starts.
For a larger budget, choose built-in storage with a serviceable TV center. Good hinges, level lines, neat joints, and professional electrical planning matter more than extra trim.
My order of spending would be:
- Correct mount, wall support, and safe electrical work
- Comfortable TV position and viewing distance
- Useful cabinet storage and device ventilation
- One main material such as oak, walnut, paint, or fluted panel
- Soft, repairable lighting
- Small decor after everything works
That order may not create the most dramatic shopping list, but it creates a room that works after the photograph is taken.
Keep the TV Wall Safe and Easy to Maintain
A finished wall needs access to its mount, power, lighting driver, connections, and cabinet fixings. Photograph the structure and cable route before panels cover it.
Do not use an ordinary extension cord as permanent hidden wiring. The CPSC’s electrical safety guidance describes extension cords as temporary solutions and warns against overloading them. Have new permanent power installed by a qualified electrician where required.
Clean vents and lighting channels gently according to each product’s instructions. Check that cabinet doors still align and that warm devices have not become trapped by new decor. Keep candles, liquids, hanging plants, and loose objects away from the electronics.
If children or pets use the room, secure furniture and control cords. Do not place remotes, toys, or treats high on shelving where a child may climb. A floating look is not a reason to skip structural fixings.
Finally, turn on the TV, lamps, and LEDs together at night. If the wall feels busy, switch off one light before buying another. The calmest version is usually the one that remains comfortable for a full evening.
Final Thoughts
The best ideas in this guide are not the loudest ones. Warm wood slats, a properly planned floating cabinet, and soft TV backlighting create the strongest mix of beauty and daily function. They also allow you to start small and improve the wall later.
I would be cautious with a vertical LED line because it can distract from the screen. I would be even more careful with a fireplace below the TV because comfortable height, heat, clearances, wiring, and wall construction must all work at the same time.
A successful luxury TV wall design with LED lighting should look like it belongs to your living room. Measure first, protect access, use honest materials, and leave some wall empty. When the television is comfortable to watch and the storage handles real life, the design already feels luxurious.
Disclosure: Some visuals are AI-assisted design concepts created for inspiration. Always confirm measurements, materials, load limits, wall structure, TV and mount compatibility, electrical safety, ventilation, heat clearances, furniture stability, child and pet safety, and installation requirements for your home. Costs are rough U.S. planning estimates and may vary by location, labor, materials, delivery, permits, and project conditions.