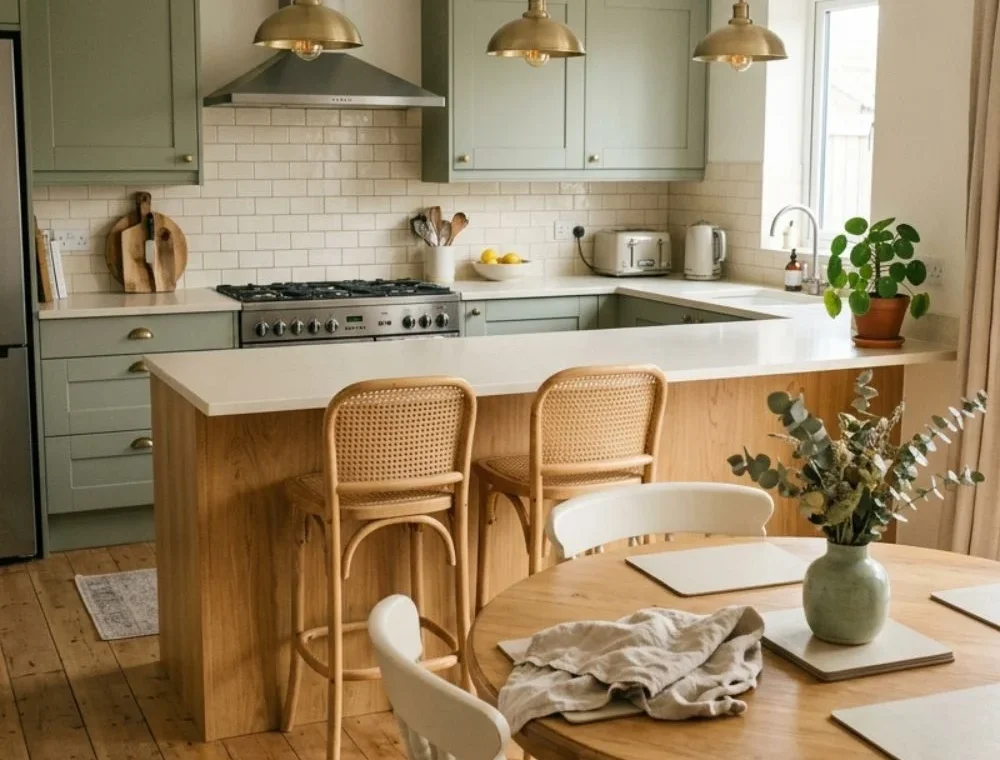
Sage green kitchen and dining ideas can make a home feel calm without turning it cold. The color sits somewhere between leafy green and soft gray, so it works with warm wood, cream walls, black hardware, and everyday stainless-steel appliances.
Written and reviewed by Ali Hamza | Styled Room Living
Still, sage green is not magic. A beautiful cabinet color cannot fix an island that blocks the dishwasher. Matching dining chairs will not help if nobody can pull them out. And painting every cabinet green may make a small, shaded kitchen feel heavier than the sample card suggested.
My three strongest choices are a sage green island, sage green with light oak, and a careful layout for a small kitchen-dining area. These options bring color into the room while protecting light, movement, and flexibility.
My weaker choices are sage green on every cabinet and large open shelves filled with decor. Both can look lovely in a styled photo, but they ask for more light, cleaning, and visual control than many busy homes can give.
The measurements and prices below are starting points, not final specifications or quotes. Always check the actual room, cabinet system, appliance instructions, local codes, and installer advice before ordering anything.
Plan the Kitchen and Dining Room as One Working Space
Stand at the main entrance and look at everything visible at once. If the island, dining table, cabinet wall, and floor all appear in one view, they need to feel related. They do not need to match perfectly.
I would choose one main sage feature, two support colors, and one small accent:
- Main feature: island, lower cabinets, dining chairs, or one wall
- Support colors: warm white and natural wood
- Small accent: black, brass, terracotta, or walnut
Collect real samples of cabinet paint, flooring, worktop, backsplash, dining fabric, and metal. Check them in morning light, late afternoon, and under the bulbs used at dinner. A gray-green can turn blue in cool northern light or yellow beside very warm lamps.
Movement matters more than the palette. The National Kitchen & Bath Association’s planning guidelines cover clearances, work zones, seating, ventilation, lighting, and accessible design. As practical planning targets, allow about 42 inches for a one-cook work aisle, 48 inches when two cooks regularly share it, and at least 36 inches for a basic walkway where the room permits.
Measure with appliance doors open, not closed. A refrigerator door, dishwasher rack, oven door, and pulled-out dining chair can all steal the same patch of floor.
For dining seating, plan about 24 inches of table width per person. Behind a seated chair, around 32 inches may work where nobody passes; 36 inches is more comfortable for edging past, and around 44 inches is better for an active walking path.
These are planning guides, not universal building codes. The right solution also depends on accessibility needs, appliance specifications, doorways, and local requirements.
Set a Realistic Budget Before Choosing the Green
A color makeover can be small, while a new island can become a full construction job. Current U.S. cost guides give a useful starting point:
| Project | Rough planning cost |
|---|---|
| Paint one wall or a small dining nook | $100–$500 DIY; roughly $200–$900 professional |
| Paint part or all of the cabinets | About $425–$1,465 for many professional projects; larger or detailed kitchens can cost much more |
| Add a rolling island cart | About $150–$900 |
| Add a fixed or custom island | Roughly $900–$5,000 prefab; $3,000–$10,000 custom |
| Install a backsplash | Often $480–$1,500 for a standard project |
| Install pendant lighting | Commonly $150–$800 per pendant before unusual wiring work |
| Furnish the dining zone | From a few hundred dollars to several thousand, depending on table and chair quality |
The current figures come from recent U.S. cost data for cabinet painting, kitchen islands, and backsplash installation. Local labor, repairs, materials, permits, plumbing, and wiring can change every number.
I would request written quotes that separate preparation, material, labor, hardware, electrical work, disposal, and final touch-ups. “Paint cabinets” can mean a quick coat or a full process of degreasing, sanding, priming, spraying, curing, and reinstalling doors.
1. Paint the Lower Cabinets Sage Green
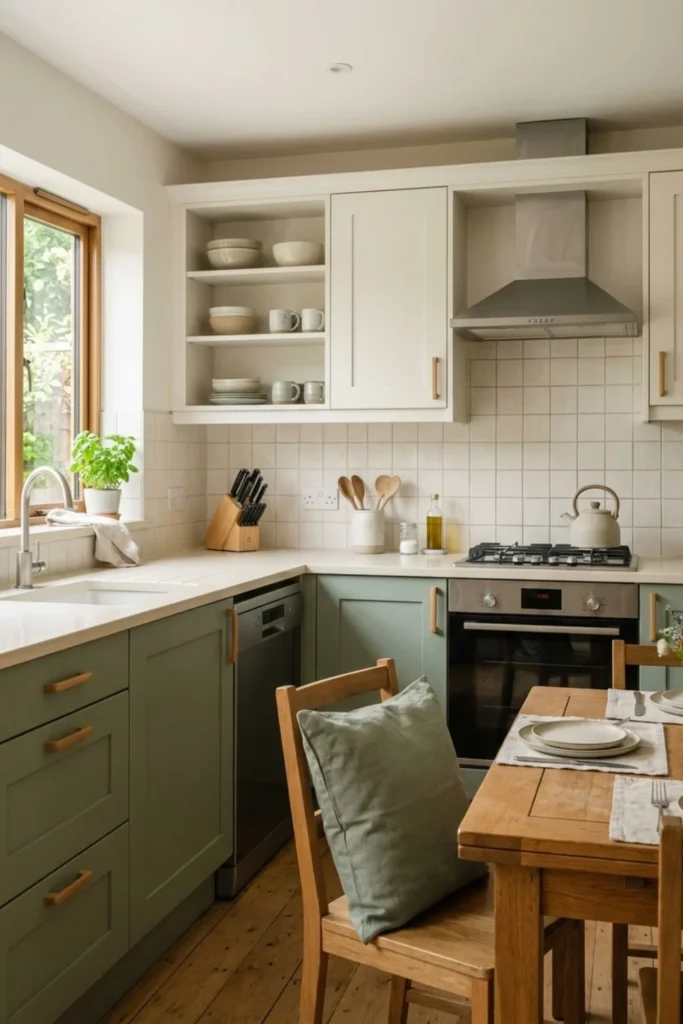
Lower cabinets are a safe place to begin because the color stays below eye level. Warm white upper cabinets keep the room brighter, while sage adds enough weight to ground the design.
Before painting, identify the cabinet material. Wood, MDF, laminate, and previously coated doors need different preparation and primers. A color cannot look expensive over grease, chipped edges, or brush marks.
For a small lower run, DIY supplies may cost around $150 to $500. Professional work may begin around $600 and move beyond $2,000 with many doors, repairs, or a sprayed finish.
I would test the green on a removable board at least 12 by 18 inches. Place it vertically beside the floor and worktop. A tiny paint chip cannot show how the room will feel.
Use a finish recommended for cabinetry and allow the full cure time before hard daily use. Handles, hinges, and bumpers should be removed or protected properly—not painted into place.
2. Use Sage Green on Every Cabinet
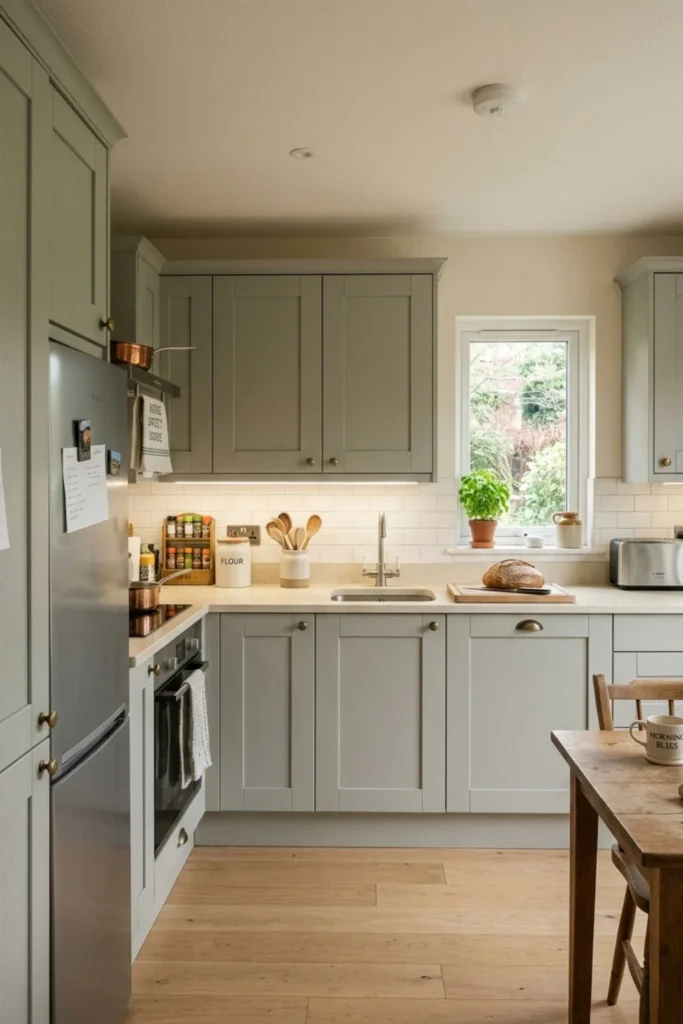
This is one of my weaker choices. A full green kitchen can be beautiful, but the result depends heavily on daylight, ceiling height, floor color, and the amount of cabinetry.
If the room is small or shaded, paint large boards and place them on both upper and lower cabinet areas. Live with them for several days. The same shade may look soft below the counter and much darker near the ceiling.
Painting every door also increases preparation and labor. A medium or large professional project may move from roughly $1,500 to $5,000, while detailed or custom cabinetry can cost more.
I would only choose this approach with a quiet backsplash, simple worktop, and limited hardware. If you already have dark floors or walnut furniture, warm-white upper cabinets may give a better balance.
All-green cabinetry is not wrong. It is simply harder to change, harder to light, and less forgiving than one green island or lower-cabinet run.
3. Add a Sage Green Kitchen Island
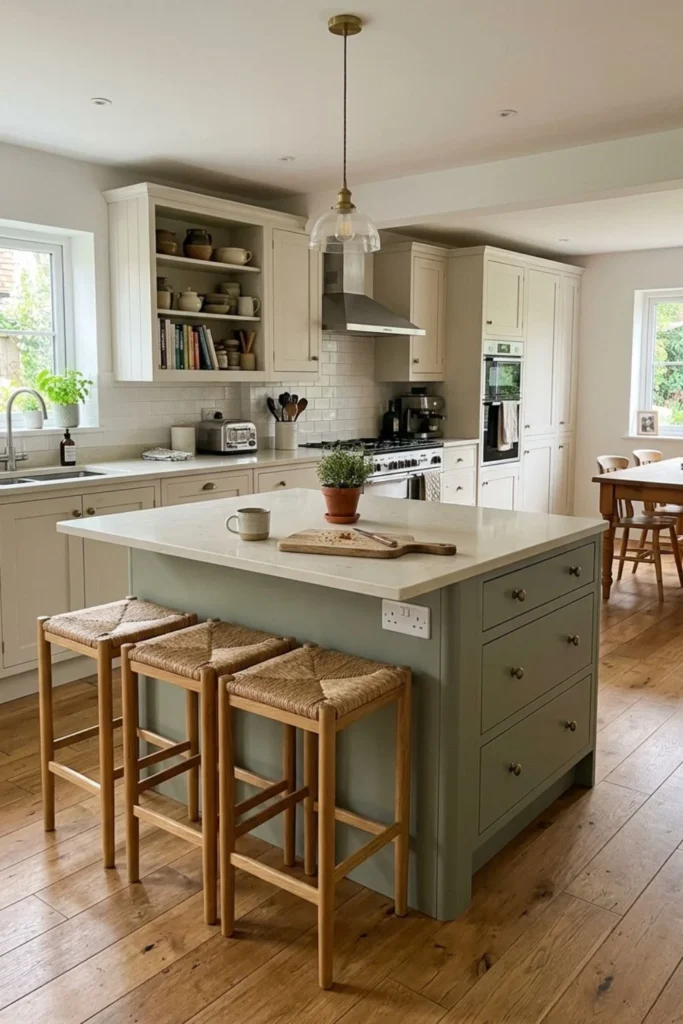
This is my first top choice because the island can become the color bridge between the kitchen and dining space. It gives sage green a clear job without covering every cabinet.
Start with the floor, not the paint. Tape the full island shape and then tape the required aisle around it. Open the oven, refrigerator, and dishwasher. Ask two people to walk through while a chair or stool is pulled out.
A small movable cart may be around 24 by 36 inches. A useful fixed island often begins near 24 inches deep and 48 inches long, but the room—not a standard size—should decide. Counter height is commonly about 36 inches.
For seating, allow roughly 24 inches of width per stool. A 48-inch edge usually fits two seats more comfortably than three. The countertop overhang and knee space must suit the support system and material; ask the fabricator rather than guessing.
The cost difference is huge. A rolling cart may cost $150 to $900. A fixed prefab island may land around $900 to $5,000, while a custom island often costs $3,000 to $10,000 before complicated plumbing or appliances.
I prefer storage and preparation space over a sink or cooktop in a new island. Keeping water, gas, and major wiring out can reduce cost and risk. A clear countertop is also easier to use for serving dinner or baking.
If electrical work is part of the island, follow current local code and use a licensed electrician. Rules for island receptacles have changed over time, so an old online diagram may not apply.
Choose a sage tone already tested beside the perimeter cabinets and dining table. Repeat it once through chairs, a runner, or a small piece of art—not on every object.
4. Pair Sage Green with Warm White
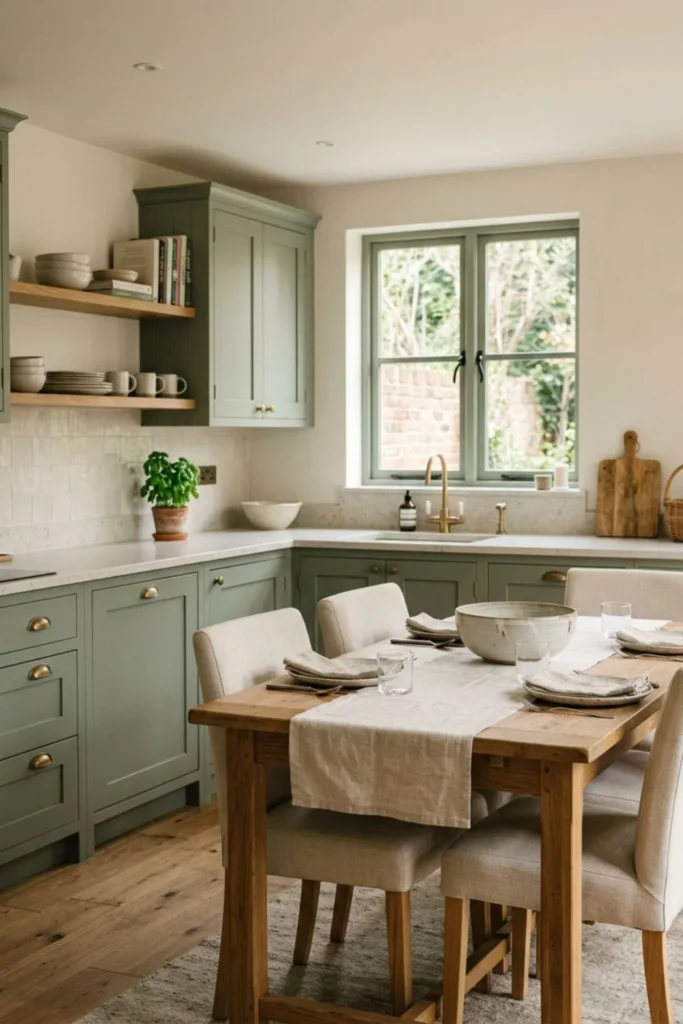
Warm white prevents sage from feeling muddy. Use it on walls, upper cabinets, or the ceiling, but avoid a strong yellow cream that makes the green look dull.
Place both paint samples beside the floor and worktop. I would keep large fixed surfaces quiet and let sage carry the personality.
Painting kitchen walls may cost roughly $200 to $1,200, depending on size and preparation. DIY can be much less.
Choose a washable finish suitable for the room. Matte walls look soft but may show splashes; a durable eggshell or other maker-recommended finish is usually easier to live with.
5. Combine Sage Green with Light Oak
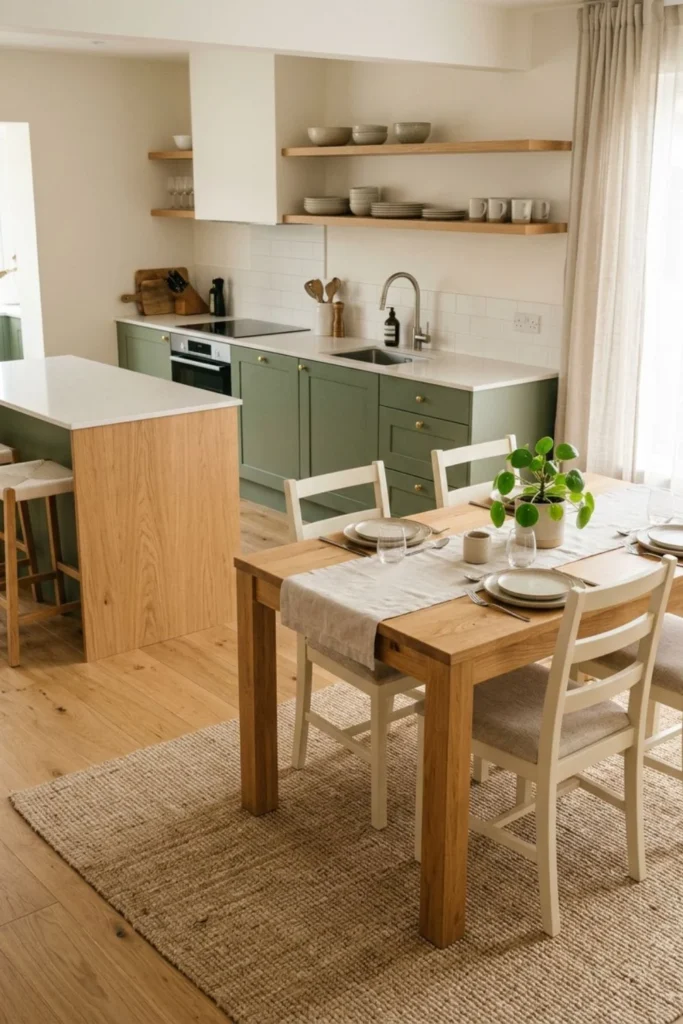
This is my second top choice because light oak adds warmth without taking away much visual light. It makes sage green feel natural rather than themed.
You do not need to replace every cabinet with oak. Repeat the wood in two or three places:
- Island countertop or end panels
- Dining table
- Open handle rail or small shelf
- Bar stools or chair legs
- Serving board and simple frames
Compare the undertone carefully. Some “oak” finishes look orange, gray, or pink. Put the sample beside the sage board in the room for several days.
A small oak shelf may cost $100 to $400. A quality dining table may start around $500 and move into several thousand dollars. Oak island panels or custom cabinetry add much more.
I would avoid mixing pale oak flooring, red oak cabinets, walnut chairs, and a fourth wood table. Keep one main light wood and allow one darker accent at most.
Light oak also shows grain and wear. Use a finish suitable for kitchens and follow care instructions. Around dining seats, choose edges that can handle chairs, shoes, crumbs, and daily wiping.
The reason this pairing works is simple: sage supplies color, while oak supplies warmth. Neither needs shiny metal or dramatic stone to feel complete.
6. Add Walnut for Rich Contrast
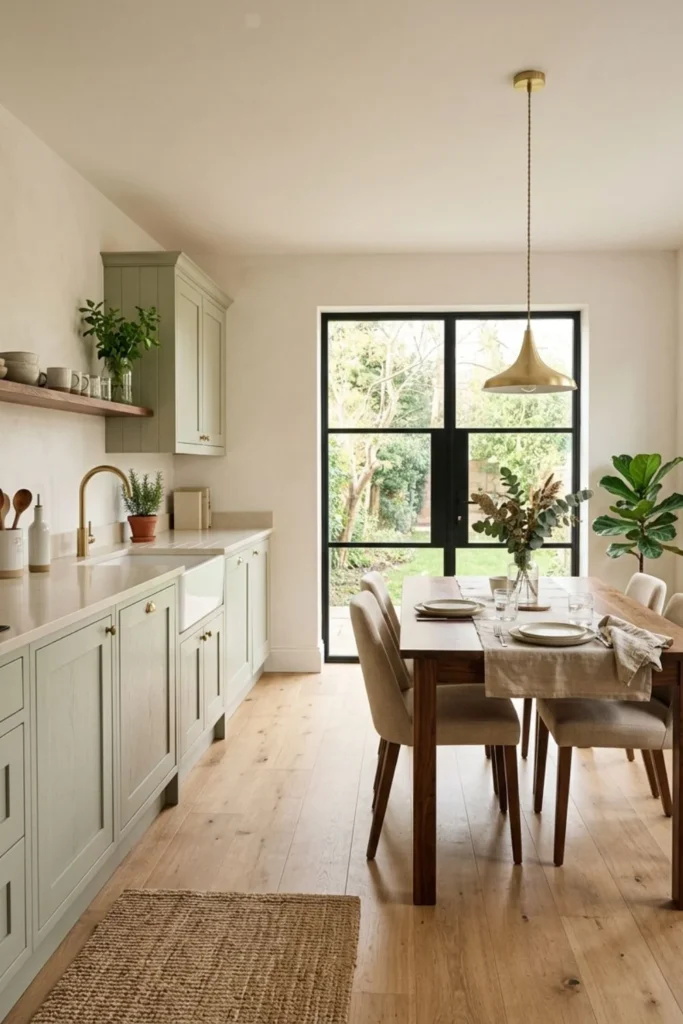
Walnut gives sage a deeper, more formal look. Use it in smaller amounts, such as the dining table, two shelves, or the island back.
In a compact room, a full dark walnut cabinet wall can absorb light. I would keep most large surfaces pale and let walnut create one anchor.
A walnut-look table may cost a few hundred dollars, while solid walnut furniture can cost several thousand. Check whether the material is solid wood, veneer, or laminate so the price and care expectations make sense.
Repeat the walnut once. More than that can make the room feel brown and heavy.
7. Choose a Cream Stone-Look Backsplash
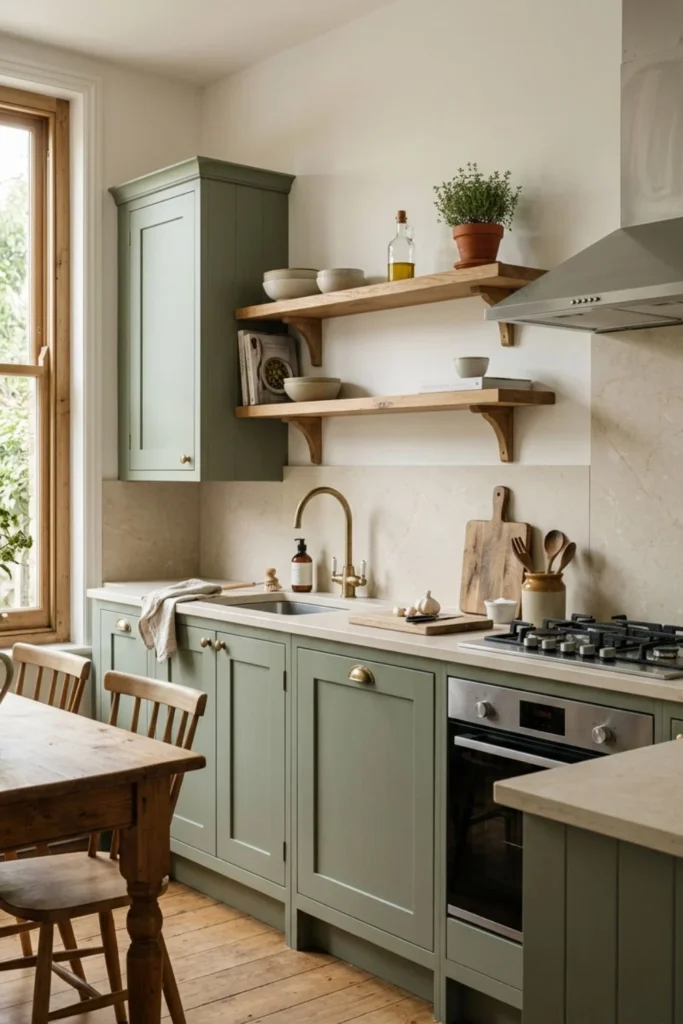
Cream tile or a quiet stone-look slab connects green cabinets with warm wood. Choose low-contrast movement instead of dramatic veins that compete with doors and worktops.
Measure the backsplash area in square feet and add waste based on the material and pattern. Outlets, windows, corners, and herringbone layouts increase cutting.
Current professional backsplash projects often cost $480 to $1,500, or roughly $15 to $40 per square foot for many materials and labor. Natural stone and complex layouts can cost far more.
I prefer a matte or softly polished surface that can be wiped easily. Take a sample home and test tomato sauce, oil, and normal cleaner if the maker allows it.
8. Use Brass Details in Small Amounts
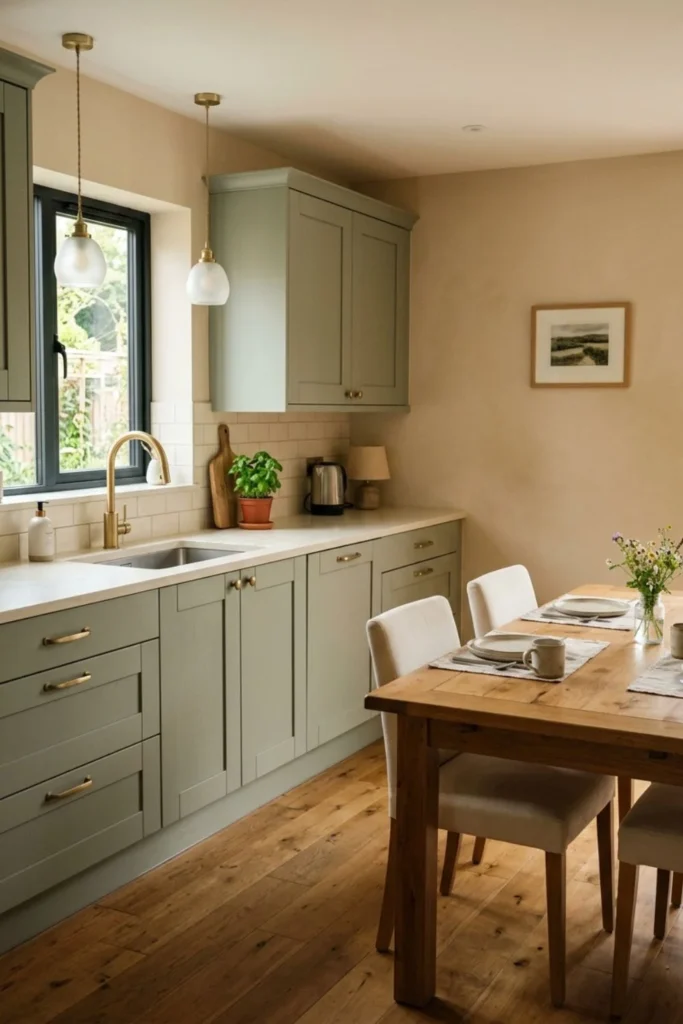
Brass can warm sage green, but one metal story is enough. Use it for cabinet pulls and one light fitting, or for the faucet and a small frame.
Replacing basic hardware may cost $100 to $500 in a modest kitchen; designer pieces can go much higher. Count every door and drawer before ordering.
Check the hole spacing on existing handles. A new size may require filling and drilling, which adds labor and can damage a fresh finish.
I would choose muted or aged brass over a bright gold effect. It feels quieter and hides fingerprints better.
9. Add Black Accents for a Modern Edge
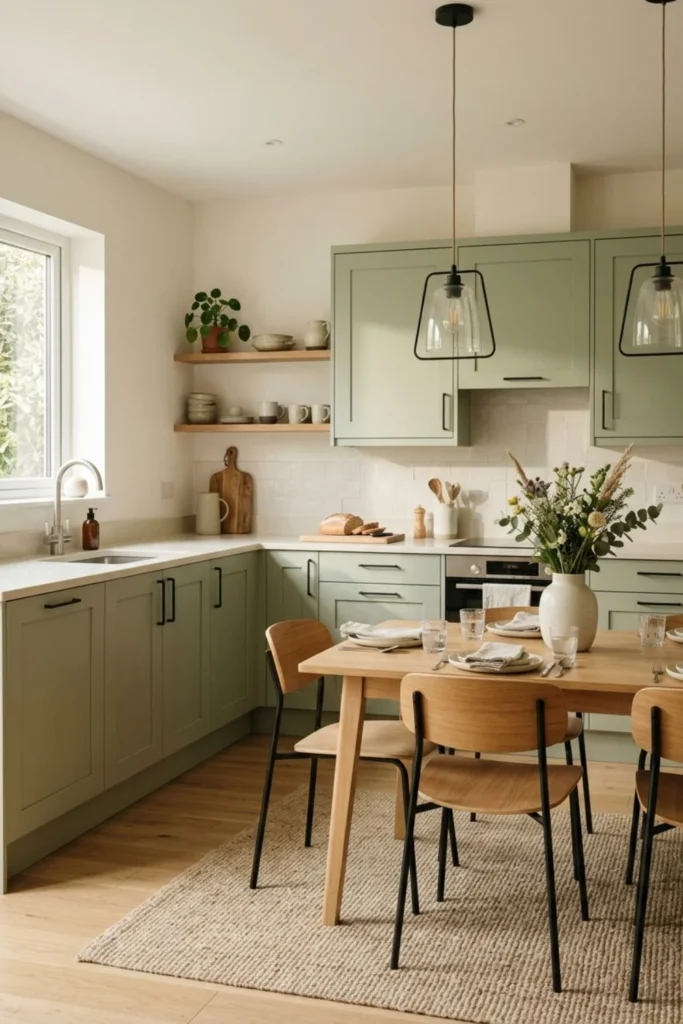
Black works best as a thin line: window frame, pendant, chair leg, or cabinet pull. It gives the soft green a little structure.
Do not automatically replace every faucet, appliance, handle, chair, and lamp with black. That can make the room look like a matching product set.
Use two or three black details and repeat their finish. Matte black may show dust and water marks, so check how it behaves near the sink.
This can be a low-cost update—roughly $100 to $600 for modest hardware and decor—unless electrical or plumbing fixtures are changed.
10. Create a Sage Green Dining Nook
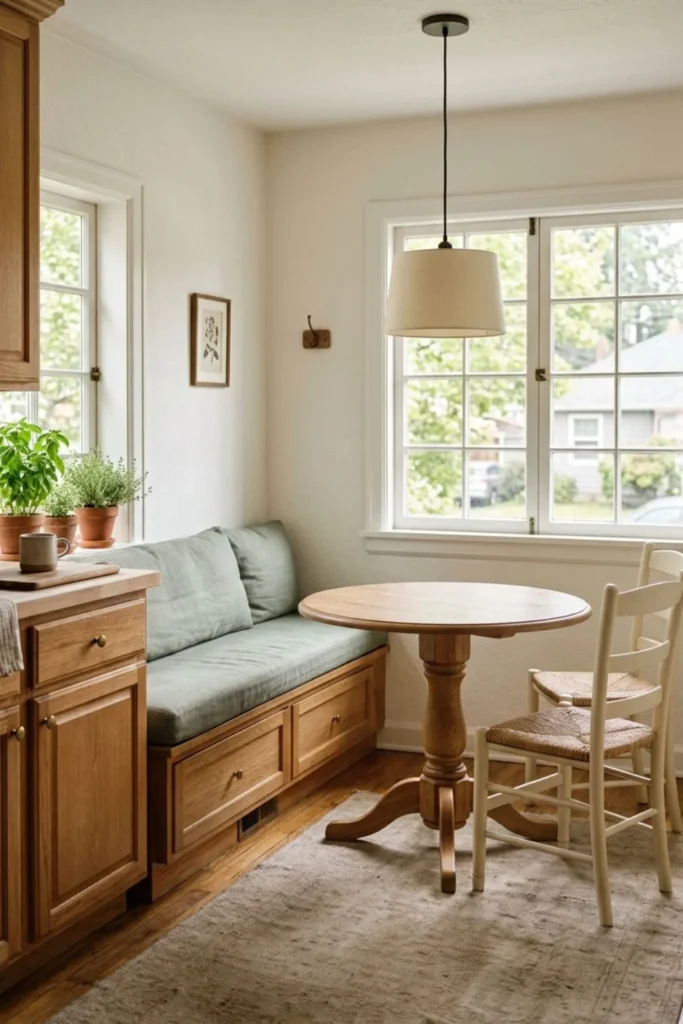
A dining nook can carry the green when you do not want painted cabinets. Use it on the bench front, wall, or washable cushion.
A standard dining table is often around 29 to 30 inches high. A comfortable bench seat is usually around 17 to 19 inches high before or including the cushion, depending on the design. Test the seat and table together so knees fit.
Plan about 24 inches of seat width per person. Leave enough room to slide into the bench and clean below the table.
A simple painted nook may cost $300 to $1,000. A fitted bench with drawers and upholstery may cost $1,500 to $5,000.
I would use drawers rather than a giant lift-up lid. They are easier to reach when the table stays in place.
11. Choose Sage Green Dining Chairs
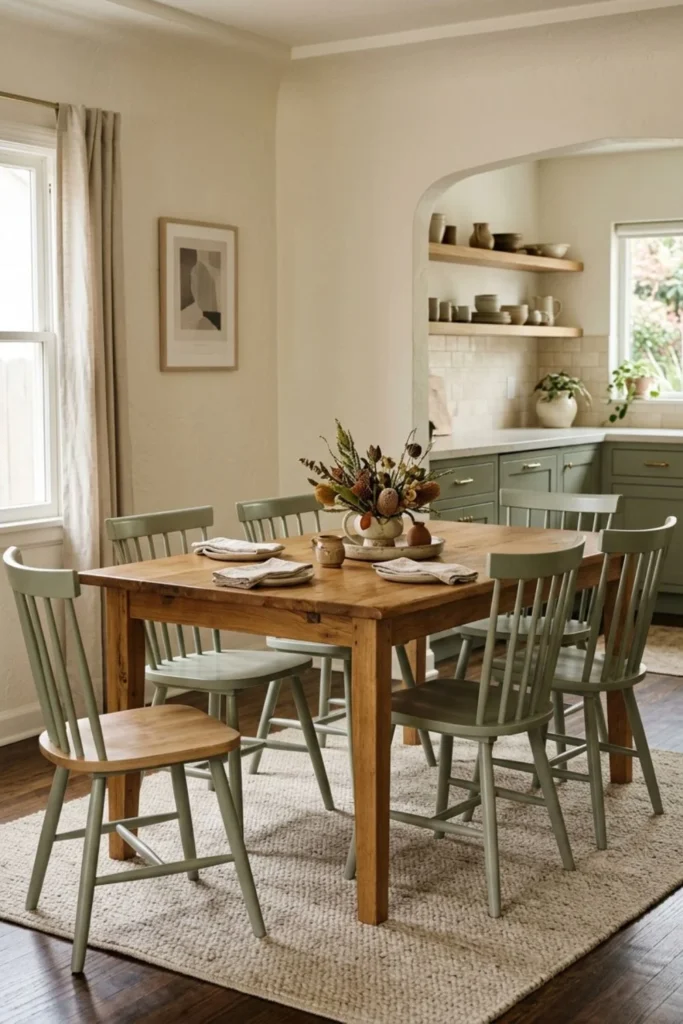
Green chairs are the easiest color move to reverse. They can connect to a green island without painting any cabinetry.
Measure the table apron and chair arms. The seat should slide under without hitting. Give each person close to 24 inches of width and check the full chair depth when pulled out.
A set may cost $400 to $2,500 or more. Before buying all chairs, order or test one if possible. A pretty curved back can still feel uncomfortable after dinner.
Choose wipeable fabric or painted wood for a busy family space. I would avoid pale velvet beside a table used by young children every day.
12. Style a Warm Wood Dining Table
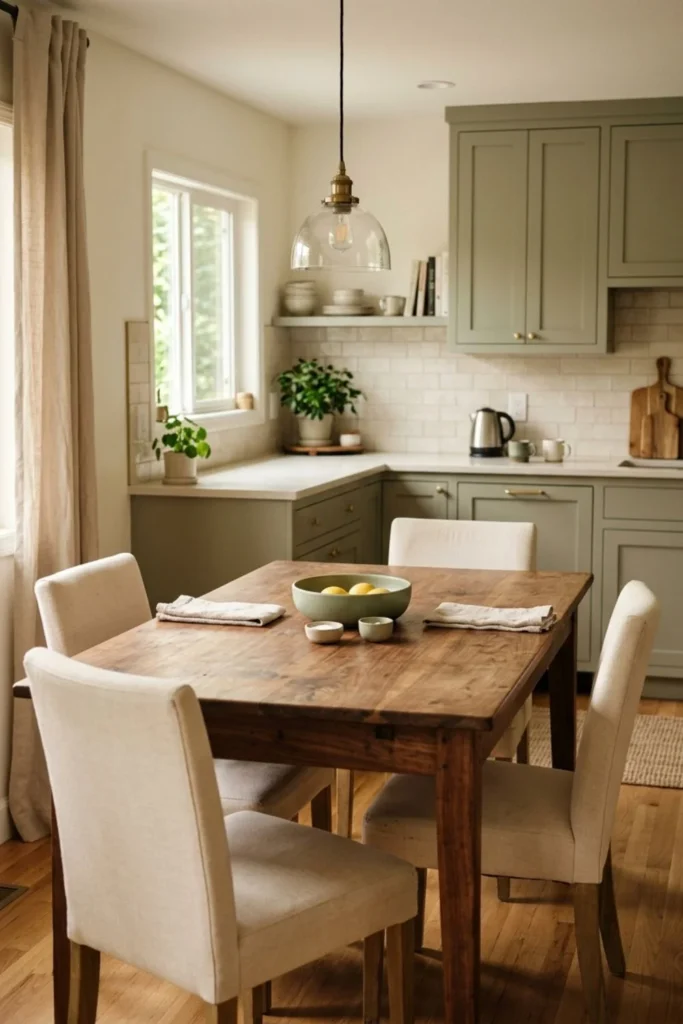
A wood table is the visual bridge between green cabinets and the dining area. Rectangular tables suit long rooms; round tables soften tight corners.
As a starting point, a four-person rectangular table may be around 36 by 48 inches, while a six-person version may be around 36 by 60 to 72 inches. The actual chair width and room clearance matter more than the label.
A mass-market table can cost $300 to $1,500. Solid wood or custom pieces may cost $2,000 to $5,000 or more.
Tape the top size on the floor and add pulled-out chairs. I would choose a slightly smaller table with a clear walking path over a large table that looks impressive only when nobody is seated.
13. Hang Simple Pendant Lights
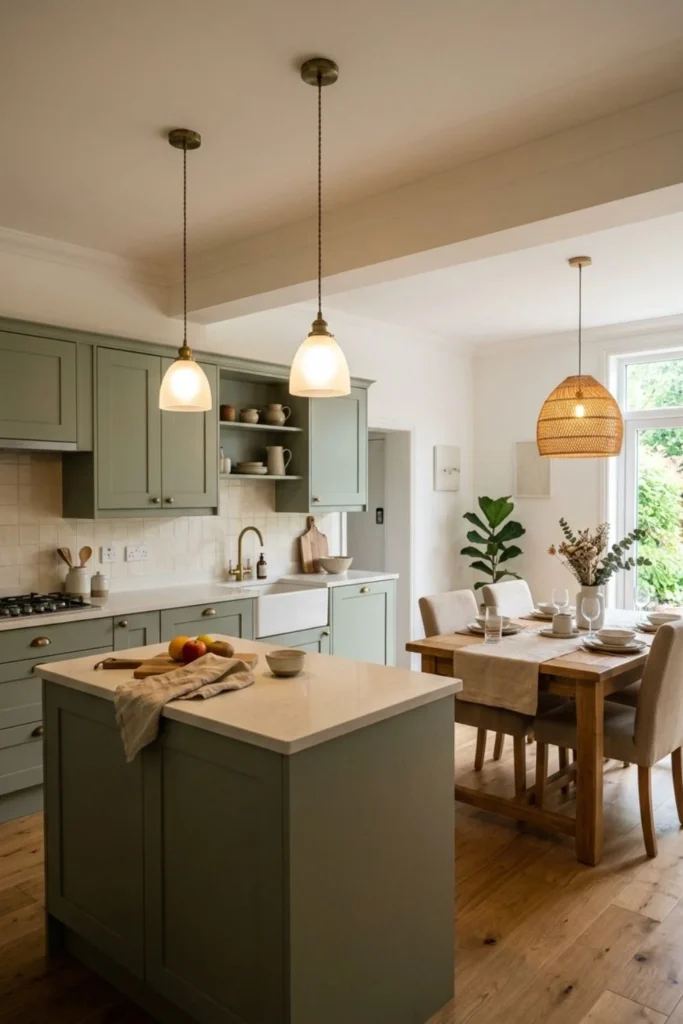
Pendant lights help define an island or table, but they should not block faces or the view across the room.
A common starting point is roughly 30 to 36 inches above an island counter and around 30 to 36 inches above a dining tabletop. Adjust for fixture size, ceiling height, and manufacturer instructions.
Two medium pendants often look calmer than three tiny ones. Tape paper shapes or hang balloons to test scale before ordering.
Fixtures and installation may range from about $150 to $800 each, with new wiring or ceiling repair adding more. Use a qualified electrician for fixed work.
Choose warm, comfortable light and add task lighting where food is prepared. A beautiful shade should not create a dark worktop.
14. Add Open Shelves with Useful Decor
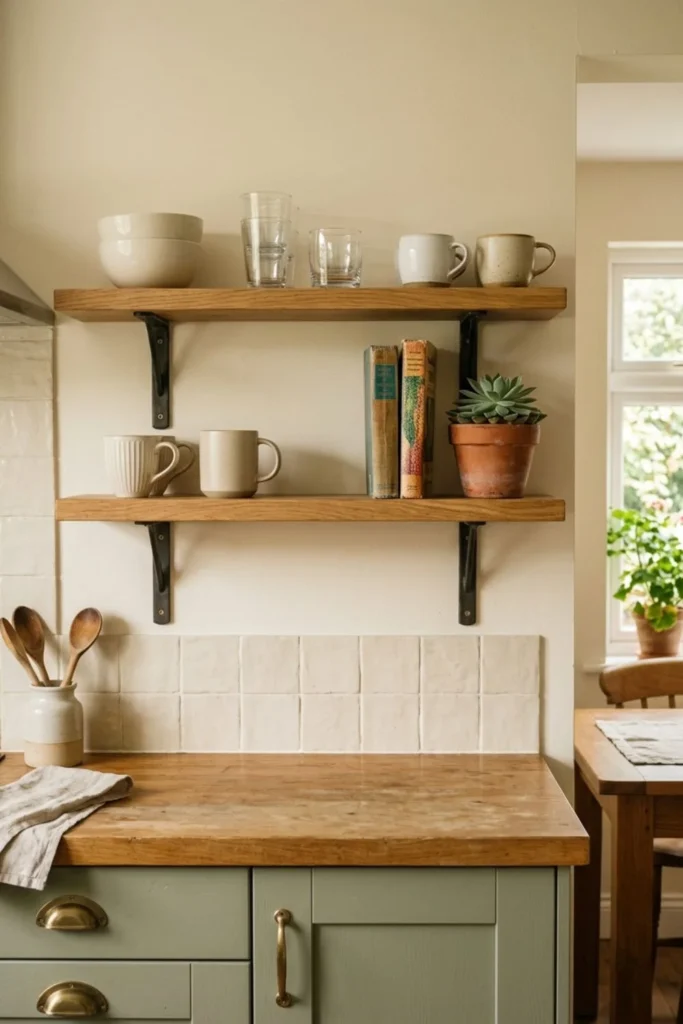
This is my other weak choice, mainly because kitchen shelves live near grease, steam, and dust. The styled mugs in a photograph do not show the weekly wiping.
If shelves solve a real need, keep them around 10 to 12 inches deep for plates and everyday items. Leave safe clearance from the cooktop and follow appliance and local requirements.
A pair of simple shelves may cost $150 to $600. Custom oak shelves, concealed brackets, wall repair, and professional fitting can reach $800 to $2,500.
Fix them into appropriate support and respect the load rating. Plates become heavy quickly. I would store only items used often, because regular washing keeps them cleaner.
Avoid spreading small plants, signs, jars, and boards across every shelf. One useful stack of bowls and a few glasses look more human than a display built only for a photo.
15. Bring in Terracotta and Warm Beige
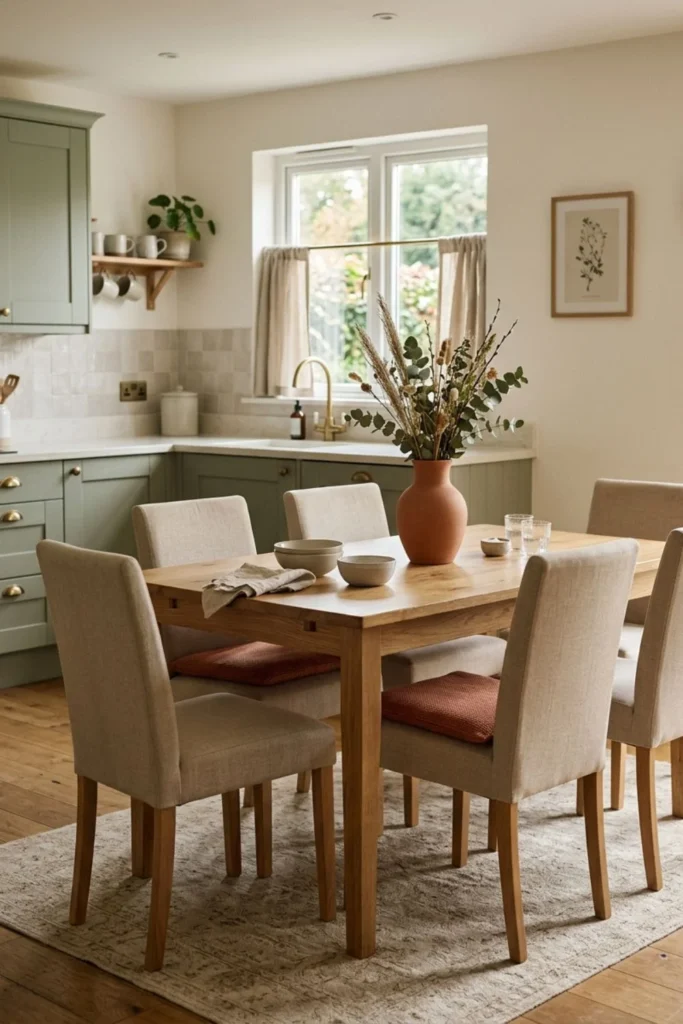
Terracotta stops sage and cream from feeling too cool. Use it through one bowl, a small rug, or simple art.
Warm beige works well for curtains, seat cushions, and walls. It should support the green rather than create another strong color block.
This can be a $50 to $400 update using textiles and ceramics. I would keep the accents easy to move so the room can change later.
Choose washable fabrics near food, and do not crowd work surfaces with decorative pottery.
16. Decorate with Herbs and Indoor Plants
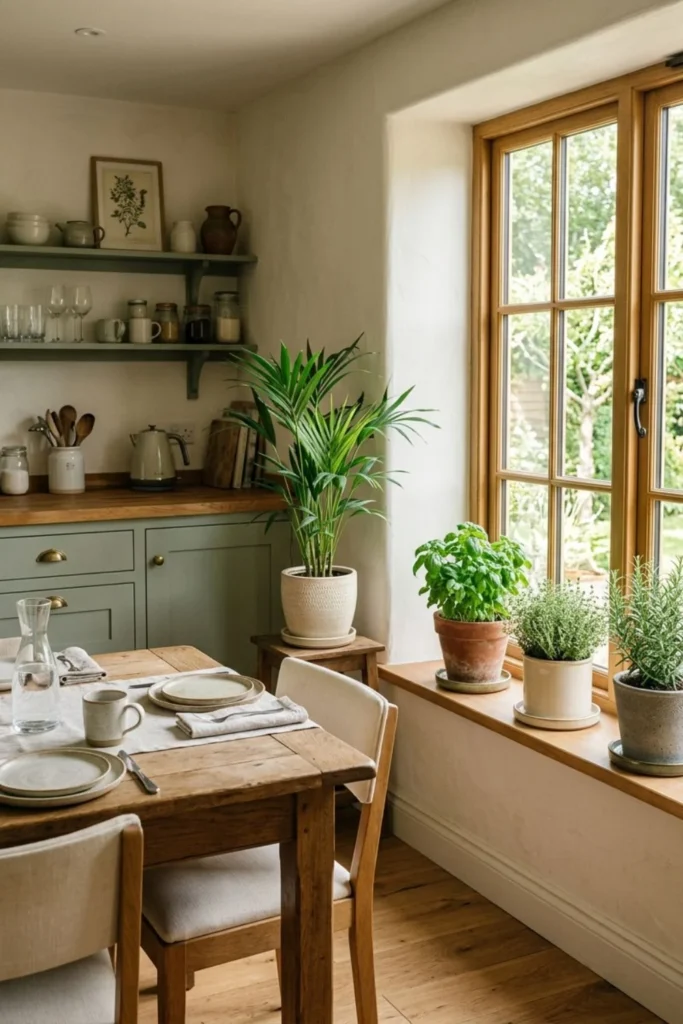
Herbs can look natural in a green kitchen, but they need real light and practical watering. Put them near a suitable window, not above the cooktop or beside hot appliances.
Use waterproof saucers and keep soil away from food-preparation surfaces. Check plant safety where pets or young children can reach.
A few pots and herbs may cost $30 to $150. Expensive built-in planters are rarely necessary.
Cooking also creates humidity and particles. ENERGY STAR notes that a range hood vented outdoors helps reduce cooking-related contaminants. Plants are decor, not a replacement for ventilation.
I would start with one or two herbs used in meals. A row of ten unhappy pots is not greener or more useful.
17. Make a Small Kitchen-Dining Area Feel Bigger
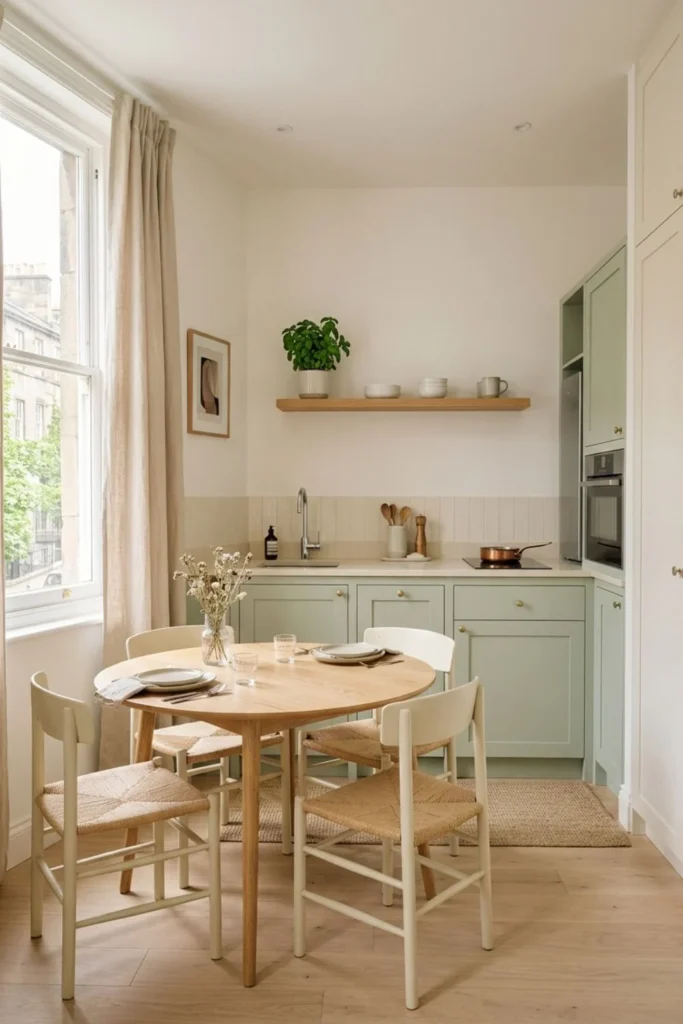
This is my third top choice because layout mistakes cost more in a small room. Color should support space, not compete with it.
Begin with the biggest open path. Aim for around 36 inches where people walk. In the active cooking aisle, use about 42 inches for one cook and 48 inches for two when possible. If the room cannot support those targets, skip the fixed island.
A narrow rolling cart may provide preparation space without becoming permanent. Choose one around 18 to 24 inches deep, then park it outside the main aisle when not used. Current carts can cost roughly $150 to $900.
Use sage on one feature: lower cabinets, a short island, or dining chairs. Keep upper cabinets and walls warm white. Light oak will reflect more light than a full walnut wall.
For the dining zone, a round table around 36 to 42 inches wide may seat four in a compact space, depending on chair size. A rectangular drop-leaf table can sit narrower on normal days.
Use closed storage up to the ceiling only where it does not make the entrance feel like a tunnel. Open shelves are not automatically lighter when covered with objects.
Check these before buying:
- Can the refrigerator open fully?
- Can the dishwasher rack open while someone passes?
- Can every chair pull out?
- Is there a safe path from kitchen to table?
- Does the range hood still work correctly?
- Can cabinet doors open without hitting a pendant or stool?
A small refresh using paint, chairs, and a cart may cost $500 to $2,500. Moving cabinets, appliances, plumbing, or wiring can turn it into a $10,000 to $20,000+ remodel very quickly.
I would keep the existing layout whenever it already works. Sage paint cannot reduce construction cost, but it can make sound cabinets feel new.
18. Create an Achievable Luxury Open-Plan Space
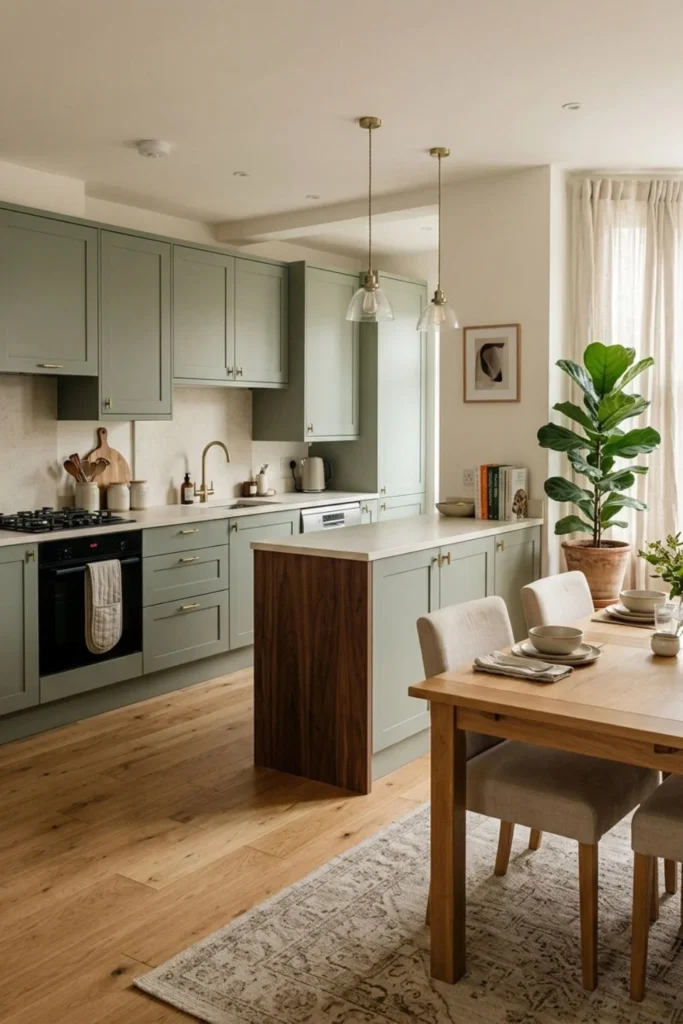
“Luxury” should mean good proportions, durable finishes, and calm lighting—not marble on every wall.
Choose one premium element: a well-made oak table, quality island worktop, or professional cabinet finish. Let the rest stay simple.
A full open-plan remodel can easily move beyond $20,000, while a focused update may stay below $5,000. Set the functional budget before choosing decorative upgrades.
I would limit the room to sage, warm white, light oak, and one metal. Hidden storage and clean sightlines will look richer than many unrelated finishes.
What I Would Do at Three Budget Levels
With under $500, I would paint one wall or the island base, replace a few handles, and add one sage textile. I would spend most of the effort on preparation and testing the color.
With $500 to $3,000, I would consider professional partial cabinet painting, sage dining chairs, a rolling island, or a simple backsplash. I would not try to do all four.
With $3,000 to $10,000 or more, I would price a fitted island or full cabinet refinishing only after the aisle test. The quote should show cabinetry, worktop, wiring, plumbing, hardware, paint, and repairs separately.
The best budget is the one that protects the layout. A beautiful green island is a poor purchase when everyone bumps into it.
Keep Sage Green Looking Fresh
Kitchen color changes under grease, steam, and repeated cleaning. Use products suitable for cabinets and walls, then follow their cure and care instructions.
Run the vented range hood while cooking. Wipe splashes early, keep grout sealed where required, and tighten loose handles before they damage door fronts.
Save the paint name, sheen, batch information, and one labeled sample board. Touch-ups are easier when you know exactly what was used.
If the room begins to feel too green, change small items first. Remove green towels, plants, or chair cushions before repainting expensive cabinetry.
Final Thoughts
The most useful sage green kitchen and dining ideas connect color with movement, light, and daily habits. My first choices are a sage island that passes the aisle test, light oak that adds warmth, and a restrained plan for a small kitchen-dining room.
I would treat all-green cabinets and large open shelf displays with more care. They can work, but they demand better light, more cleaning, and a stronger commitment.
Measure with doors and chairs open. Compare samples in the real room. Separate the color budget from plumbing, wiring, and cabinet work. Then choose one green feature that solves a design problem instead of creating a new practical one.
That is how sage green feels calm and believable—not like a showroom copied into the wrong house.
Disclosure: Some visuals are AI-assisted design concepts created for inspiration. Always confirm measurements, materials, load limits, building rules, appliance clearances, electrical and plumbing safety, ventilation, furniture stability, child and pet safety, and installation requirements for your home. Costs are rough U.S. planning estimates and may vary by location, labor, materials, permits, and project conditions.